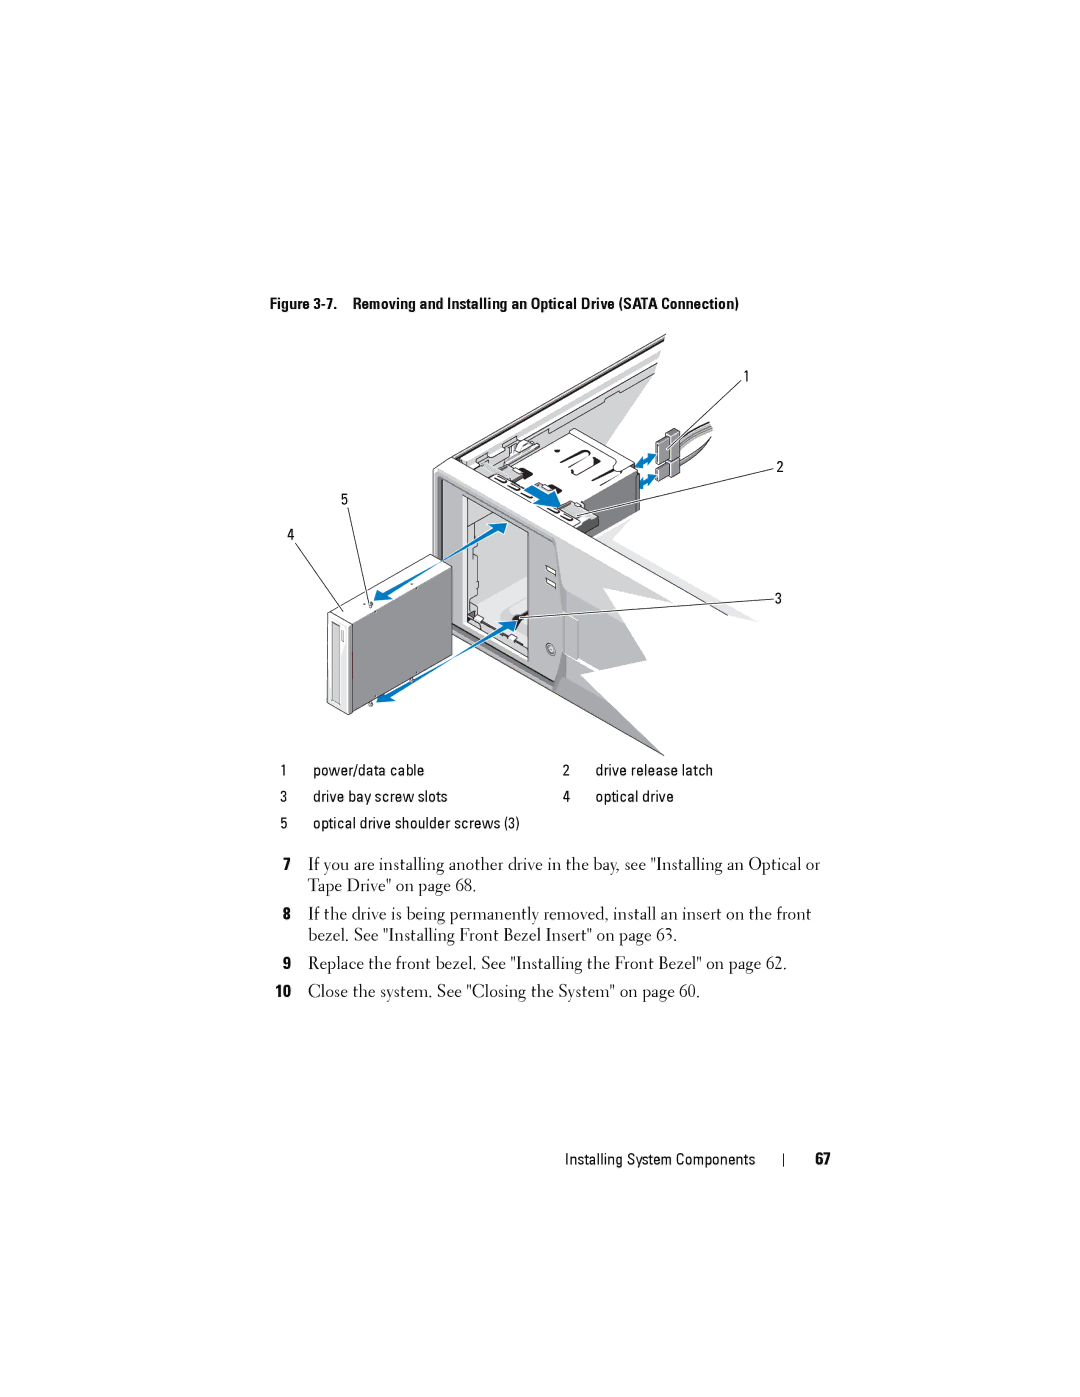
Figure 3-7. Removing and Installing an Optical Drive (SATA Connection)
1
2
5
4
3
1 | power/data cable | 2 | drive release latch |
3 | drive bay screw slots | 4 | optical drive |
5 | optical drive shoulder screws (3) |
|
|
7If you are installing another drive in the bay, see "Installing an Optical or Tape Drive" on page 68.
8If the drive is being permanently removed, install an insert on the front bezel. See "Installing Front Bezel Insert" on page 63.
9Replace the front bezel. See "Installing the Front Bezel" on page 62.
10Close the system. See "Closing the System" on page 60.
Installing System Components
67