2Open the system. See "Opening the System" on page 59.
3To remove the existing
4Slide the
5Slide the hard drive into the drive bay until it snaps into place.
6Secure the hard drive to the
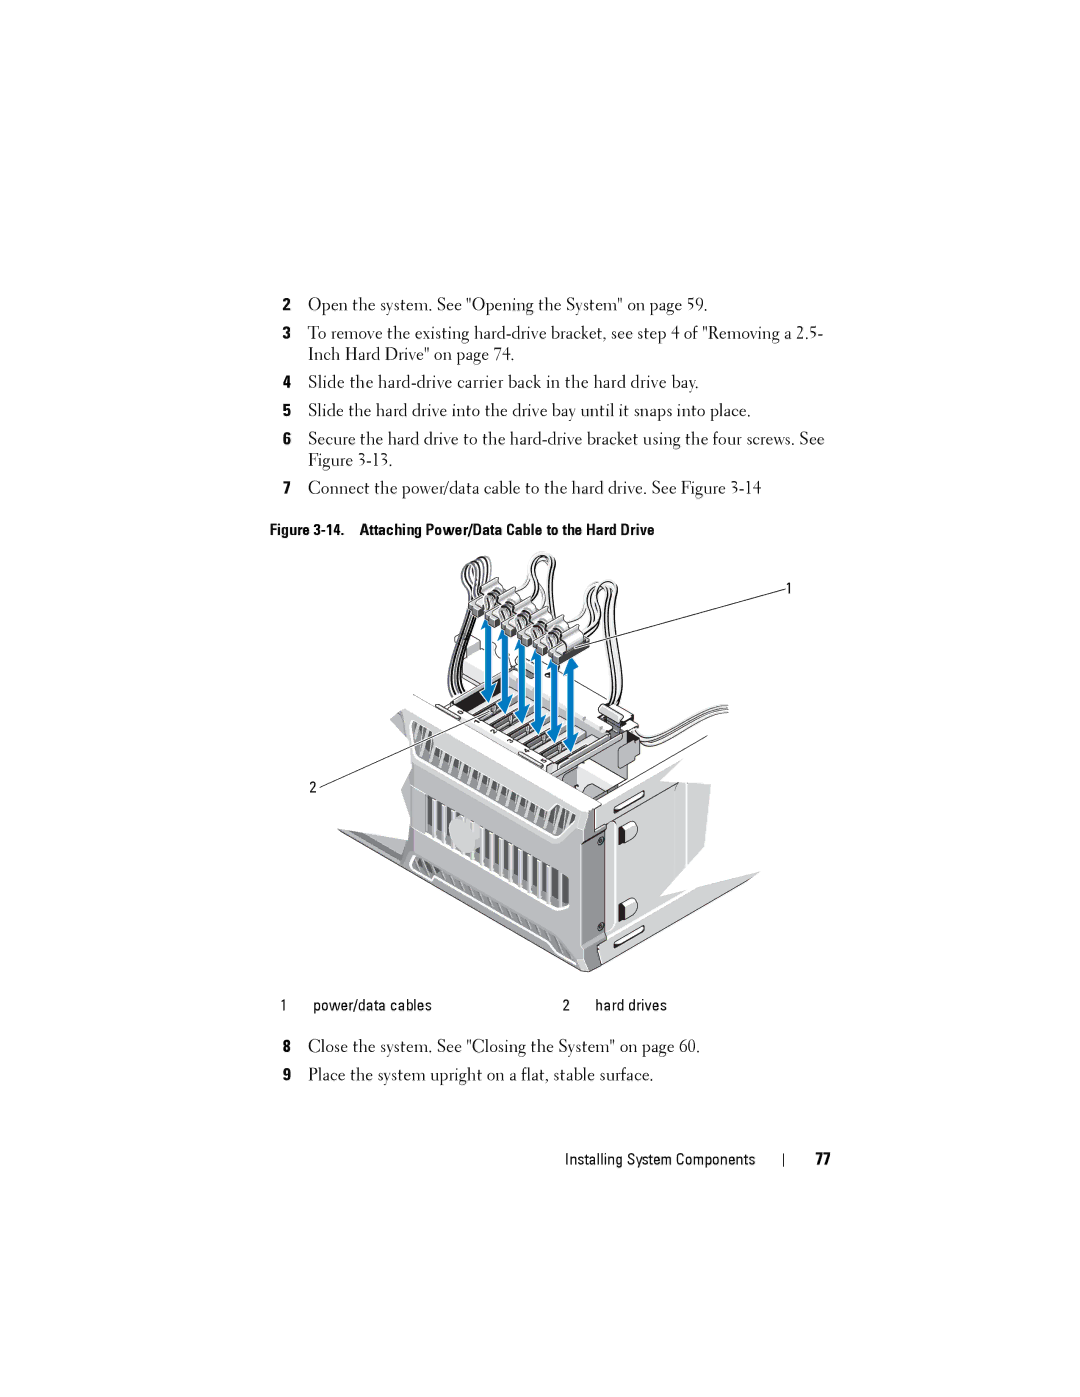
7Connect the power/data cable to the hard drive. See Figure
Figure 3-14. Attaching Power/Data Cable to the Hard Drive
1
2
1 | power/data cables | 2 | hard drives |
8Close the system. See "Closing the System" on page 60.
9Place the system upright on a flat, stable surface.
Installing System Components
77