Operation, cont’d
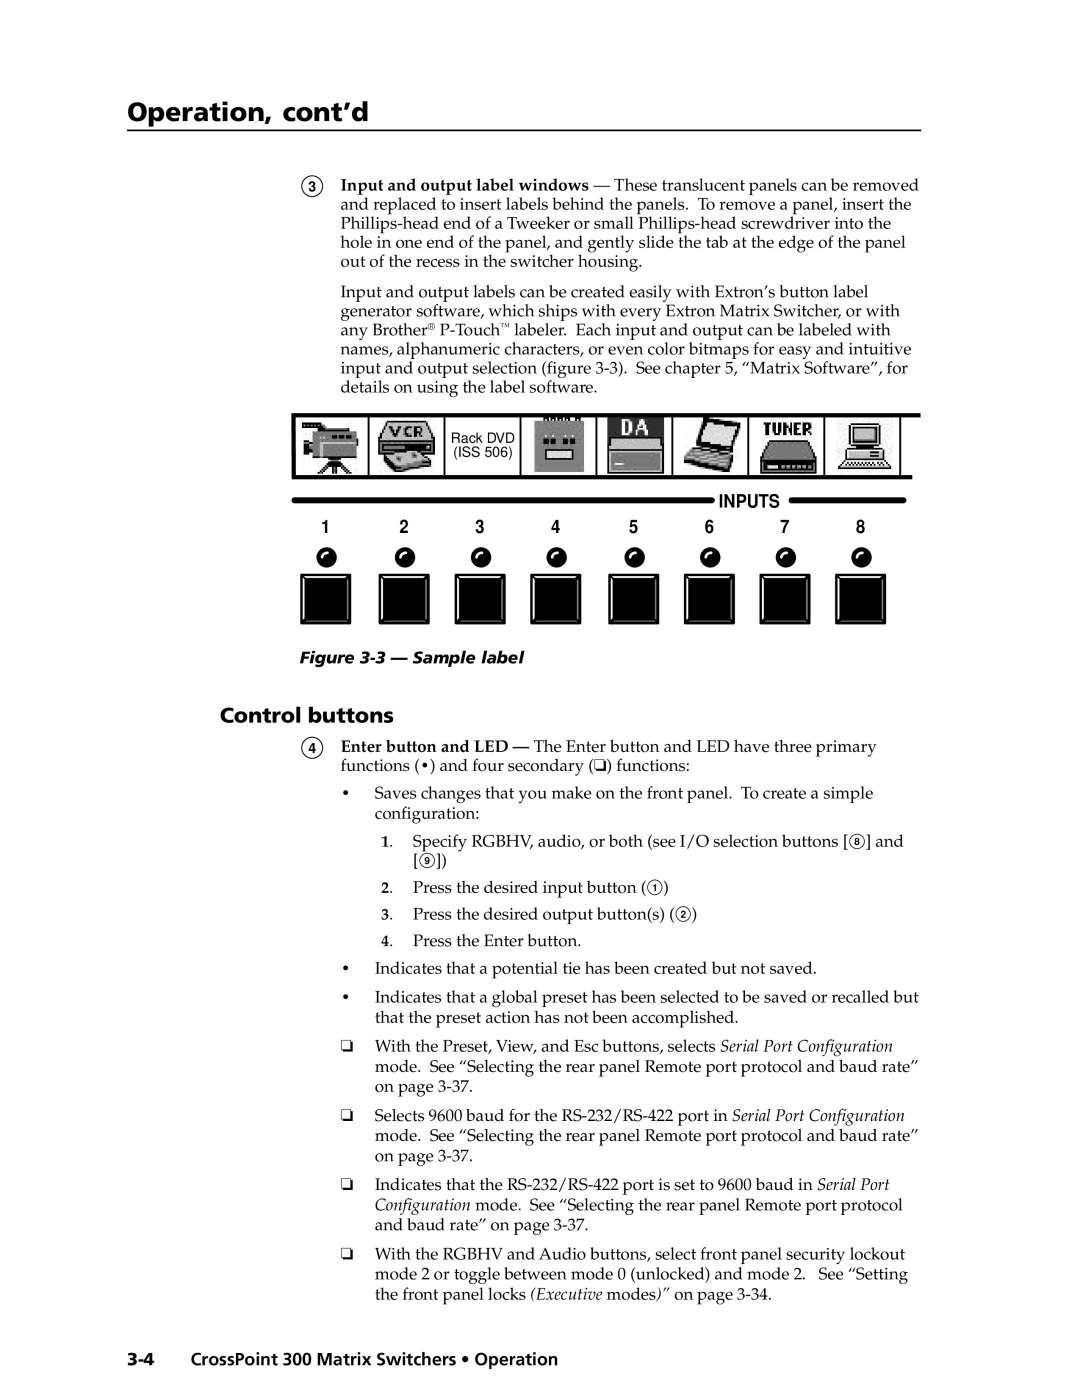
3Input and output label windows — These translucent panels can be removed and replaced to insert labels behind the panels. To remove a panel, insert the
Input and output labels can be created easily with Extron’s button label generator software, which ships with every Extron Matrix Switcher, or with any Brother®
Rack DVD (ISS 506)
INPUTS
1 | 2 | 3 | 4 | 5 | 6 | 7 | 8 | |||||||
|
|
|
|
|
|
|
|
|
|
|
|
|
|
|
|
|
|
|
|
|
|
|
|
|
|
|
|
|
|
Figure 3-3 — Sample label
Control buttons
4Enter button and LED — The Enter button and LED have three primary functions (•) and four secondary (❏) functions:
•Saves changes that you make on the front panel. To create a simple configuration:
1. Specify RGBHV, audio, or both (see I/O selection buttons [ 8 ] and [ 9 ])
2. Press the desired input button ( 1 )
3. Press the desired output button(s) ( 2 )
4. Press the Enter button.
•Indicates that a potential tie has been created but not saved.
•Indicates that a global preset has been selected to be saved or recalled but that the preset action has not been accomplished.
❏With the Preset, View, and Esc buttons, selects Serial Port Configuration mode. See “Selecting the rear panel Remote port protocol and baud rate” on page
❏Selects 9600 baud for the
❏Indicates that the
❏With the RGBHV and Audio buttons, select front panel security lockout mode 2 or toggle between mode 0 (unlocked) and mode 2. See “Setting the front panel locks (Executive modes)” on page
