RAID Controller Configuration
Select the Scan SCSI Drive from this menu. Answer YES to the prompt. Select the channel you require and select the ID for the drive.
Once the scan is completed successfully a conformation will be displayed stating that Scan SCSI Drive Successful !
View and Edit logical drives
From the Main Menu select the View and edit logical drives option. The logical drive table will appear as shown in Figure
1.View SCSI Drives
2.Delete Logical Drives
3.Partition Logical Drive
4.Logical Drive Name
5.Rebuild Logical Drive
1.View SCSI Drives: this option displays a list of the drives in the logical volume and the status of each of the drive within the logical volume.
2.Delete Logical Drives: this option allows you to delete a logical drive. The drives that were part of a deleted Logical drive are then available for use again.
3.Partition Logical Drive: this option allows you to partition the logical volumes for the host CPU’s use. See page
4.Logical Drive Name: this option allows you to enter a name for the Logical Drive or to change the existing name.
5.Rebuild Logical Drive: This option is only available when there is a failed drive in the system. This option allows you to rebuild information onto a failed drive.
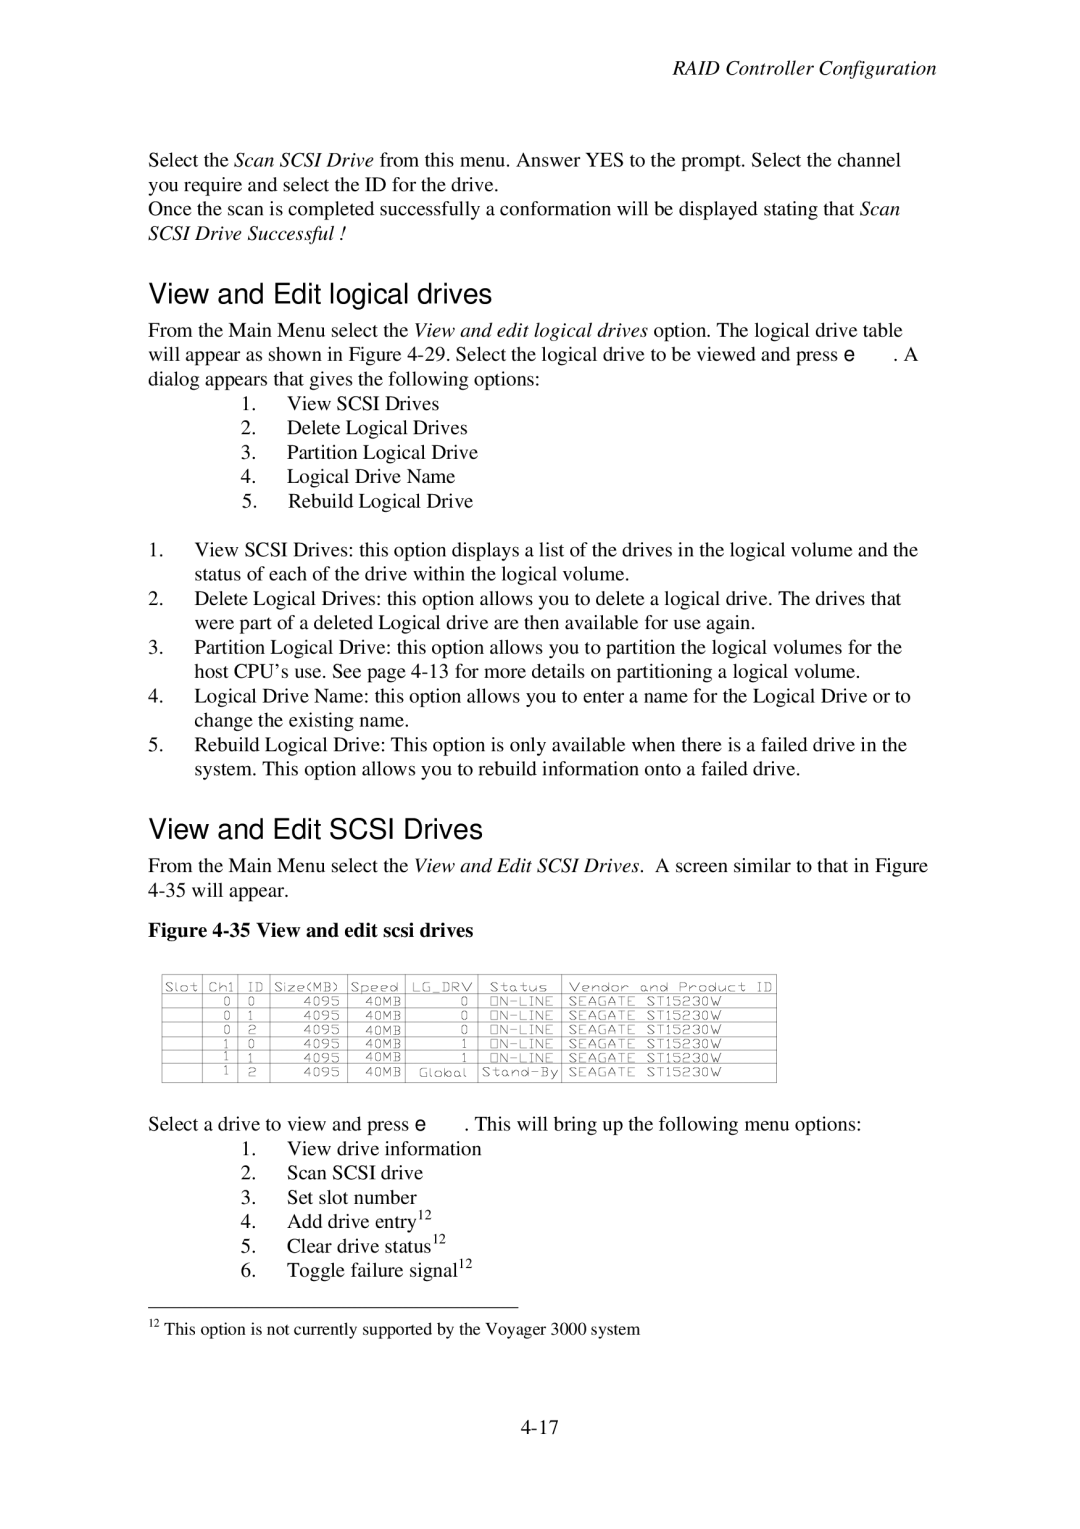
View and Edit SCSI Drives
From the Main Menu select the View and Edit SCSI Drives. A screen similar to that in Figure
Figure 4-35 View and edit scsi drives
Select a drive to view and press e. This will bring up the following menu options:
1.View drive information
2.Scan SCSI drive
3.Set slot number
4.Add drive entry12
5.Clear drive status12
6.Toggle failure signal12
12This option is not currently supported by the Voyager 3000 system
