RAID Controller Configuration
4.Sync Transfer Clock: this option allows the user to adjust the transfer rate of synchronous data transfers along the bus or to select the asynchronous mode of operation.
5.Wide Transfer: this option allows the user to enable or disable wide transfer mode.
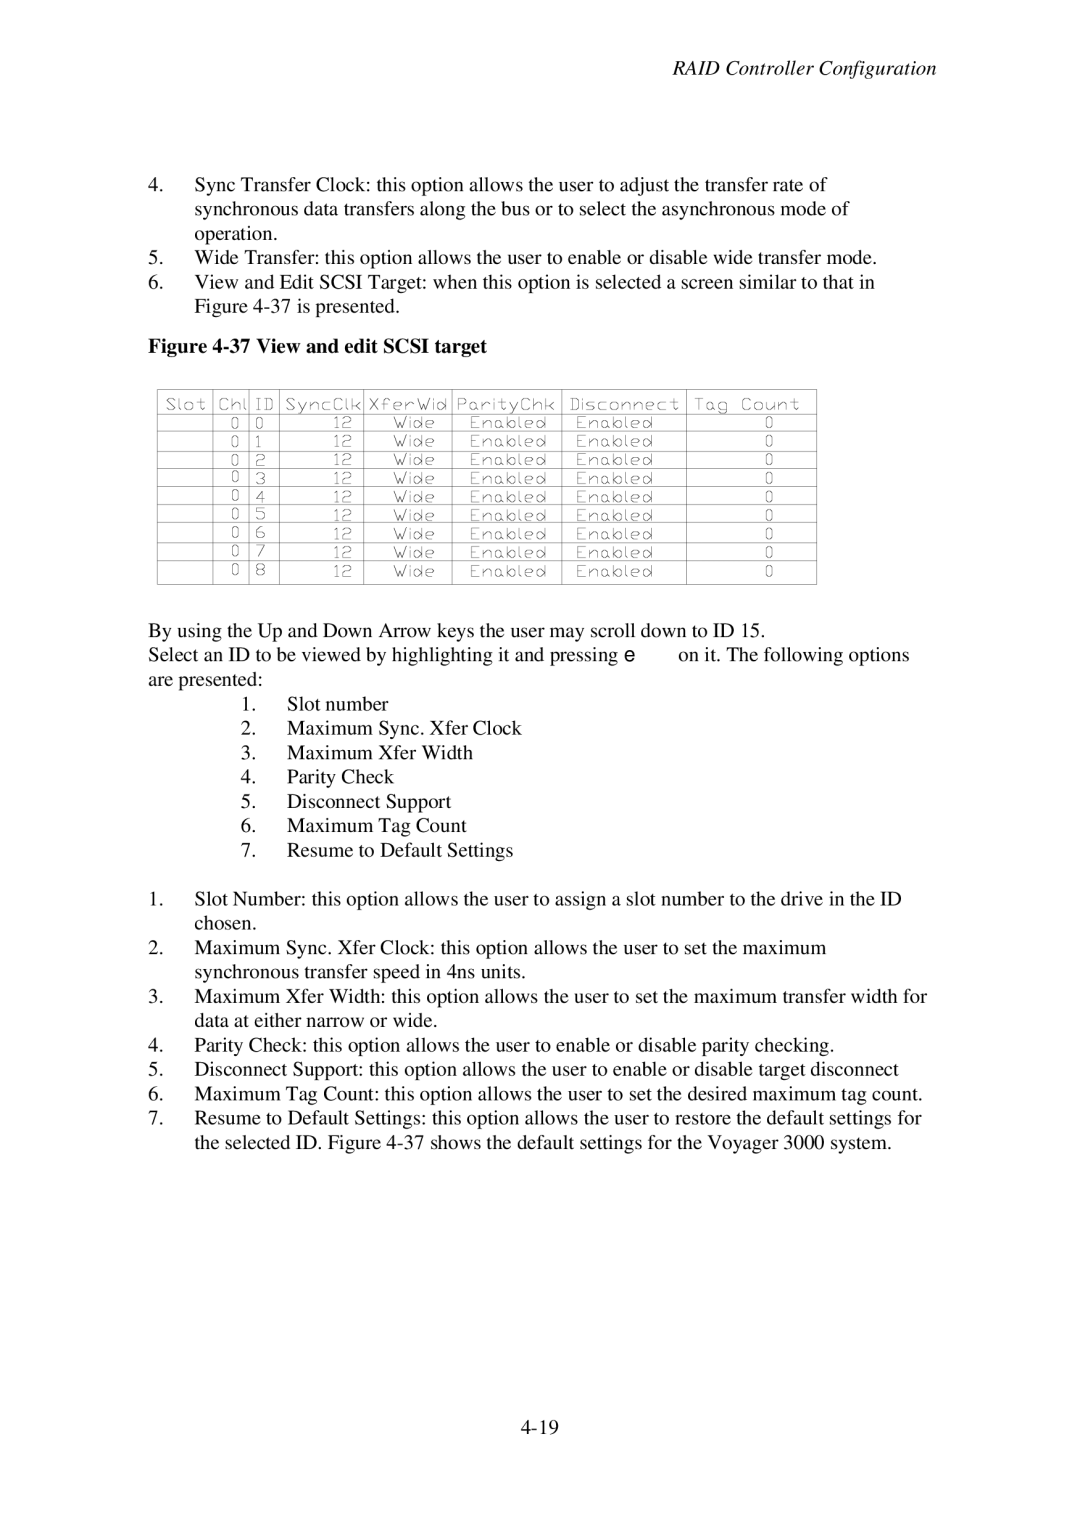
6.View and Edit SCSI Target: when this option is selected a screen similar to that in Figure
Figure 4-37 View and edit SCSI target
By using the Up and Down Arrow keys the user may scroll down to ID 15.
Select an ID to be viewed by highlighting it and pressing eon it. The following options are presented:
1.Slot number
2.Maximum Sync. Xfer Clock
3.Maximum Xfer Width
4.Parity Check
5.Disconnect Support
6.Maximum Tag Count
7.Resume to Default Settings
1.Slot Number: this option allows the user to assign a slot number to the drive in the ID chosen.
2.Maximum Sync. Xfer Clock: this option allows the user to set the maximum synchronous transfer speed in 4ns units.
3.Maximum Xfer Width: this option allows the user to set the maximum transfer width for data at either narrow or wide.
4.Parity Check: this option allows the user to enable or disable parity checking.
5.Disconnect Support: this option allows the user to enable or disable target disconnect
6.Maximum Tag Count: this option allows the user to set the desired maximum tag count.
7.Resume to Default Settings: this option allows the user to restore the default settings for the selected ID. Figure