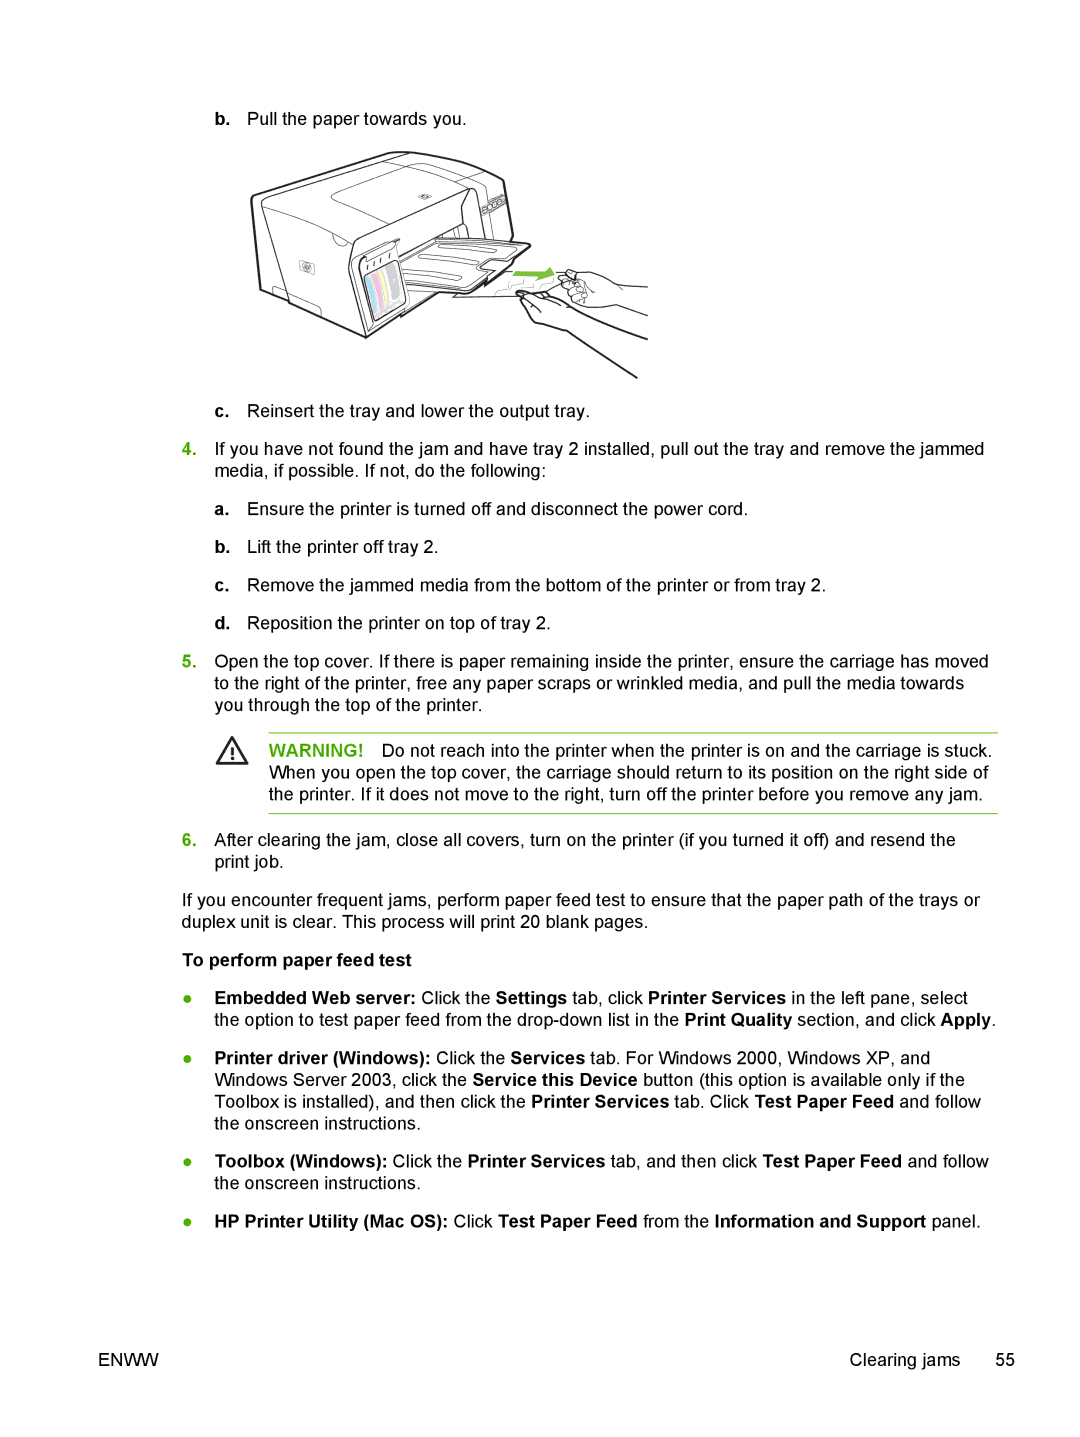
b.Pull the paper towards you.
c.Reinsert the tray and lower the output tray.
4.If you have not found the jam and have tray 2 installed, pull out the tray and remove the jammed media, if possible. If not, do the following:
a.Ensure the printer is turned off and disconnect the power cord.
b.Lift the printer off tray 2.
c.Remove the jammed media from the bottom of the printer or from tray 2.
d.Reposition the printer on top of tray 2.
5.Open the top cover. If there is paper remaining inside the printer, ensure the carriage has moved to the right of the printer, free any paper scraps or wrinkled media, and pull the media towards you through the top of the printer.
WARNING! Do not reach into the printer when the printer is on and the carriage is stuck. When you open the top cover, the carriage should return to its position on the right side of the printer. If it does not move to the right, turn off the printer before you remove any jam.
6.After clearing the jam, close all covers, turn on the printer (if you turned it off) and resend the print job.
If you encounter frequent jams, perform paper feed test to ensure that the paper path of the trays or duplex unit is clear. This process will print 20 blank pages.
To perform paper feed test
●Embedded Web server: Click the Settings tab, click Printer Services in the left pane, select the option to test paper feed from the
●Printer driver (Windows): Click the Services tab. For Windows 2000, Windows XP, and Windows Server 2003, click the Service this Device button (this option is available only if the Toolbox is installed), and then click the Printer Services tab. Click Test Paper Feed and follow the onscreen instructions.
●Toolbox (Windows): Click the Printer Services tab, and then click Test Paper Feed and follow the onscreen instructions.
●HP Printer Utility (Mac OS): Click Test Paper Feed from the Information and Support panel.
ENWW | Clearing jams 55 |
