Setup
Please insert the batteries into the remote control, and then start the initial setup.
Initial setup
Connect the mp200 to your TV and/or stereo receiver (as shown in the “Connect” section of this manual), then connect the power adapter to the mp200 and turn it on.
Note: If you want to connect the mp200 via HDMI, please connect the HDMI cable prior to powering up the mp200.
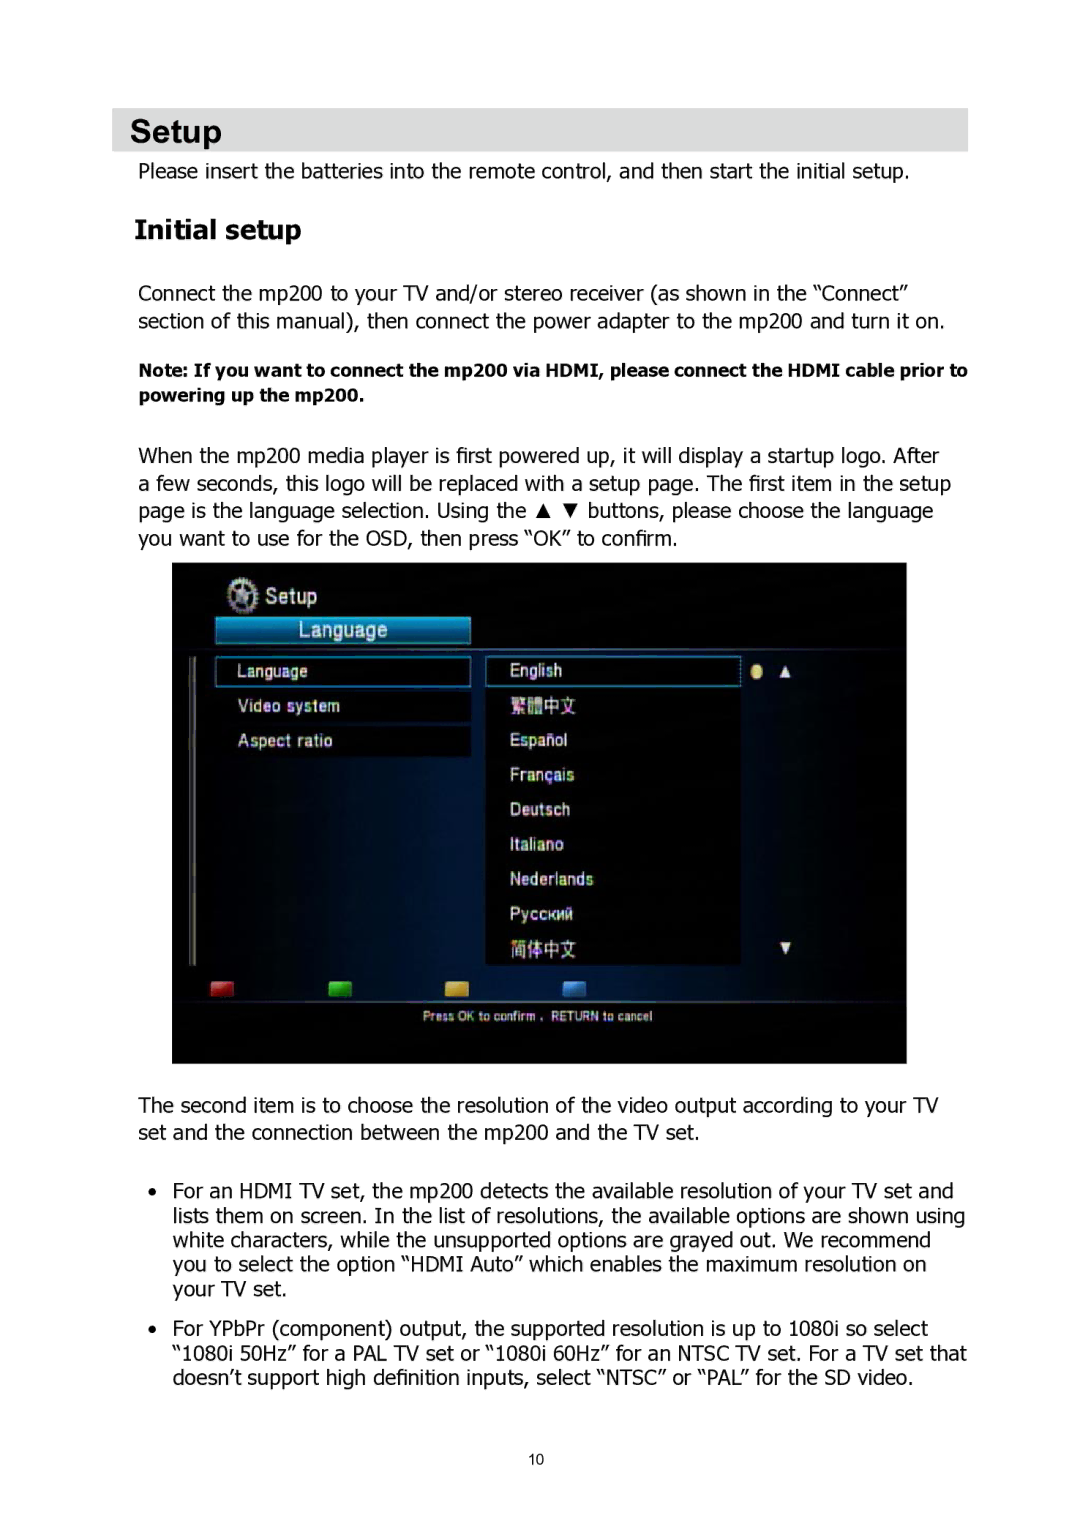
When the mp200 media player is first powered up, it will display a startup logo. After a few seconds, this logo will be replaced with a setup page. The first item in the setup
page is the language selection. Using the ▲ ▼ buttons, please choose the language
you want to use for the OSD, then press “OK” to confirm.
The second item is to choose the resolution of the video output according to your TV set and the connection between the mp200 and the TV set.
•For an HDMI TV set, the mp200 detects the available resolution of your TV set and lists them on screen. In the list of resolutions, the available options are shown using white characters, while the unsupported options are grayed out. We recommend you to select the option “HDMI Auto” which enables the maximum resolution on your TV set.
•For YPbPr (component) output, the supported resolution is up to 1080i so select “1080i 50Hz” for a PAL TV set or “1080i 60Hz” for an NTSC TV set. For a TV set that doesn’t support high definition inputs, select “NTSC” or “PAL” for the SD video.
10