Erasing Rewritable Discs Before Recording
Previously recorded files on
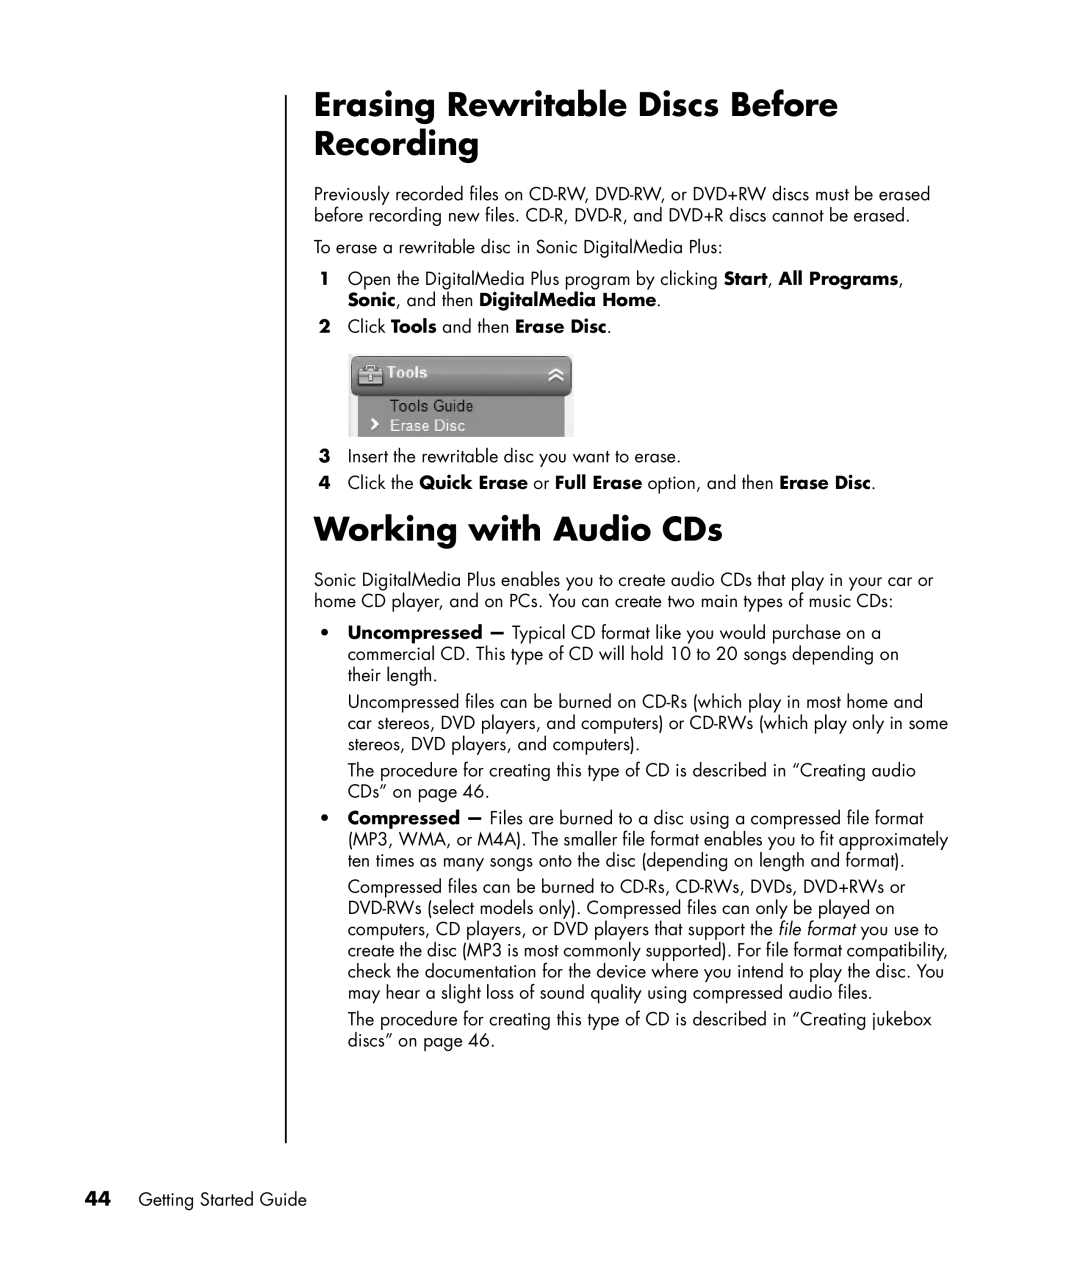
To erase a rewritable disc in Sonic DigitalMedia Plus:
1Open the DigitalMedia Plus program by clicking Start, All Programs, Sonic, and then DigitalMedia Home.
2Click Tools and then Erase Disc.
3Insert the rewritable disc you want to erase.
4Click the Quick Erase or Full Erase option, and then Erase Disc.
Working with Audio CDs
Sonic DigitalMedia Plus enables you to create audio CDs that play in your car or home CD player, and on PCs. You can create two main types of music CDs:
•Uncompressed — Typical CD format like you would purchase on a commercial CD. This type of CD will hold 10 to 20 songs depending on their length.
Uncompressed files can be burned on
The procedure for creating this type of CD is described in “Creating audio CDs” on page 46.
•Compressed — Files are burned to a disc using a compressed file format (MP3, WMA, or M4A). The smaller file format enables you to fit approximately ten times as many songs onto the disc (depending on length and format).
Compressed files can be burned to
The procedure for creating this type of CD is described in “Creating jukebox discs” on page 46.