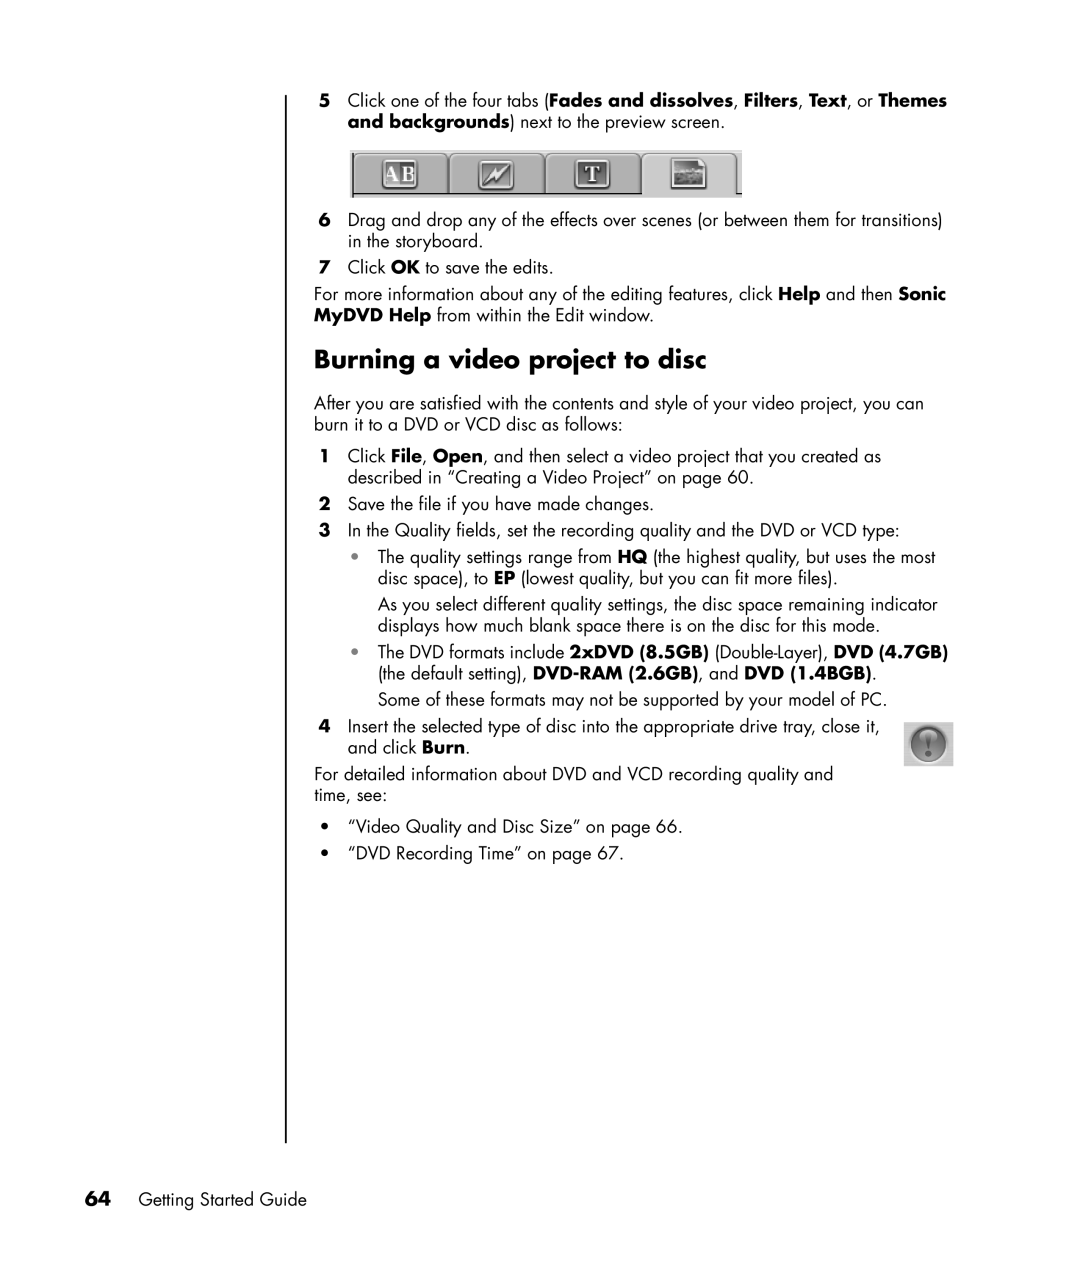
5Click one of the four tabs (Fades and dissolves, Filters, Text, or Themes and backgrounds) next to the preview screen.
6Drag and drop any of the effects over scenes (or between them for transitions) in the storyboard.
7Click OK to save the edits.
For more information about any of the editing features, click Help and then Sonic MyDVD Help from within the Edit window.
Burning a video project to disc
After you are satisfied with the contents and style of your video project, you can burn it to a DVD or VCD disc as follows:
1Click File, Open, and then select a video project that you created as described in “Creating a Video Project” on page 60.
2Save the file if you have made changes.
3In the Quality fields, set the recording quality and the DVD or VCD type:
•The quality settings range from HQ (the highest quality, but uses the most disc space), to EP (lowest quality, but you can fit more files).
As you select different quality settings, the disc space remaining indicator displays how much blank space there is on the disc for this mode.
•The DVD formats include 2xDVD (8.5GB)
Some of these formats may not be supported by your model of PC.
4Insert the selected type of disc into the appropriate drive tray, close it, and click Burn.
For detailed information about DVD and VCD recording quality and time, see:
•“Video Quality and Disc Size” on page 66.
•“DVD Recording Time” on page 67.
