Recording
Useful Settings for Recording
0When “QUICK RESTART” is set to “ON”, this unit turns on immediately if you open the LCD monitor within 5 minutes after the power is turned off by closing the monitor.
“QUICK RESTART ” (A p. 113)
0When “AUTO POWER OFF” is set to “ON”, this unit turns itself off automatically to conserve power when it is not operated for 5 minutes. (only when using the battery pack)
“AUTO POWER OFF ” (A p. 112)
0When “TOUCH PRIORITY AE/AF” is set to “FACE TRACKING”, this unit detects faces and automatically adjusts its brightness and focus to record the faces more clearly.
“Capturing Subjects Clearly (TOUCH PRIORITY AE/AF)” (A p. 47)
0The image resolution can be changed.
“IMAGE SIZE ” (A p. 104)
Caution :
0Do not expose the lens to direct sunlight.
0Do not use this unit in the rain, snow, or places with high humidity like the bathroom.
0Do not use this unit in places subject to excessive humidity or dust, as well as places exposed to steam or smoke directly.
0Do not remove the battery pack, AC adapter, or SD card when the access lamp is lighted. The recorded data may become unreadable.
Memo :
0Before recording an important scene, it is recommended to conduct a trial recording.
0The digital image stabilizer does not work when recording still images.
Zooming
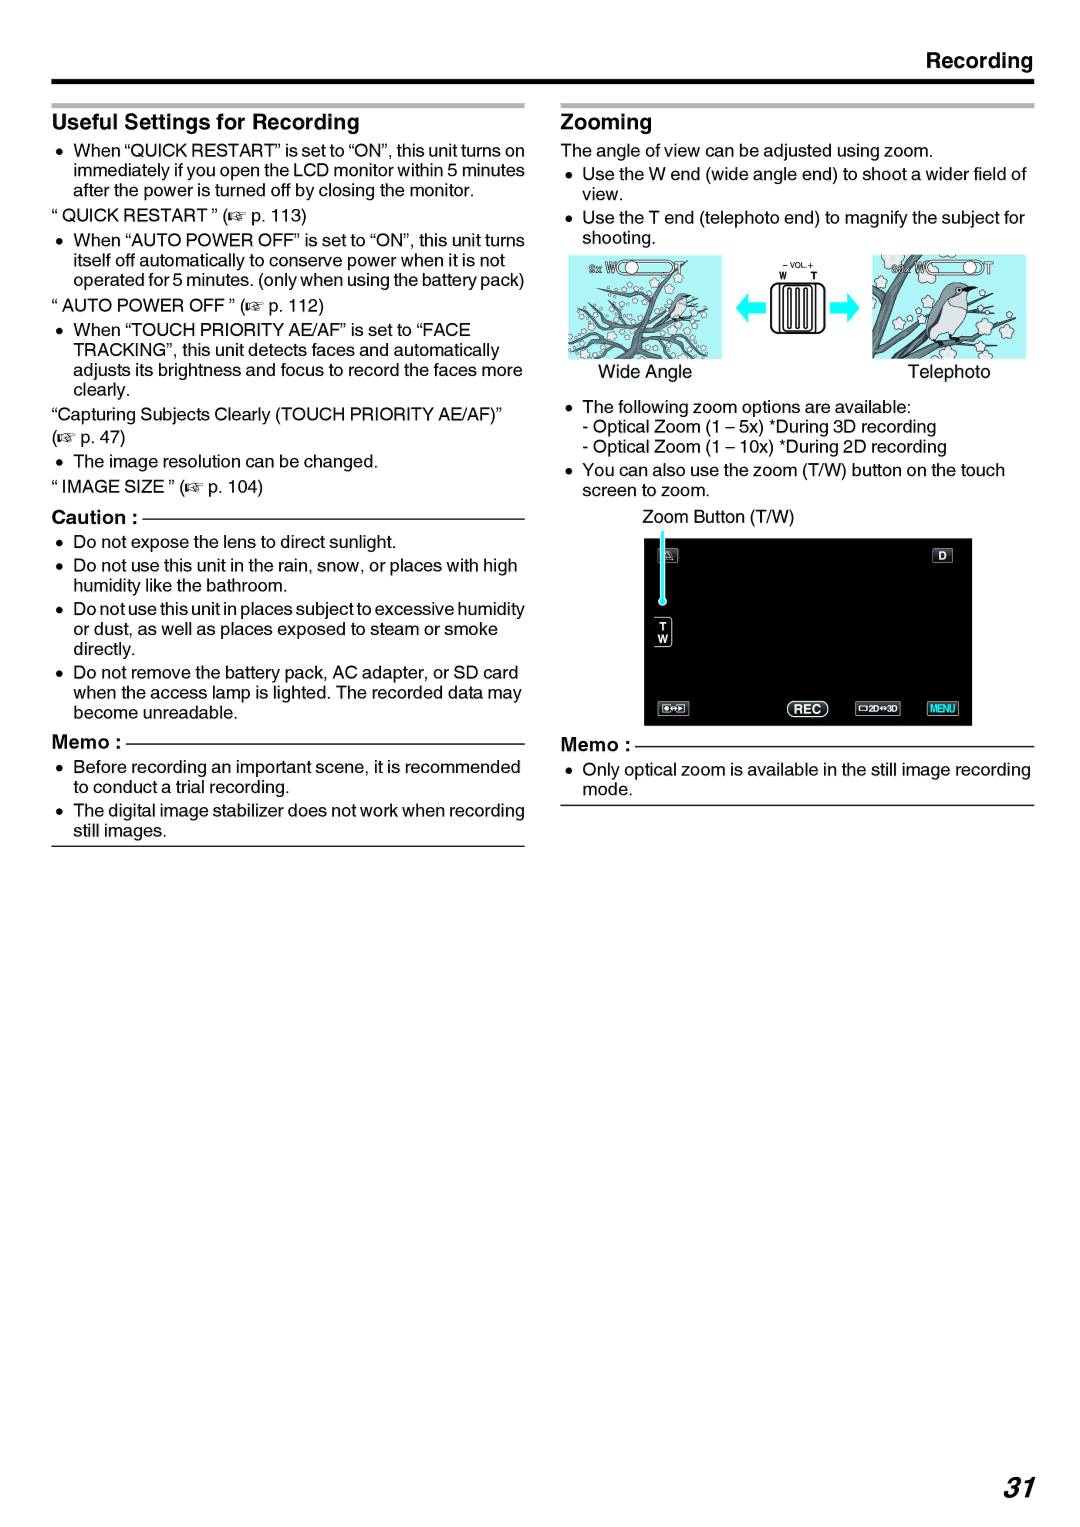
The angle of view can be adjusted using zoom.
0Use the W end (wide angle end) to shoot a wider field of view.
0Use the T end (telephoto end) to magnify the subject for shooting.
Wide Angle | Telephoto |
0The following zoom options are available:
-Optical Zoom (1 – 5x) *During 3D recording
-Optical Zoom (1 – 10x) *During 2D recording
0You can also use the zoom (T/W) button on the touch screen to zoom.
Zoom Button (T/W)
Memo :
0Only optical zoom is available in the still image recording mode.
31