Recording
MD recording (Basic operation)
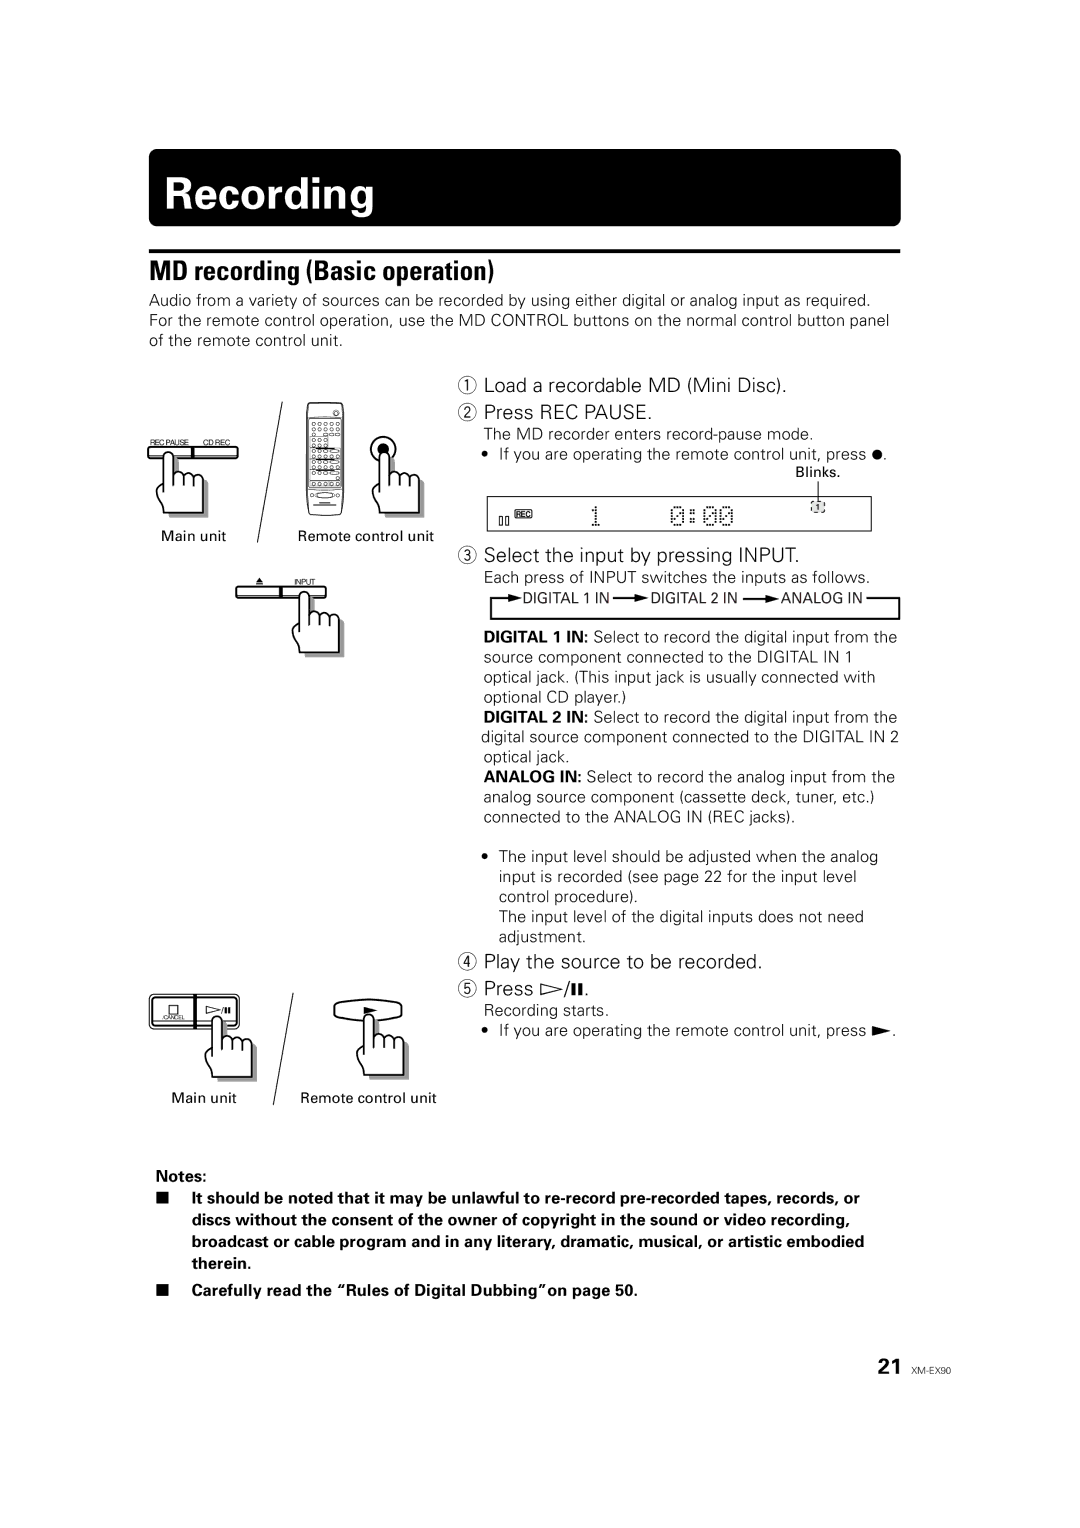
Audio from a variety of sources can be recorded by using either digital or analog input as required. For the remote control operation, use the MD CONTROL buttons on the normal control button panel of the remote control unit.
REC PAUSE CD REC
Main unit | Remote control unit |
| INPUT |
/CANCEL
1Load a recordable MD (Mini Disc).
2Press REC PAUSE.
The MD recorder enters
•If you are operating the remote control unit, press ¦.
Blinks.
1
REC
3Select the input by pressing INPUT.
Each press of INPUT switches the inputs as follows.
![]()
![]() DIGITAL 1 IN
DIGITAL 1 IN ![]() DIGITAL 2 IN
DIGITAL 2 IN ![]() ANALOG IN
ANALOG IN ![]()
DIGITAL 1 IN: Select to record the digital input from the source component connected to the DIGITAL IN 1 optical jack. (This input jack is usually connected with optional CD player.)
DIGITAL 2 IN: Select to record the digital input from the digital source component connected to the DIGITAL IN 2 optical jack.
ANALOG IN: Select to record the analog input from the analog source component (cassette deck, tuner, etc.) connected to the ANALOG IN (REC jacks).
•The input level should be adjusted when the analog input is recorded (see page 22 for the input level control procedure).
The input level of the digital inputs does not need adjustment.
4Play the source to be recorded.
5Press Ü/8.
Recording starts.
• If you are operating the remote control unit, press £.
Main unit | Remote control unit |
Notes:
7It should be noted that it may be unlawful to
7Carefully read the “Rules of Digital Dubbing”on page 50.
21
