CD recording
The digital input from CDs can be recorded with a simple,
This method is available only when the Compu Link connection has been made among other optional the components equipped with the Compu Link remote control system.
1Load a recordable MD (Mini Disc).
2Prepare the CD player.
Load CDs, press CD 1, CD 2 or CD 3 according to the disc you want to record, then immediately press 7 of the CD player. This selects the played CD.
Now set the CD player to the program play mode, etc., as required.
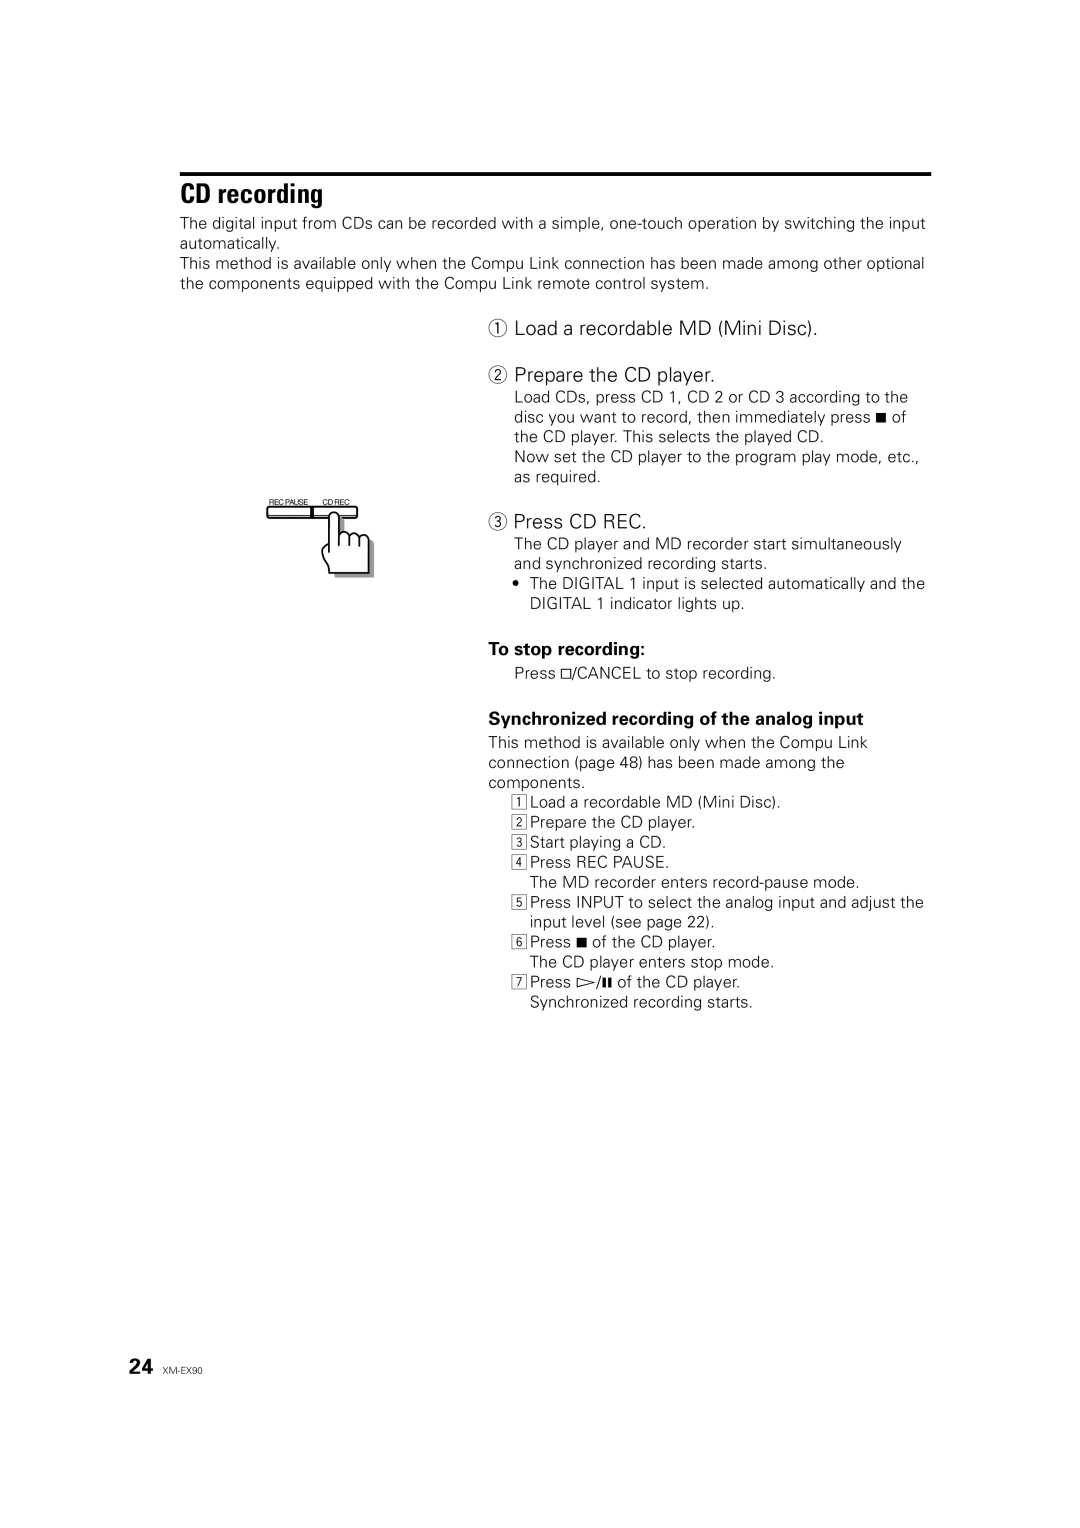
REC PAUSE CD REC
3Press CD REC.
The CD player and MD recorder start simultaneously and synchronized recording starts.
•The DIGITAL 1 input is selected automatically and the DIGITAL 1 indicator lights up.
To stop recording:
Press &/CANCEL to stop recording.
Synchronized recording of the analog input
This method is available only when the Compu Link connection (page 48) has been made among the components.
1Load a recordable MD (Mini Disc).
2Prepare the CD player.
3Start playing a CD.
4Press REC PAUSE.
The MD recorder enters
5Press INPUT to select the analog input and adjust the input level (see page 22).
6Press 7 of the CD player.
The CD player enters stop mode.
7Press Ü/8 of the CD player. Synchronized recording starts.
24
