Networking Your Printer
5.Select one of two methods of connecting:
IMPORTANT: Before you press OK on the printer, make sure you know where the router's push button is, or where to enter the generated PIN. If necessary, consult your Internet service provider or router device manufacturer’s documentation for more information.
Push Button Configuration | Entering a PIN | ||
|
|
| |
|
|
| |
NOTE: You will have two minutes | a. Press | to select Generate | |
between selecting Push Button | WPS PIN, then press OK. | ||
Configuration on the printer and | b. In your wireless router’s software, | ||
pressing or selecting the WPS | locate the PIN screen. | ||
button, which may be a button | c. Enter the PIN you received on the | ||
on the router or a virtual button | |||
LCD into the router’s PIN screen. | |||
in the router’s software. | |||
|
| ||
a. With Push Button Configuration |
|
| |
selected, press OK. |
|
| |
b. Press or select the WPS button for |
|
| |
your wireless router. |
|
| |
|
|
| |
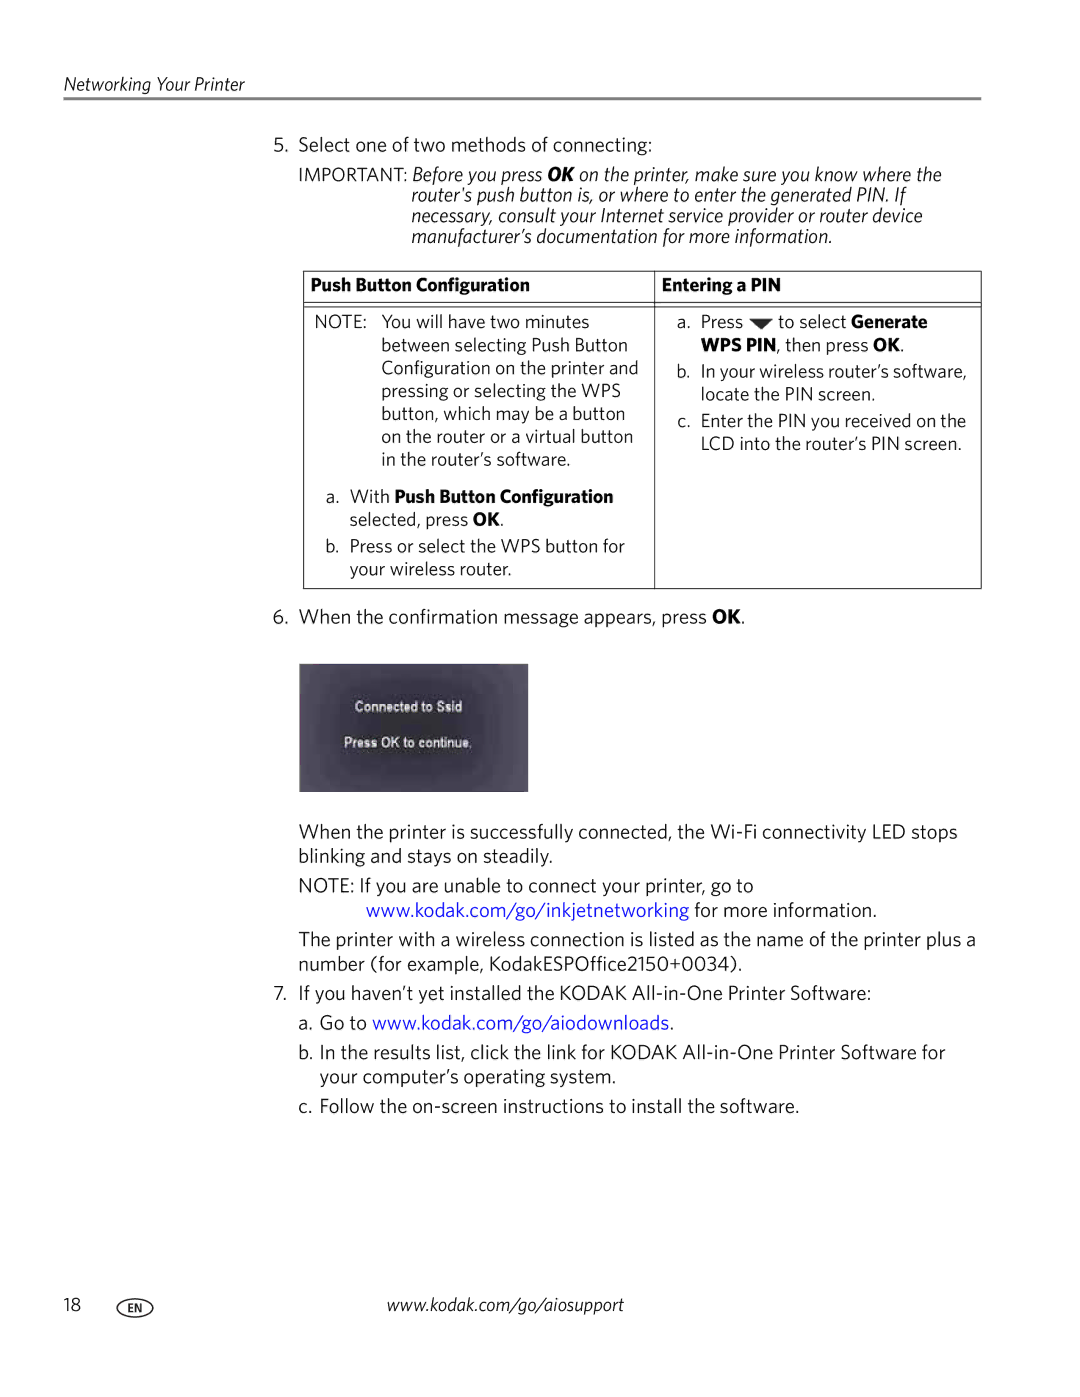
6. When the confirmation message appears, press OK.
When the printer is successfully connected, the
NOTE: If you are unable to connect your printer, go to www.kodak.com/go/inkjetnetworking for more information.
The printer with a wireless connection is listed as the name of the printer plus a number (for example, KodakESPOffice2150+0034).
7.If you haven’t yet installed the KODAK
a.Go to www.kodak.com/go/aiodownloads.
b.In the results list, click the link for KODAK
c.Follow the
18 | www.kodak.com/go/aiosupport |