|
|
| KODAK ESP Office 2100 Series | |
|
|
|
|
|
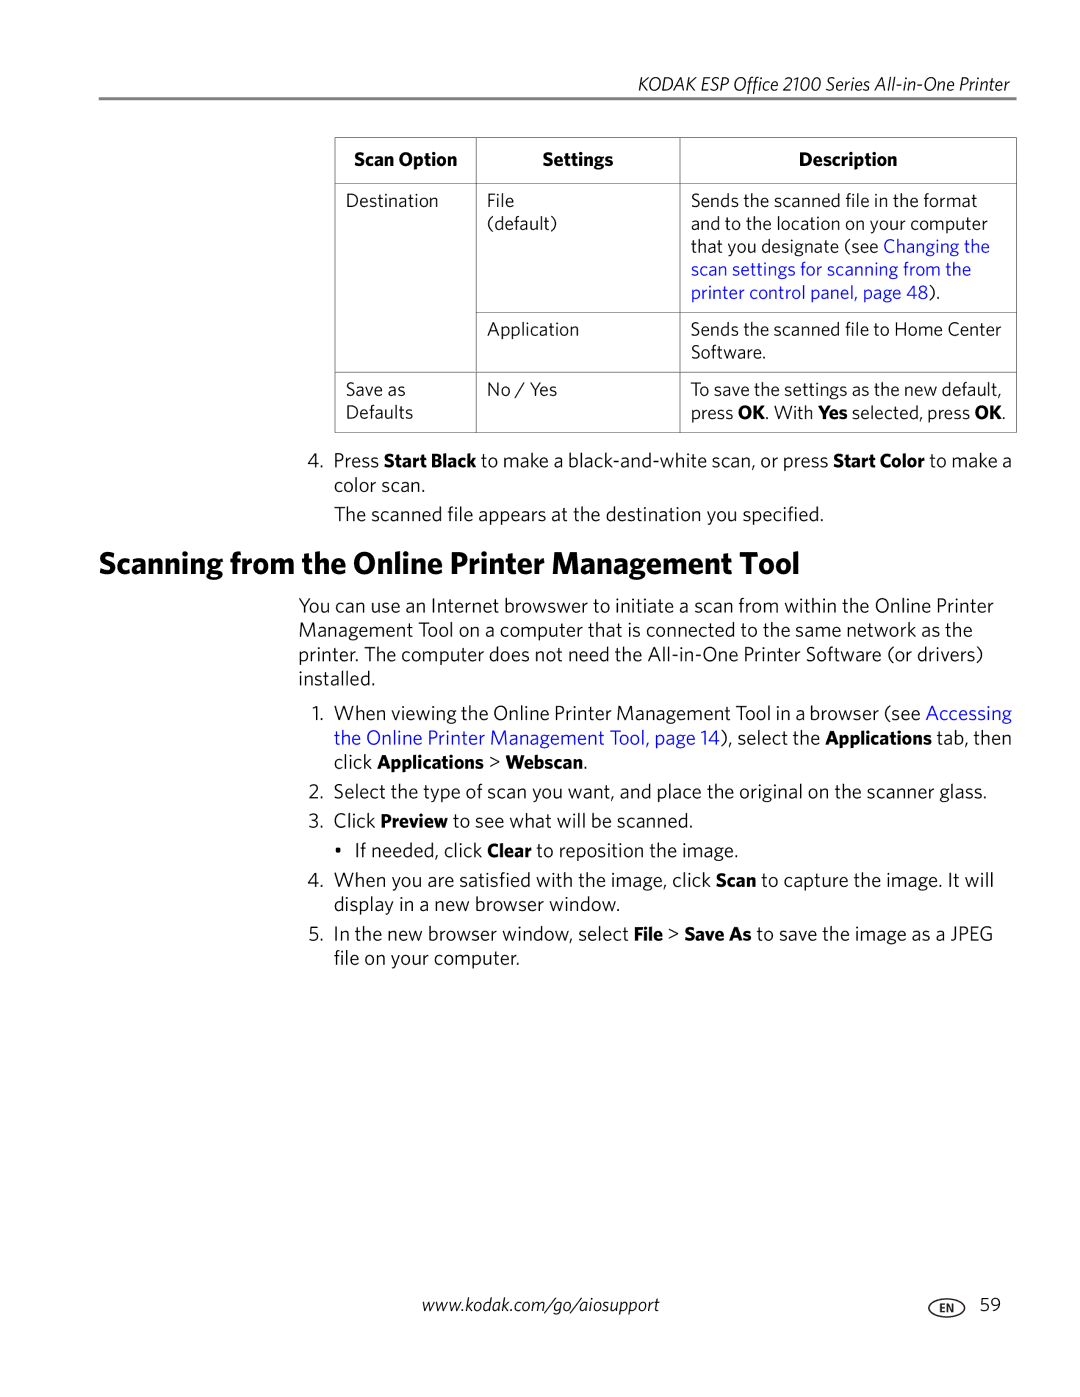
| Scan Option | Settings |
| Description |
|
|
|
|
|
| Destination | File |
| Sends the scanned file in the format |
|
| (default) |
| and to the location on your computer |
|
|
|
| that you designate (see Changing the |
|
|
|
| scan settings for scanning from the |
|
|
|
| printer control panel, page 48). |
|
|
|
|
|
|
| Application |
| Sends the scanned file to Home Center |
|
|
|
| Software. |
|
|
|
|
|
| Save as | No / Yes |
| To save the settings as the new default, |
| Defaults |
|
| press OK. With Yes selected, press OK. |
|
|
|
|
|
4.Press Start Black to make a
The scanned file appears at the destination you specified.
Scanning from the Online Printer Management Tool
You can use an Internet browswer to initiate a scan from within the Online Printer Management Tool on a computer that is connected to the same network as the printer. The computer does not need the
1.When viewing the Online Printer Management Tool in a browser (see Accessing the Online Printer Management Tool, page 14), select the Applications tab, then click Applications > Webscan.
2.Select the type of scan you want, and place the original on the scanner glass.
3.Click Preview to see what will be scanned.
• If needed, click Clear to reposition the image.
4.When you are satisfied with the image, click Scan to capture the image. It will display in a new browser window.
5.In the new browser window, select File > Save As to save the image as a JPEG file on your computer.
www.kodak.com/go/aiosupport | 59 |
