Customizing a Style —Style Editing
The kaptivator lets you create and store one hundred “styles.” This section explains how you can create styles that are appropriate for the video material you’re using and how you’re us- ing it.
During performance, you can change effects, wipe types, and controller settings simply by selecting a style.
NOTE The factory settings contain various styles programmed to demonstrate the kaptivator’s capa- bilities.
Owner’s Manual
1. Editing a style
The effects of editing a style will depend on how the video sources are connected and on the content of these sources.
Choosing a style
The most important element of a style is the “routing.” The routing determines the structure of the video sources you can use. If you’re using only clips saved internally, choose the Dual routing. If you’re using external video devices in your performance, choose the Single or Three Layer routing. If you’re using the MONITOR 2 OUTPUT independently, choose the Separate routing. See pages 33 through 37 for illustrations of the various routings available. After you’ve selected the appropriate routing for your situation, you can assign the function of each controller, and specify the effect and type variation.
Style editing
1Select the style that you want to edit.
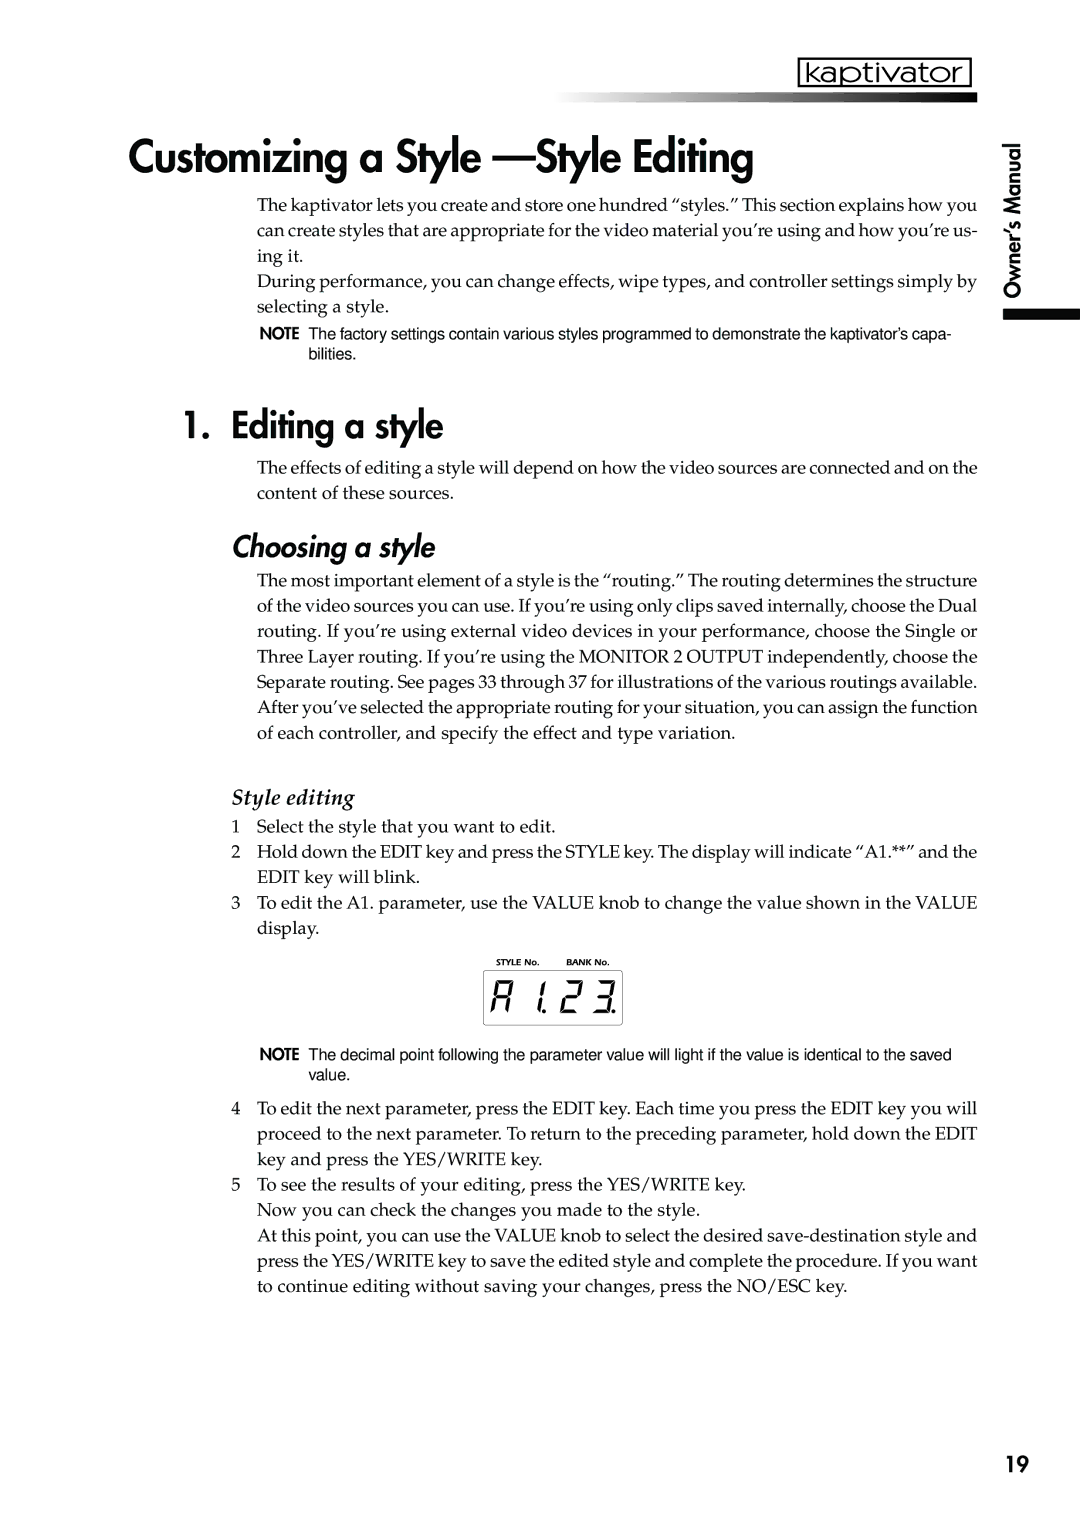
2Hold down the EDIT key and press the STYLE key. The display will indicate “A1.**” and the EDIT key will blink.
3To edit the A1. parameter, use the VALUE knob to change the value shown in the VALUE display.
NOTE The decimal point following the parameter value will light if the value is identical to the saved value.
4To edit the next parameter, press the EDIT key. Each time you press the EDIT key you will proceed to the next parameter. To return to the preceding parameter, hold down the EDIT key and press the YES/WRITE key.
5To see the results of your editing, press the YES/WRITE key. Now you can check the changes you made to the style.
At this point, you can use the VALUE knob to select the desired
19
