2.8. Setting the Paper Type
Making Settings
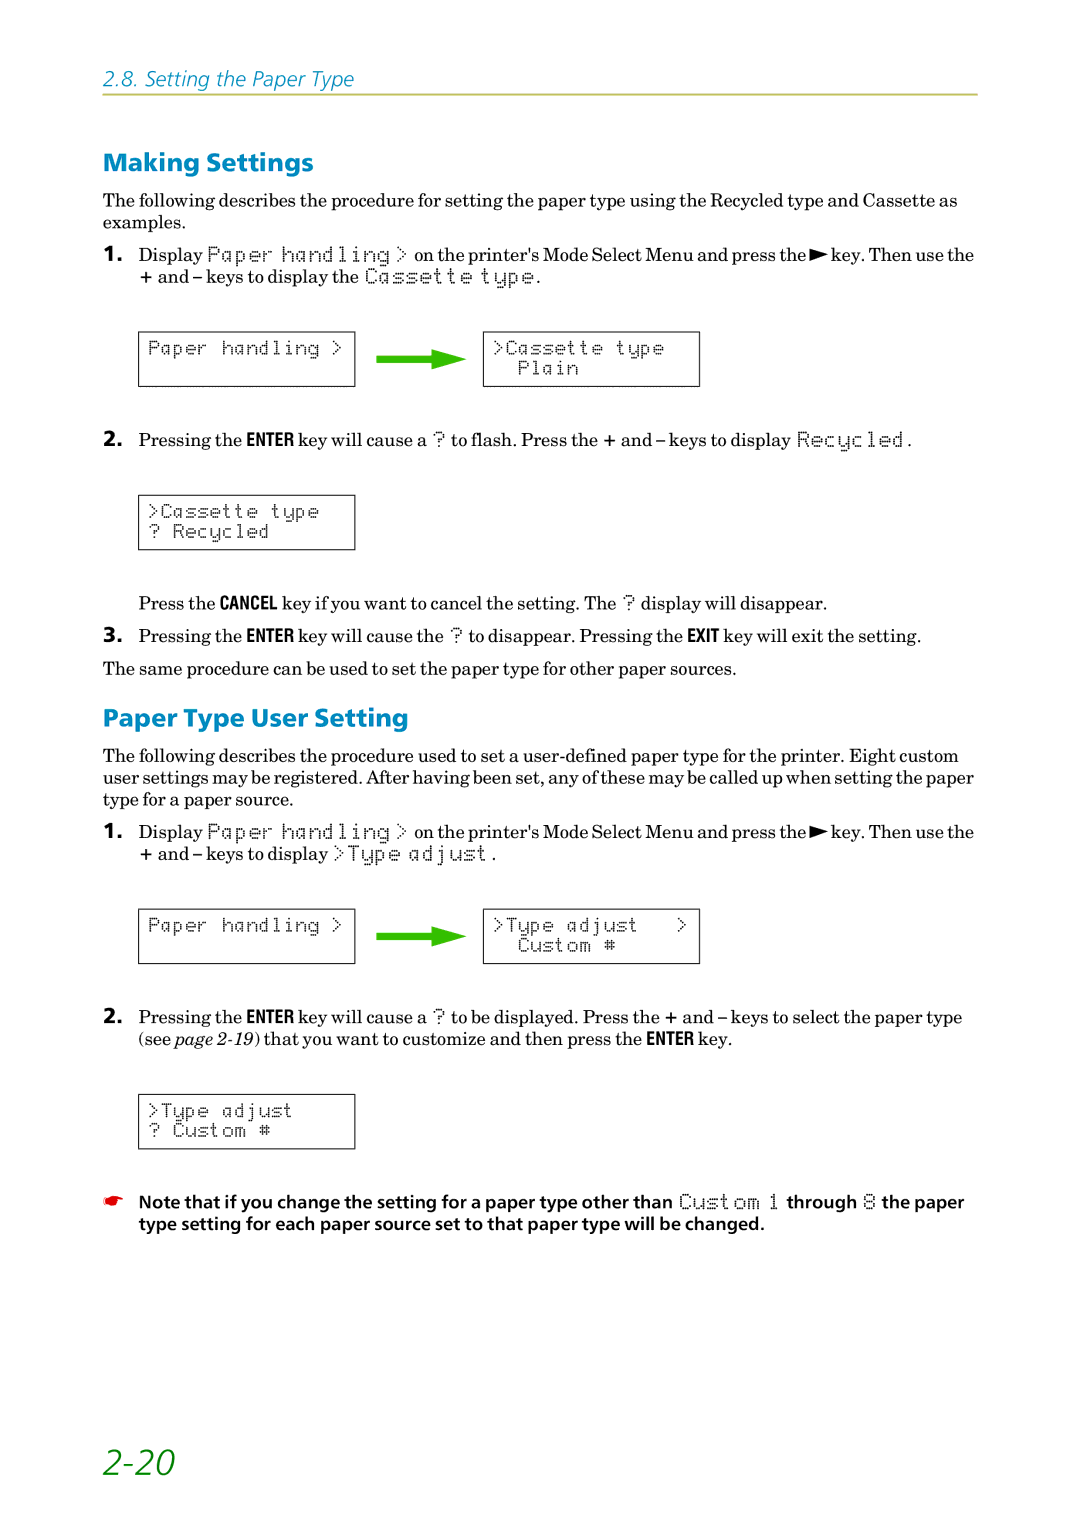
The following describes the procedure for setting the paper type using the Recycled type and Cassette as examples.
1.Displayý3DSHUýKDQGOLQJý! on the printer's Mode Select Menu and press the ![]() key. Then use the + and – keys to display theý&DVVHWWHýW\SH.
key. Then use the + and – keys to display theý&DVVHWWHýW\SH.
3DSHUý KDQGOLQJý !
!&DVVHWWHý W\SH ý ý 3ODLQ
2.Pressing the ENTER key will cause aý" to flash. Press the + and – keys to displayý5HF\FOHG.
!&DVVHWWHý W\SH "ý 5HF\FOHG
Press the CANCEL key if you want to cancel the setting. Theý" display will disappear.
3.Pressing the ENTER key will cause theý" to disappear. Pressing the EXIT key will exit the setting. The same procedure can be used to set the paper type for other paper sources.
Paper Type User Setting
The following describes the procedure used to set a
1.Displayý3DSHUýKDQGOLQJý! on the printer's Mode Select Menu and press the ![]() key. Then use the + and – keys to displayý!7\SHýDGMXVW.
key. Then use the + and – keys to displayý!7\SHýDGMXVW.
3DSHUý KDQGOLQJý !
!7\SHý DGMXVWý ý ý ! ý ý &XVWRPý ú
2.Pressing the ENTER key will cause aý" to be displayed. Press the + and – keys to select the paper type (see page
!7\SHý DGMXVW "ý &XVWRPý ú
☛Note that if you change the setting for a paper type other thaný&XVWRPýì throughýå the paper type setting for each paper source set to that paper type will be changed.