•Using the cursor movement keys, highlight Run Normal Test or Run Quick Test from the Diagnostics menu and then press Enter. This automatically runs a
•Press F5 to automatically run all selected tests in all categories.
•From within a test category, press
•Using the cursor movement keys, highlight a single test within a test category, and then press Enter. This runs only that test.
Press Esc at any time to stop the testing process.
Test results (N/A, PASSED, FAILED, ABORTED) are displayed in the field beside the test description and in the test log. See “Viewing the test log” on page 52.
To select one or more tests, use the following procedure.
1.Open the corresponding test category.
2.Using the cursor movement keys, highlight the desired test.
3.Press the space bar. A selected test is marked by >>. Pressing the space bar again
4.Repeat steps 2 and 3 above to select all desired tests.
Test results
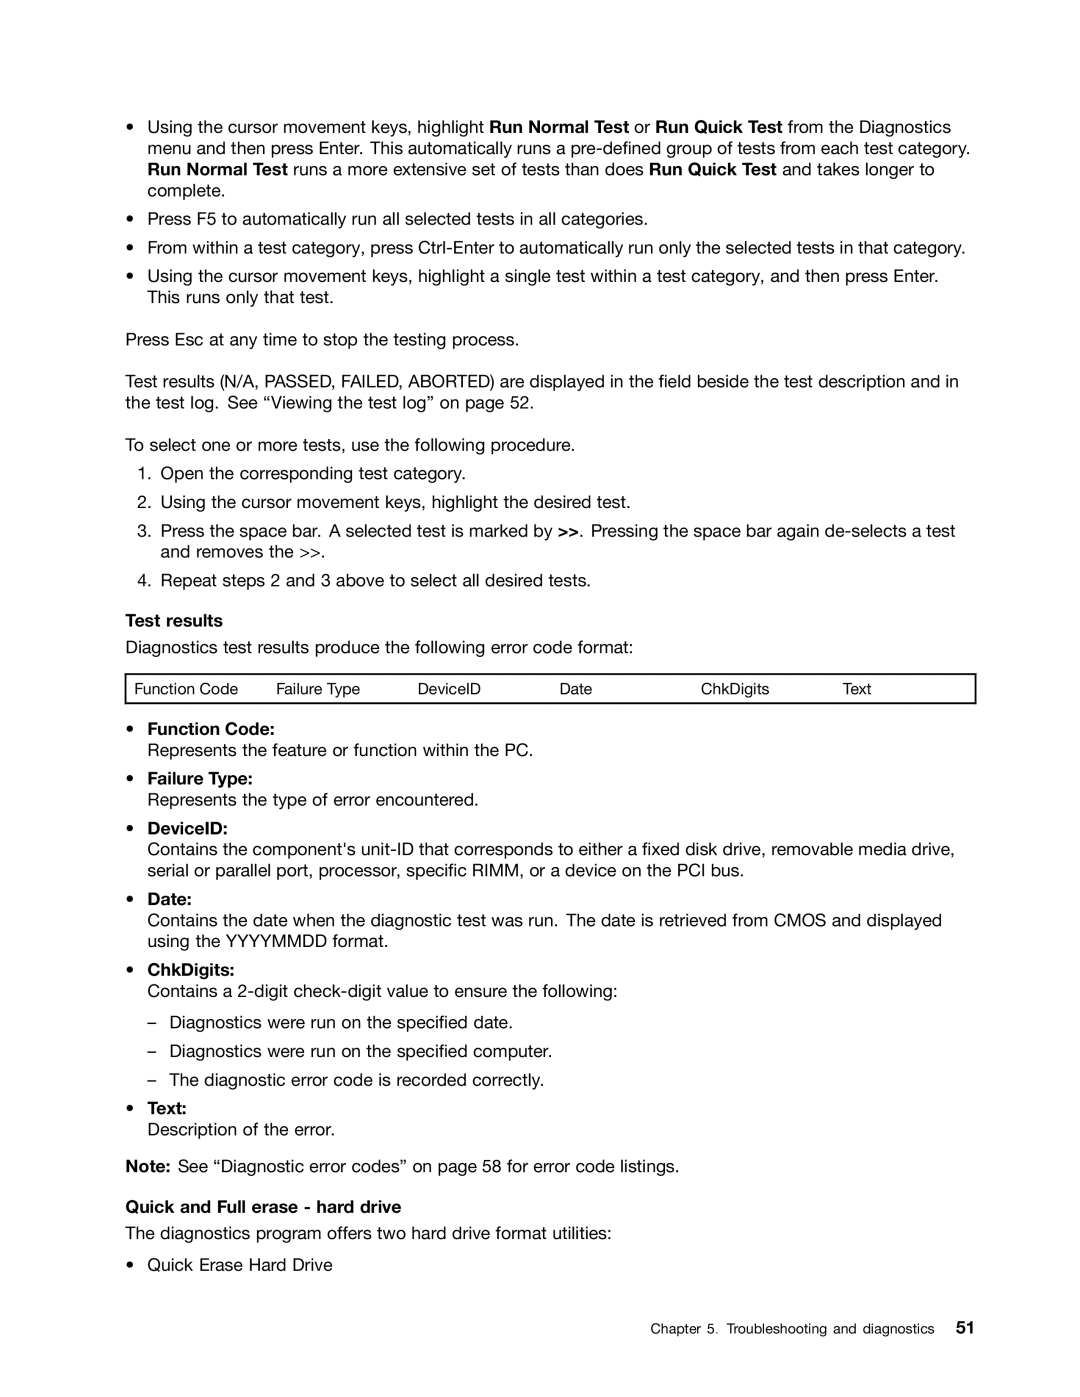
Diagnostics test results produce the following error code format:
Function Code | Failure Type | DeviceID | Date | ChkDigits | Text |
|
|
|
|
|
|
•Function Code:
Represents the feature or function within the PC.
•Failure Type:
Represents the type of error encountered.
•DeviceID:
Contains the component's
•Date:
Contains the date when the diagnostic test was run. The date is retrieved from CMOS and displayed using the YYYYMMDD format.
•ChkDigits:
Contains a
–Diagnostics were run on the specified date.
–Diagnostics were run on the specified computer.
–The diagnostic error code is recorded correctly.
•Text:
Description of the error.
Note: See “Diagnostic error codes” on page 58 for error code listings.
Quick and Full erase - hard drive
The diagnostics program offers two hard drive format utilities:
• Quick Erase Hard Drive
Chapter 5. Troubleshooting and diagnostics 51
