This topic provides instructions on how to install an Ethernet card.
Before you begin, print all the related instructions or ensure that you can view the PDF version on another computer for reference.
Notes:
•Depending on the specific type, the Ethernet card might look different from the illustrations in this topic.
•Use any documentation that comes with the Ethernet card and follow those instructions in addition to the instructions in this topic.
To install an Ethernet card, do the following:
1.Remove all media from the drives and turn off all attached devices and the server. Then, disconnect all power cords from electrical outlets and disconnect all cables that are connected to the server.
2.If the server is installed in a rack cabinet, remove the server from the rack cabinet and place it on a flat, clean, and
3.Remove the server cover. See “Removing the server cover” on page 83.
4.Remove the riser card assembly 2 and lay it upside down on a flat, clean, and
Note: Usually Ethernet card(s) are installed on the riser card assembly 2. An Ethernet card also can be installed in any PCI Express card slot that supports it. See “Rear view of the server” on page 26 to identify the PCI Express card slots of your server.
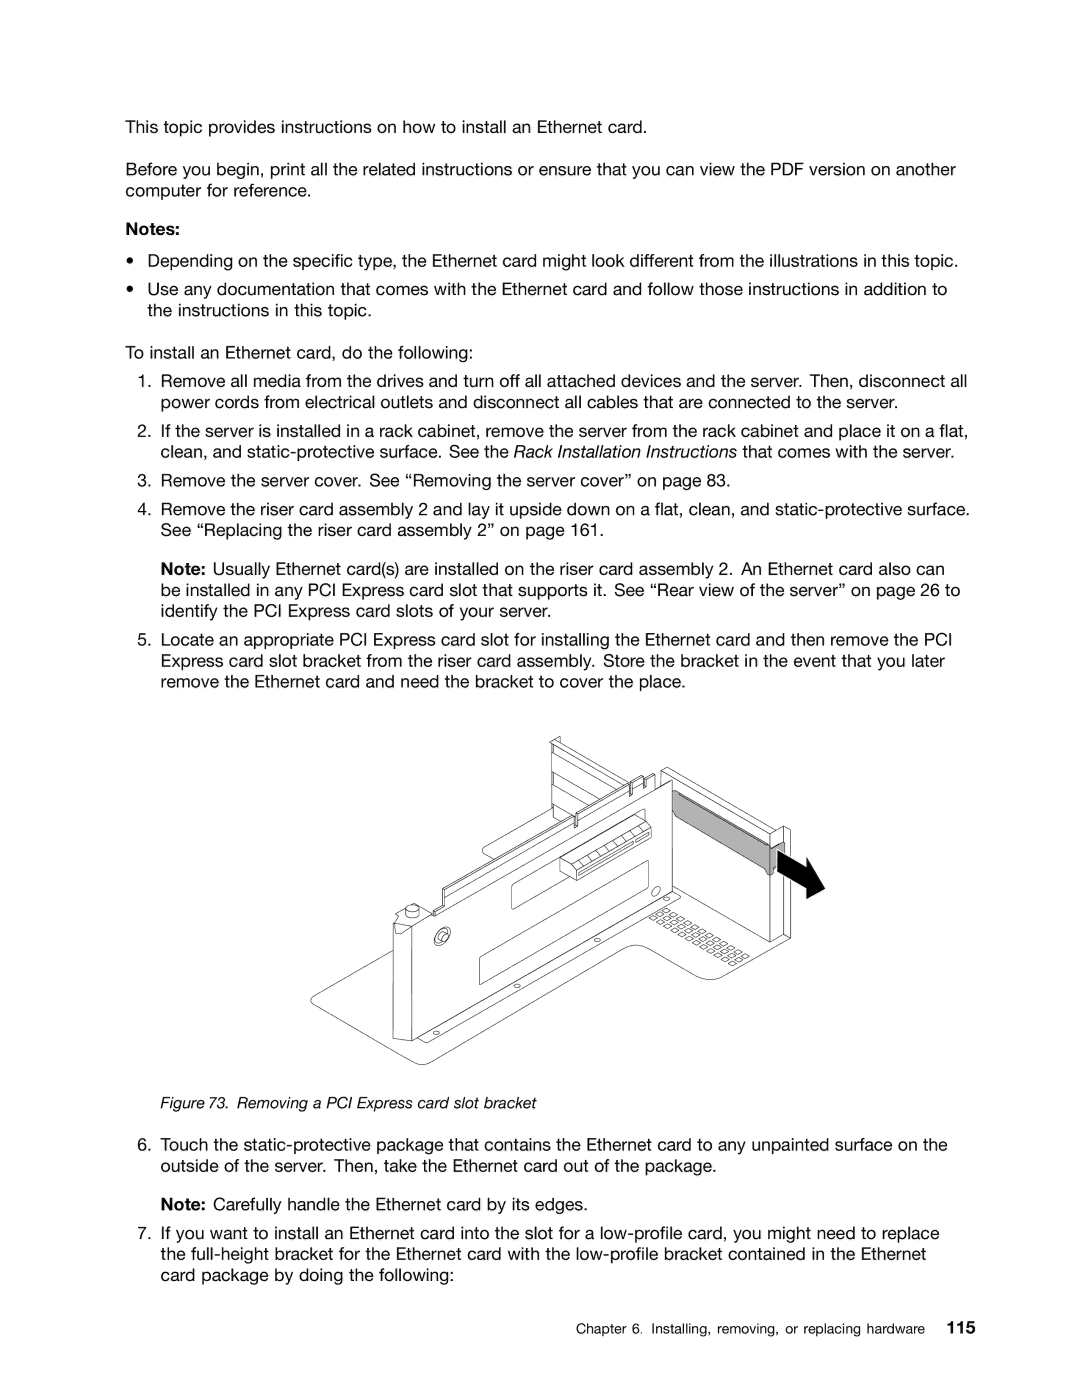
5.Locate an appropriate PCI Express card slot for installing the Ethernet card and then remove the PCI Express card slot bracket from the riser card assembly. Store the bracket in the event that you later remove the Ethernet card and need the bracket to cover the place.
Figure 73. Removing a PCI Express card slot bracket
6.Touch the
Note: Carefully handle the Ethernet card by its edges.
7.If you want to install an Ethernet card into the slot for a
Chapter 6. Installing, removing, or replacing hardware 115