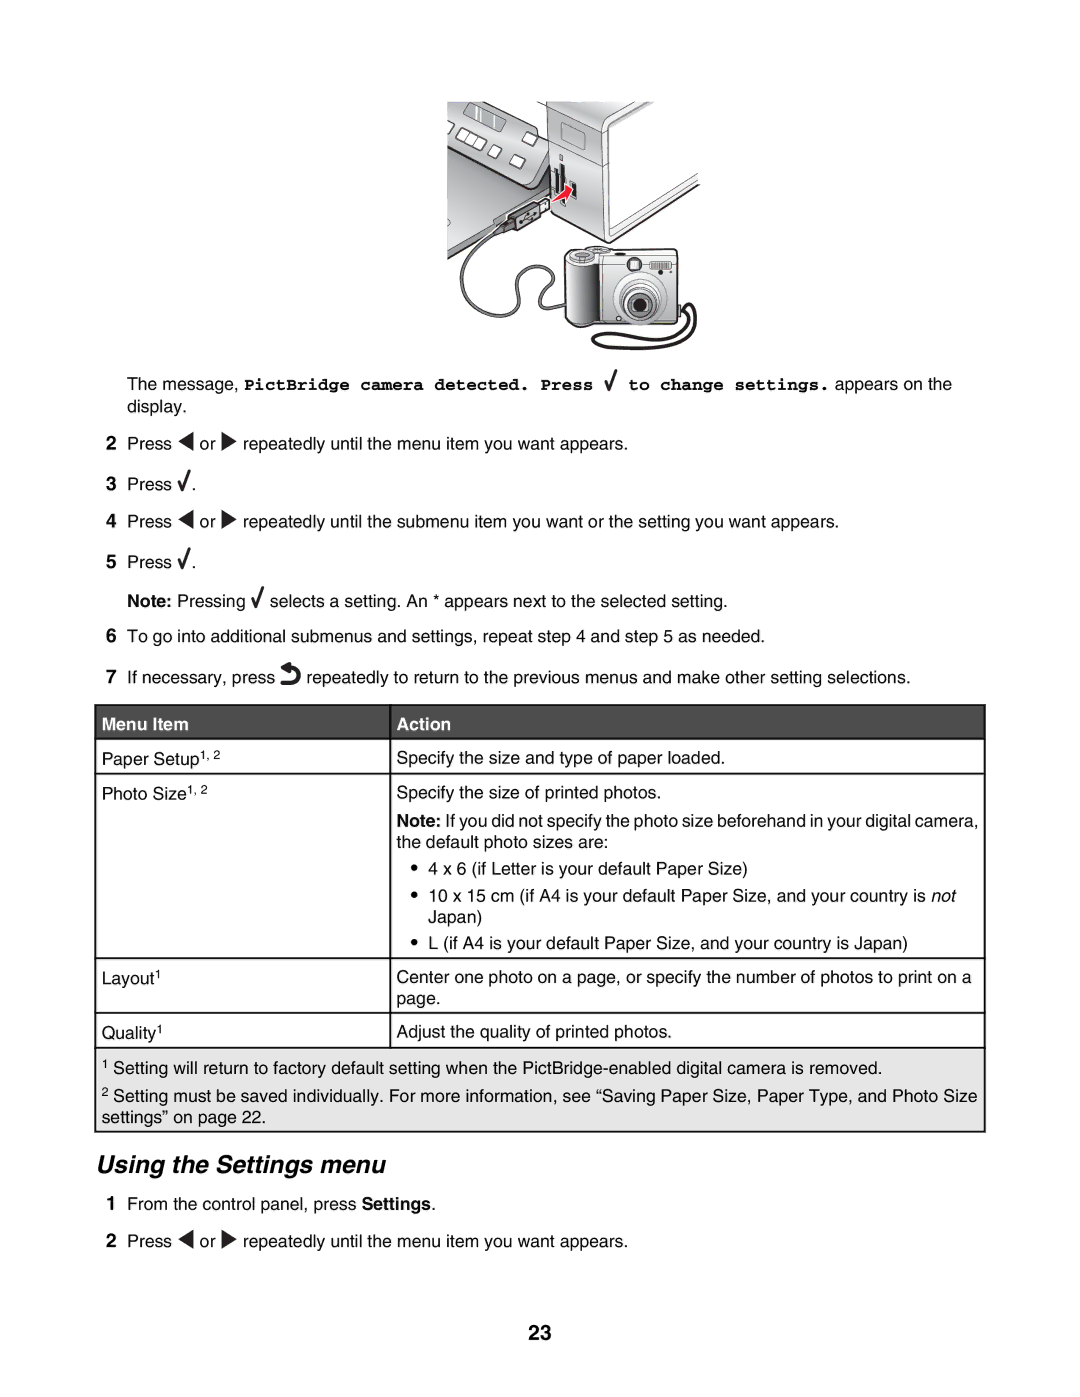
The message, PictBridge camera detected. Press ![]() to change settings. appears on the display.
to change settings. appears on the display.
2Press ![]() or
or ![]() repeatedly until the menu item you want appears.
repeatedly until the menu item you want appears.
3Press ![]() .
.
4Press ![]() or
or ![]() repeatedly until the submenu item you want or the setting you want appears.
repeatedly until the submenu item you want or the setting you want appears.
5Press ![]() .
.
Note: Pressing ![]() selects a setting. An * appears next to the selected setting.
selects a setting. An * appears next to the selected setting.
6To go into additional submenus and settings, repeat step 4 and step 5 as needed.
7If necessary, press![]() repeatedly to return to the previous menus and make other setting selections.
repeatedly to return to the previous menus and make other setting selections.
Menu Item
Paper Setup1, 2
Photo Size1, 2
Layout1
Quality1
Action
Specify the size and type of paper loaded.
Specify the size of printed photos.
Note: If you did not specify the photo size beforehand in your digital camera, the default photo sizes are:
•4 x 6 (if Letter is your default Paper Size)
•10 x 15 cm (if A4 is your default Paper Size, and your country is not Japan)
•L (if A4 is your default Paper Size, and your country is Japan)
Center one photo on a page, or specify the number of photos to print on a page.
Adjust the quality of printed photos.
1Setting will return to factory default setting when the
2Setting must be saved individually. For more information, see “Saving Paper Size, Paper Type, and Photo Size settings” on page 22.
Using the Settings menu
1From the control panel, press Settings.
2Press ![]() or
or ![]() repeatedly until the menu item you want appears.
repeatedly until the menu item you want appears.
23