Fiber optic
802.11b wireless options
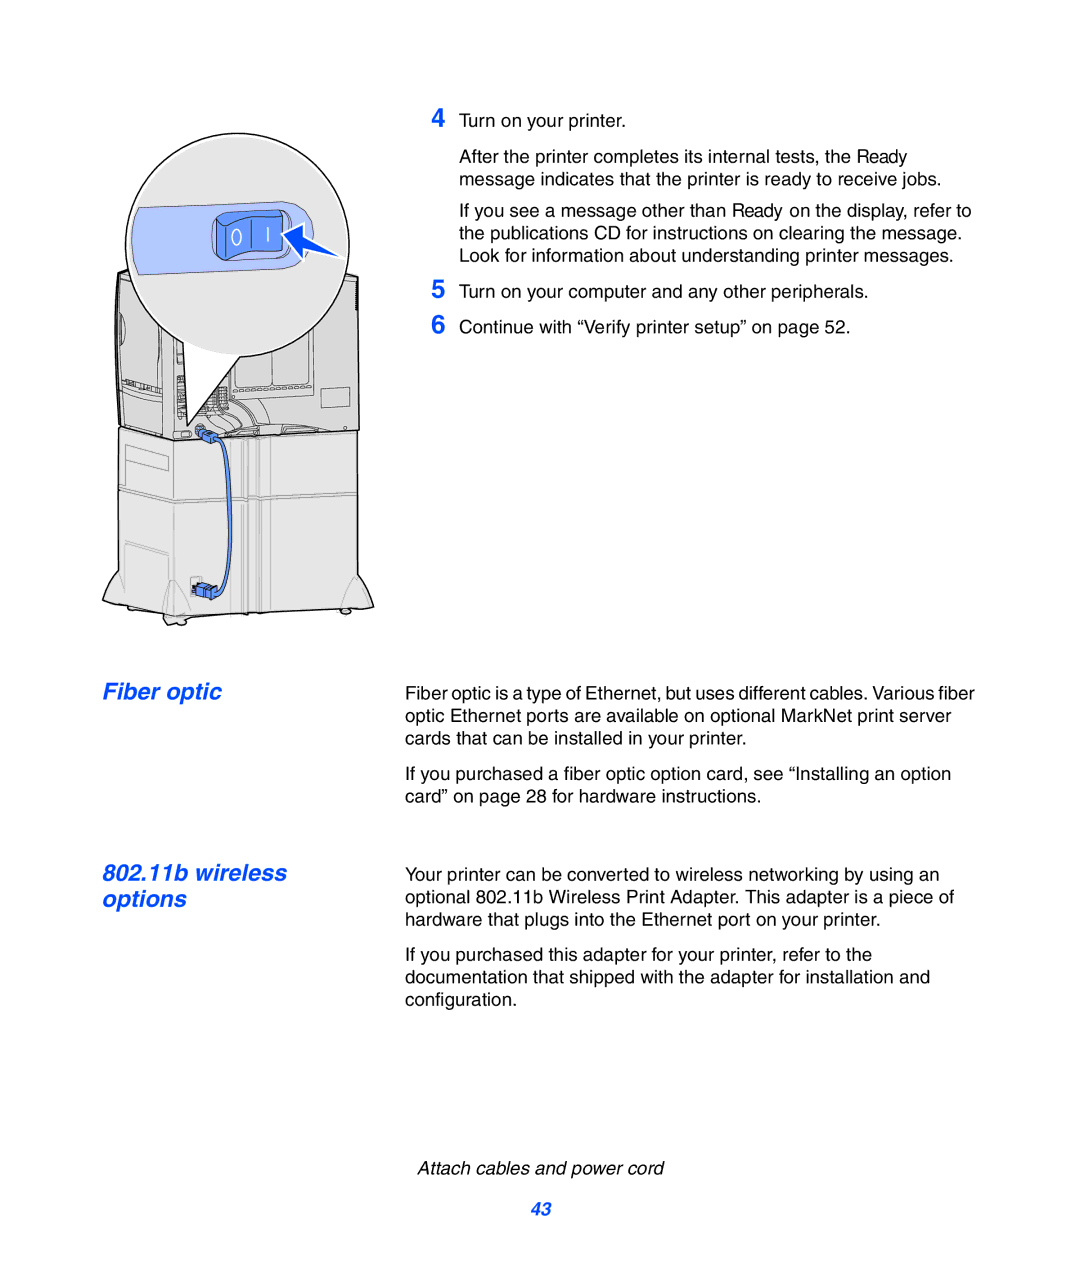
4 Turn on your printer.
After the printer completes its internal tests, the Ready message indicates that the printer is ready to receive jobs.
If you see a message other than Ready on the display, refer to the publications CD for instructions on clearing the message. Look for information about understanding printer messages.
5 Turn on your computer and any other peripherals.
6 Continue with “Verify printer setup” on page 52.
Fiber optic is a type of Ethernet, but uses different cables. Various fiber optic Ethernet ports are available on optional MarkNet print server cards that can be installed in your printer.
If you purchased a fiber optic option card, see “Installing an option card” on page 28 for hardware instructions.
Your printer can be converted to wireless networking by using an optional 802.11b Wireless Print Adapter. This adapter is a piece of hardware that plugs into the Ethernet port on your printer.
If you purchased this adapter for your printer, refer to the documentation that shipped with the adapter for installation and configuration.
Attach cables and power cord
43