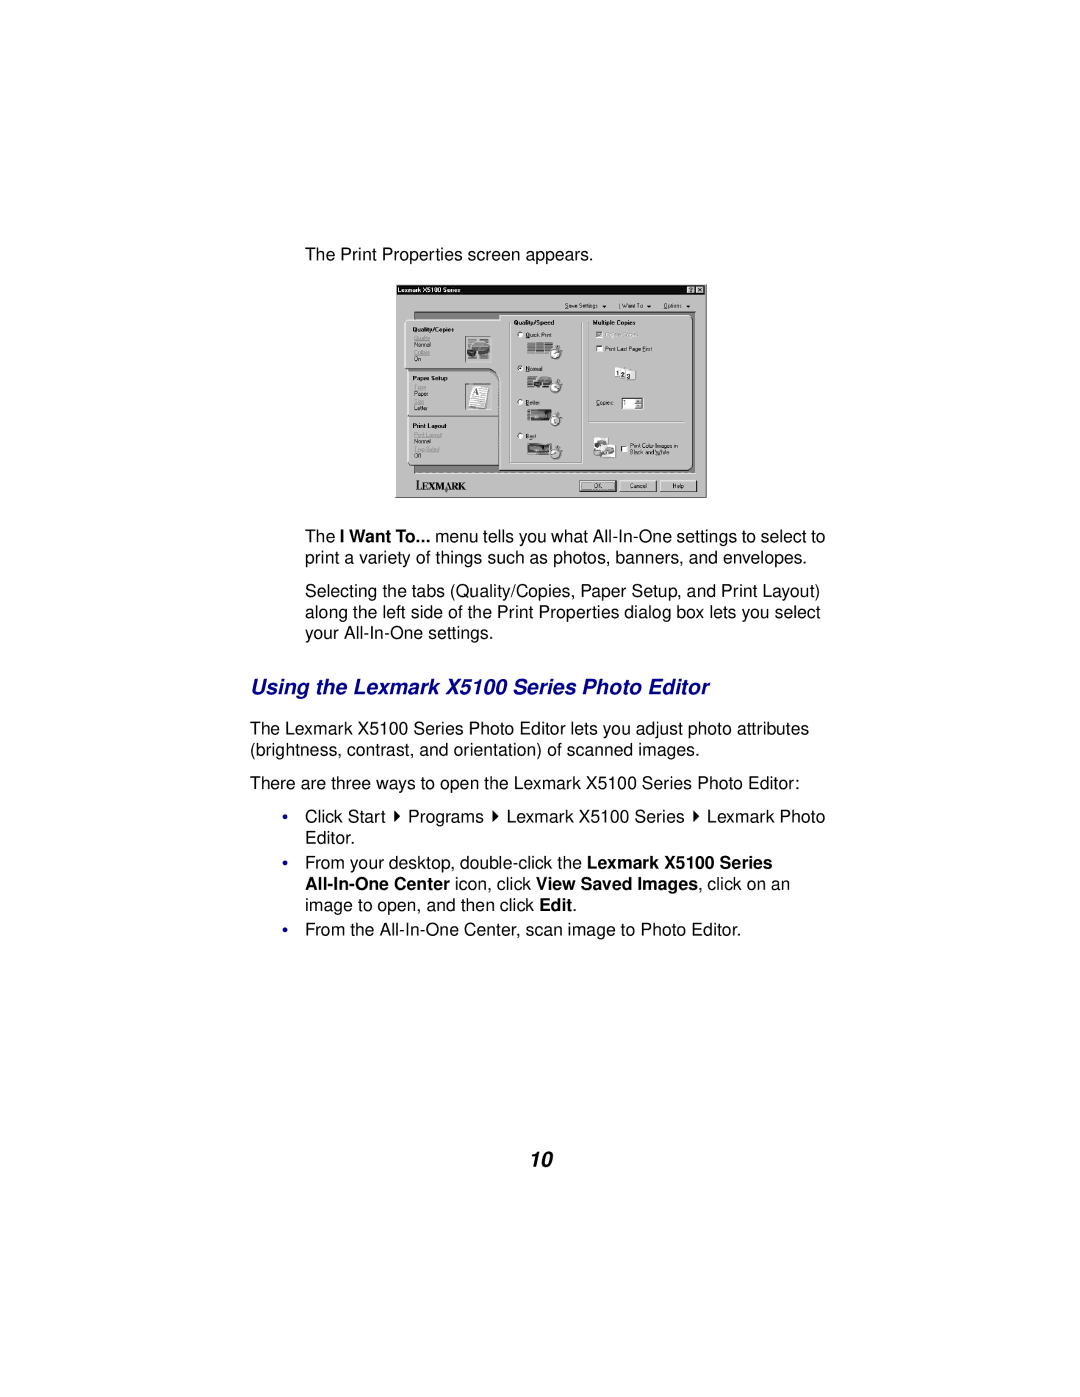
The Print Properties screen appears.
The I Want To... menu tells you what
Selecting the tabs (Quality/Copies, Paper Setup, and Print Layout) along the left side of the Print Properties dialog box lets you select your
Using the Lexmark X5100 Series Photo Editor
The Lexmark X5100 Series Photo Editor lets you adjust photo attributes (brightness, contrast, and orientation) of scanned images.
There are three ways to open the Lexmark X5100 Series Photo Editor:
•Click Start ![]() Programs
Programs ![]() Lexmark X5100 Series
Lexmark X5100 Series ![]() Lexmark Photo Editor.
Lexmark Photo Editor.
•From your desktop,
•From the
10