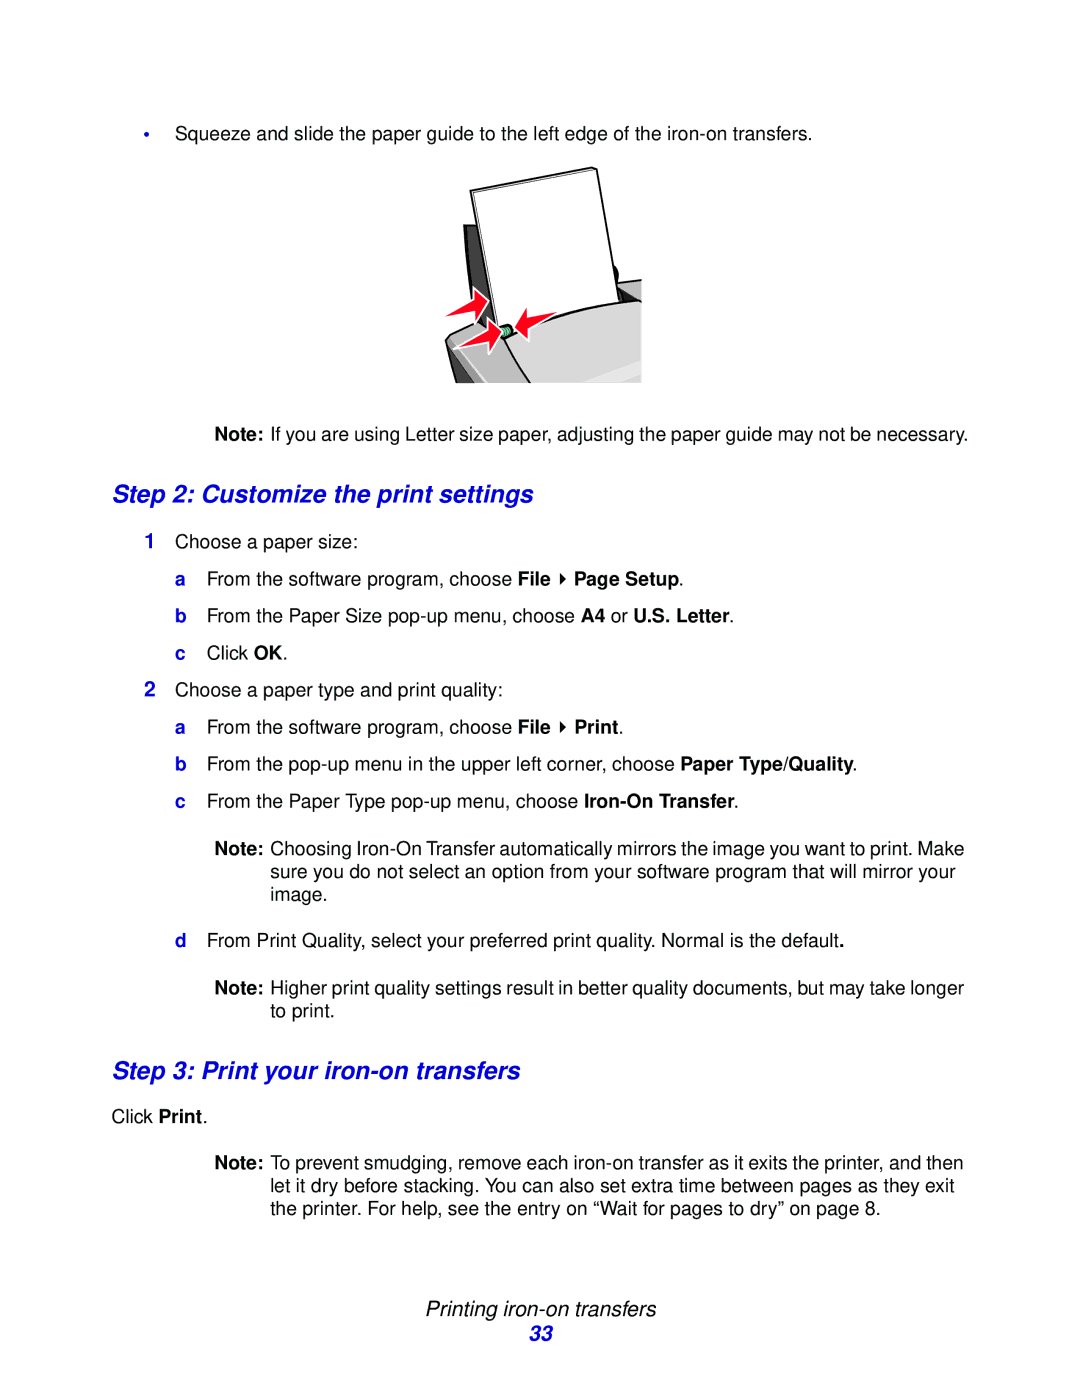
Lexmark Z600 Series manual Print your iron-on transfers, Customize the print settings

Models: Z600 Series

1 75
Download 75 pages 35.34 Kb
Page 33
Image 33
Step 3: Print your iron-on transfers

Squeeze and slide the paper guide to the left edge of the iron-on transfers.

Note: If you are using Letter size paper, adjusting the paper guide may not be necessary.

Step 2: Customize the print settings

1Choose a paper size:

a From the software program, choose File Manual background Page Setup.

b From the Paper Size pop-up menu, choose A4 or U.S. Letter. c Click OK.

2Choose a paper type and print quality:

a From the software program, choose File Manual background Print.

b From the pop-up menu in the upper left corner, choose Paper Type/Quality. c From the Paper Type pop-up menu, choose Iron-On Transfer.

Note: Choosing Iron-On Transfer automatically mirrors the image you want to print. Make sure you do not select an option from your software program that will mirror your image.

dFrom Print Quality, select your preferred print quality. Normal is the default.

Note: Higher print quality settings result in better quality documents, but may take longer to print.

Step 3: Print your iron-on transfers

Click Print.

Note: To prevent smudging, remove each iron-on transfer as it exits the printer, and then let it dry before stacking. You can also set extra time between pages as they exit the printer. For help, see the entry on “Wait for pages to dry” on page 8.

Printing iron-on transfers

33

Page 33
Image 33
Lexmark Z600 Series manual Print your iron-on transfers, Customize the print settings, Printing iron-on transfers