Wireless-G ADSL Gateway with 2 Phone Ports
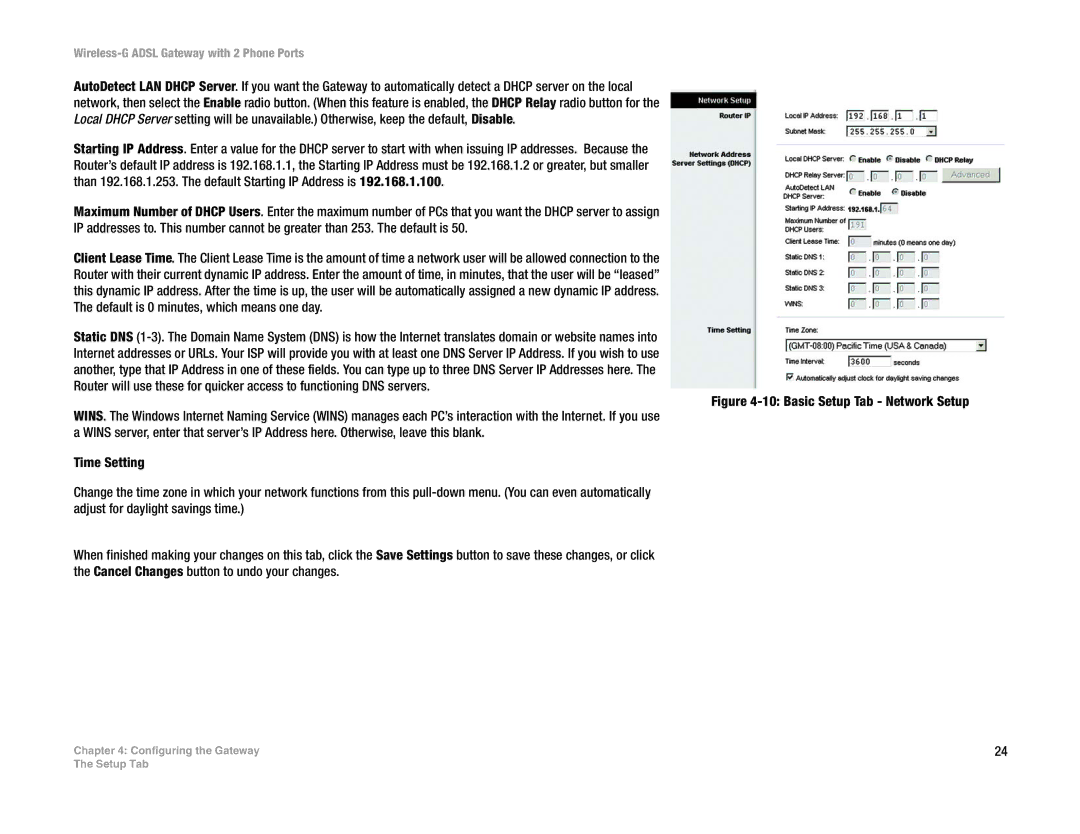
AutoDetect LAN DHCP Server. If you want the Gateway to automatically detect a DHCP server on the local network, then select the Enable radio button. (When this feature is enabled, the DHCP Relay radio button for the Local DHCP Server setting will be unavailable.) Otherwise, keep the default, Disable.
Starting IP Address. Enter a value for the DHCP server to start with when issuing IP addresses. Because the Router’s default IP address is 192.168.1.1, the Starting IP Address must be 192.168.1.2 or greater, but smaller than 192.168.1.253. The default Starting IP Address is 192.168.1.100.
Maximum Number of DHCP Users. Enter the maximum number of PCs that you want the DHCP server to assign IP addresses to. This number cannot be greater than 253. The default is 50.
Client Lease Time. The Client Lease Time is the amount of time a network user will be allowed connection to the Router with their current dynamic IP address. Enter the amount of time, in minutes, that the user will be “leased” this dynamic IP address. After the time is up, the user will be automatically assigned a new dynamic IP address. The default is 0 minutes, which means one day.
Static DNS
WINS. The Windows Internet Naming Service (WINS) manages each PC’s interaction with the Internet. If you use a WINS server, enter that server’s IP Address here. Otherwise, leave this blank.
Time Setting
Change the time zone in which your network functions from this
When finished making your changes on this tab, click the Save Settings button to save these changes, or click the Cancel Changes button to undo your changes.
Chapter 4: Configuring the Gateway
Figure 4-10: Basic Setup Tab - Network Setup
24
The Setup Tab
