3-Administering the MaxNAS
2.7.4 Running an nSync backup task
A task will launch automatically as scheduled, but may also be launched manually by checking
the checkbox next to the task name to run and clicking Start in the action section. The
“Last Status” section will display a button labelled In Progress and will change to Success when the
backup is complete. Click either In Progress or Success at any time to launch a window with the log of the task.
2.7.5 Restoring to a previously synchronized state
To restore a previously synchronized state, check the checkbox next to the task name to
restore and click |
| Restore . | The “Last Status” section will display a button labelled | In Progress |
and will change to | Restore | Success when the restoration is complete. Click either In Progress or | ||
Restore Success at any time to launch a window with the log of the restoration.
2.7.6 Setting transfer speed limits
The nSync process can consume as much or as little of the available network bandwidth as it is allowed to utilize. The more bandwidth that is available, the faster the nSync task can complete, but at a cost of less available user bandwidth. The available nSync bandwidth can be controlled by selecting a value in the bandwidth setting control box (ranging from 256
Kbit/Sec to unlimited) and clicking Apply .
3. Network Configuration
Network Configuration is accessible by selecting the network menu. It consists of setting LAN port specific functions for each interface, and Network services, accessible via submenus (illustrated right.)
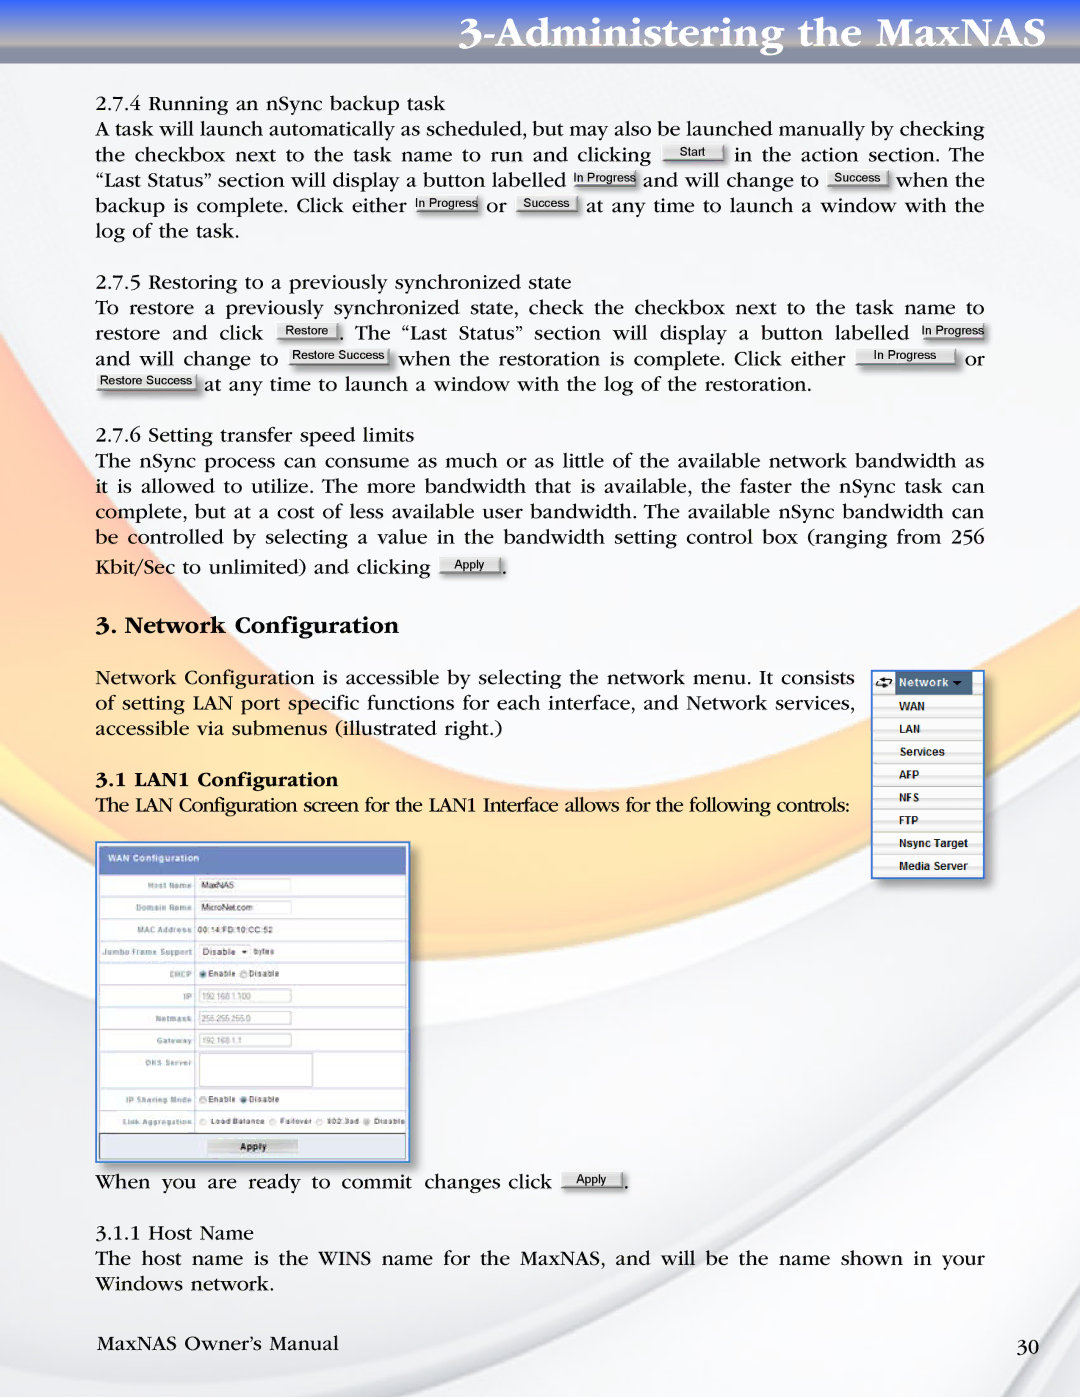
3.1 LAN1 Configuration
The LAN Configuration screen for the LAN1 Interface allows for the following controls:
When you are ready to commit changes click Apply .
3.1.1 Host Name
The host name is the WINS name for the MaxNAS, and will be the name shown in your Windows network.
MaxNAS Owner’s Manual | 30 |