The best way to select the scan resolution is to match it to the purpose of your scan job. This is because the higher resolution you use for scanning, the larger the scanned image file size will become. When resolution is increased above a certain value, it will only enlarge the file size of the scanned image without improving the image quality. This value will depend on the original image.
If you are scanning images for displaying on screens, such as web page images, a resolution of 75 dpi is usually sufficient.
If you are scanning images for output with most printers, we recommend that you use a resolution of at least 300 dpi.
If you are scanning a text document for OCR, we recommend a resolution of 600 dpi or above.
Scenarios for using a High Resolution Scan
High resolution scans (above 600 dpi) are generally used for professional applications where there is a need to retain the sharpness and overall quality of the original images.
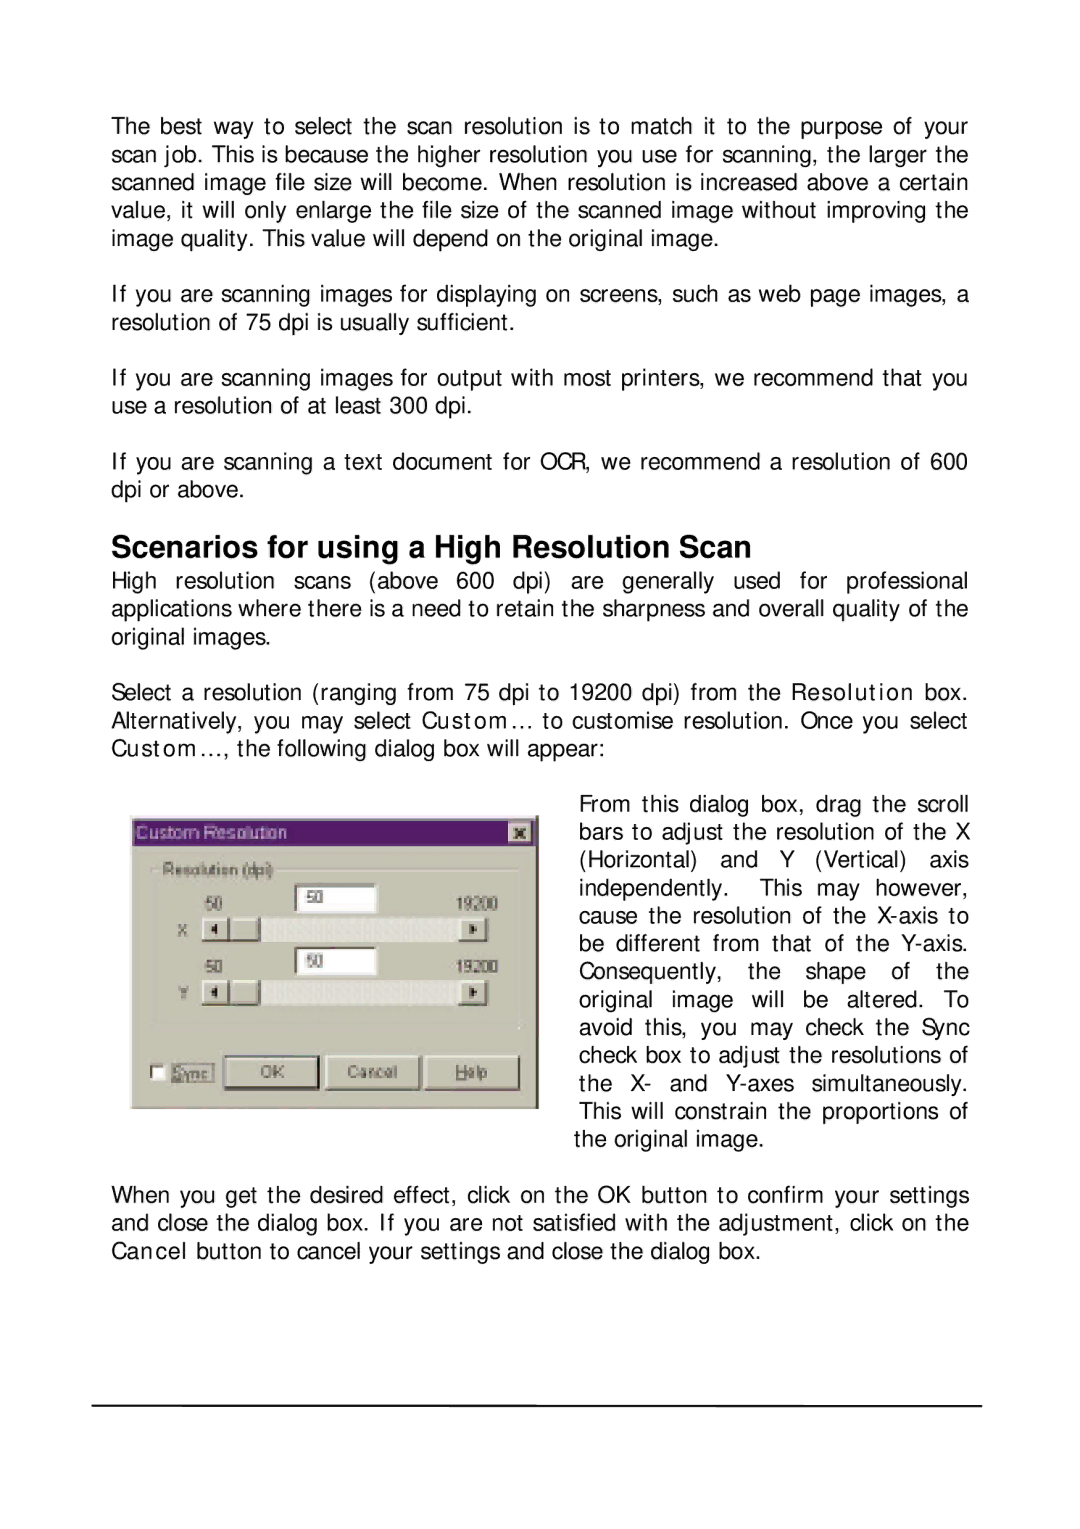
Select a resolution (ranging from 75 dpi to 19200 dpi) from the Resolution box. Alternatively, you may select Custom… to customise resolution. Once you select Custom…, the following dialog box will appear:
From this dialog box, drag the scroll bars to adjust the resolution of the X (Horizontal) and Y (Vertical) axis independently. This may however, cause the resolution of the
When you get the desired effect, click on the OK button to confirm your settings and close the dialog box. If you are not satisfied with the adjustment, click on the Cancel button to cancel your settings and close the dialog box.
