When you have created multiple scan jobs (see below for how to create a new scan job) in the list, you can check or uncheck the box in front of the job name to decide whether to proceed scanning that specific job(s). By selecting each scan job in the list, you can adjust different scanning settings for each scan job respectively.
Duplicate Button
Click this button to add a new scan job. This is useful when you want to scan multiple images in one original. After you click this button, a new scan area will appear in the preview area, and the new job will appear in the Job List. You can add up to 10 scan jobs in one scan session.
Info Button
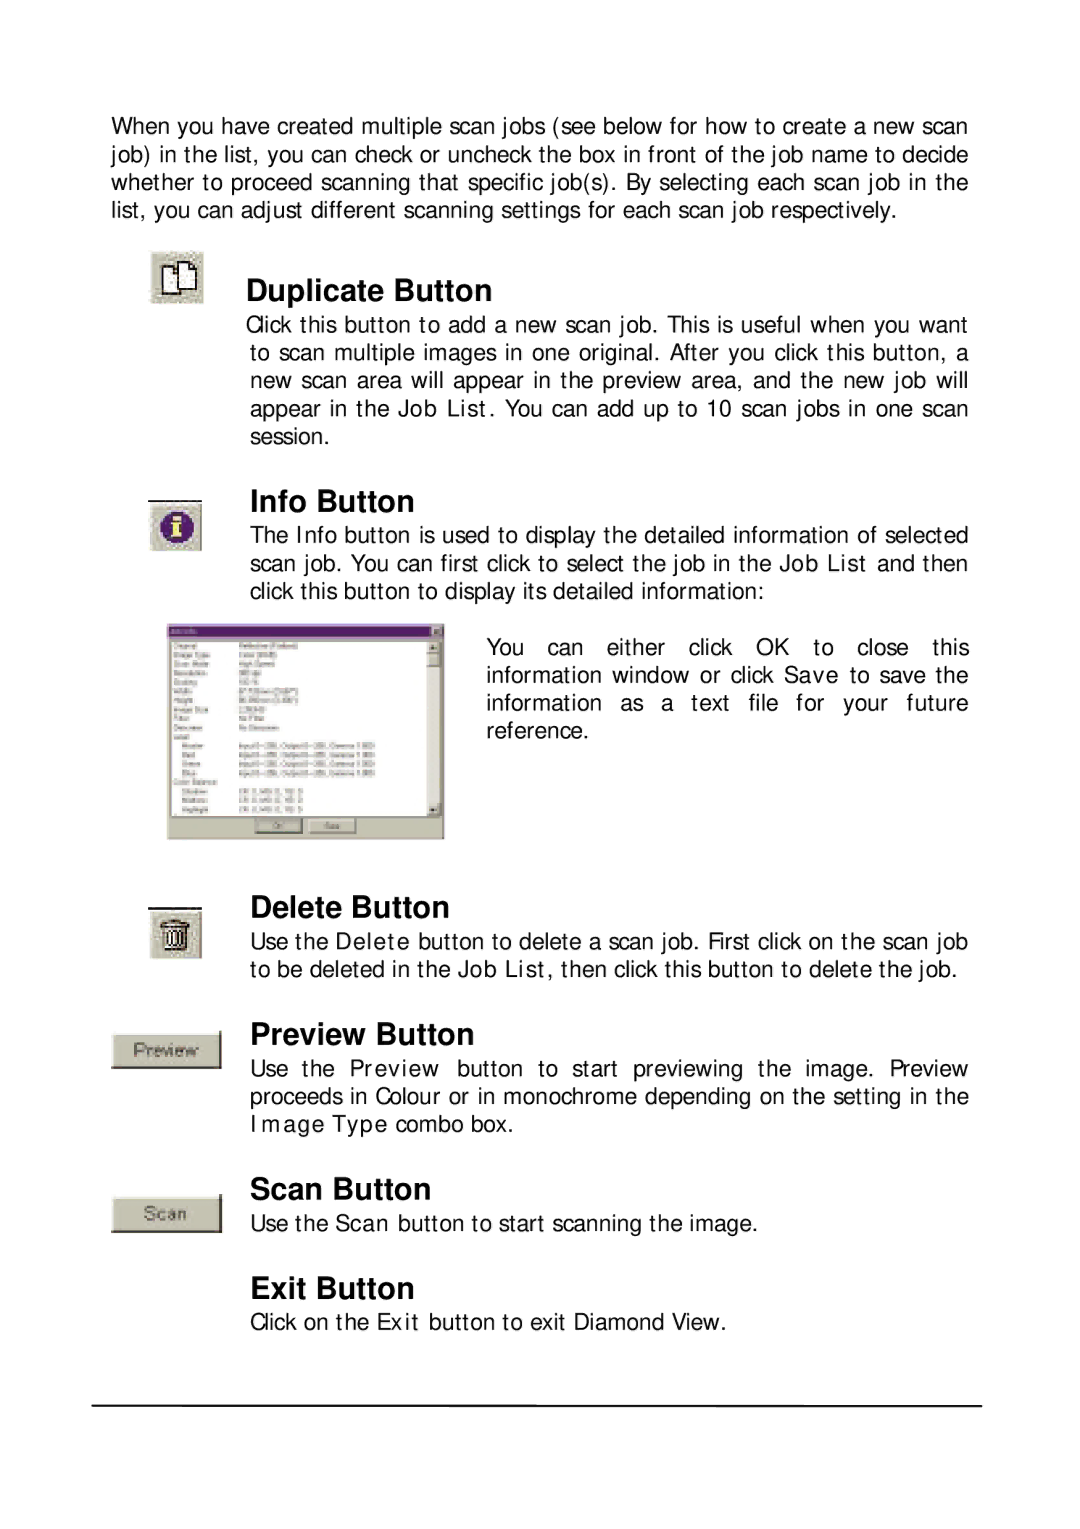
The Info button is used to display the detailed information of selected scan job. You can first click to select the job in the Job List and then click this button to display its detailed information:
You can either click OK to close this information window or click Save to save the information as a text file for your future reference.
Delete Button
Use the Delete button to delete a scan job. First click on the scan job to be deleted in the Job List, then click this button to delete the job.
Preview Button
Use the Preview button to start previewing the image. Preview proceeds in Colour or in monochrome depending on the setting in the Image Type combo box.
Scan Button
Use the Scan button to start scanning the image.
Exit Button
Click on the Exit button to exit Diamond View.