are using. For details, please refer to the documents that come with your application software.
Step 4. Choose Acquire from your application software. This will bring up the Diamond View main screen.
Step 5. From the Diamond View main screen, select Transparent (if you are scanning a positive film) or Negative Film (if you are scanning a negative film) in the Original combo box. When the Film Type dialog box appears, select the type of film you use from the list and click OK.
Step 6. Click Preview. The preview image will appear in the Preview Area. Step 7. Adjust the scan area in the Preview Area.
Step 8. Use the options in the Combo Boxes to specify the Resolution, Scale…, etc. that will apply to the scanned image.
Step 9. Use the options in the Tool Bar to adjust the image.
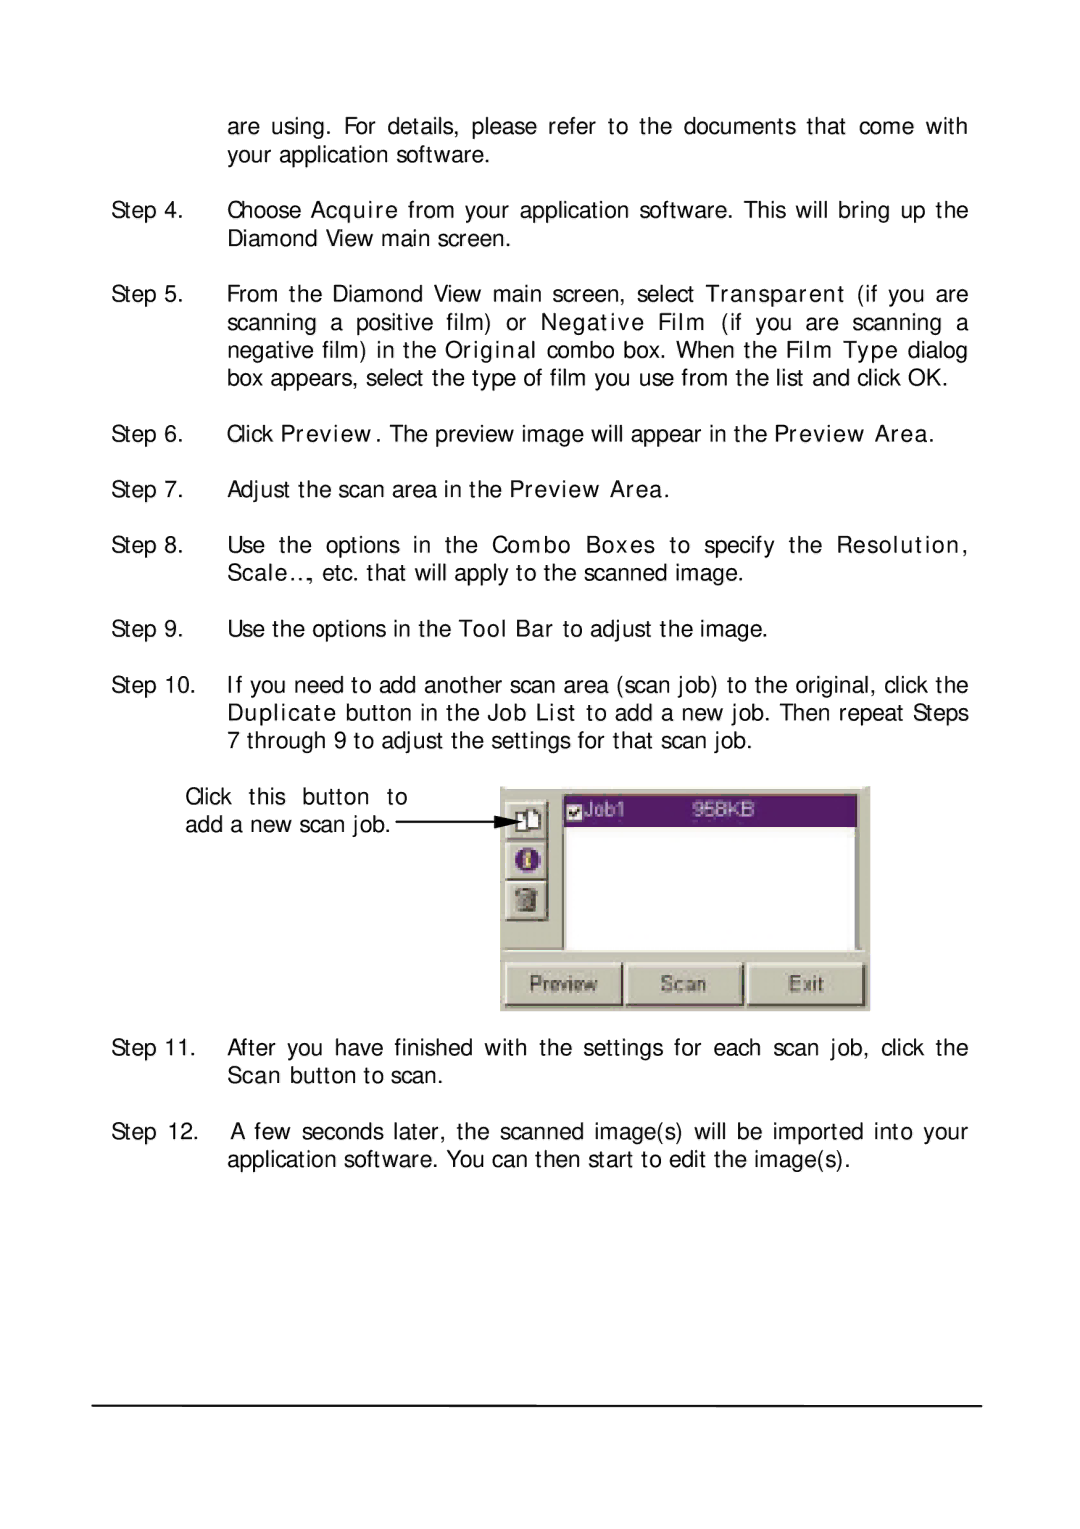
Step 10. If you need to add another scan area (scan job) to the original, click the Duplicate button in the Job List to add a new job. Then repeat Steps 7 through 9 to adjust the settings for that scan job.
Click this button to add a new scan job. ![]()
Step 11. After you have finished with the settings for each scan job, click the Scan button to scan.
Step 12. A few seconds later, the scanned image(s) will be imported into your
application software. You can then start to edit the image(s).