GETTING STARTED
2Press and hold the PTT button.
Press and release the PTT button and wait three seconds.
•If access to the Trunked system is successful, the LED indicator lights steady red.
In addition, your dealer can program your radio to sound a short,
•If access to the Trunked system was unsuccessful, the LED indicator flashes red and a
3With the PTT button depressed, speak clearly into the microphone.
4Release the PTT button to listen.
You will see the Alias (if preprogrammed) or MIN of the calling radio on your radio’s display.
30
SELECTING A CONVENTIONAL ZONE AND CHANNEL
Up to a total of 16 conventional channels, in one or more conventional zones, can be programmed into your radio as follows:
1Use the Zone Selector knob to select the appropriate Conventional zone.
2+or ?until you see the desired Conventional channel on the display.
SENDING A CONVENTIONAL CALL
Note: In the United States, FCC regulations require you to monitor the Conventional channels before sending a call. The Monitor feature (see page 16) can be accessed through one of your programmable buttons (if programmed by your dealer).
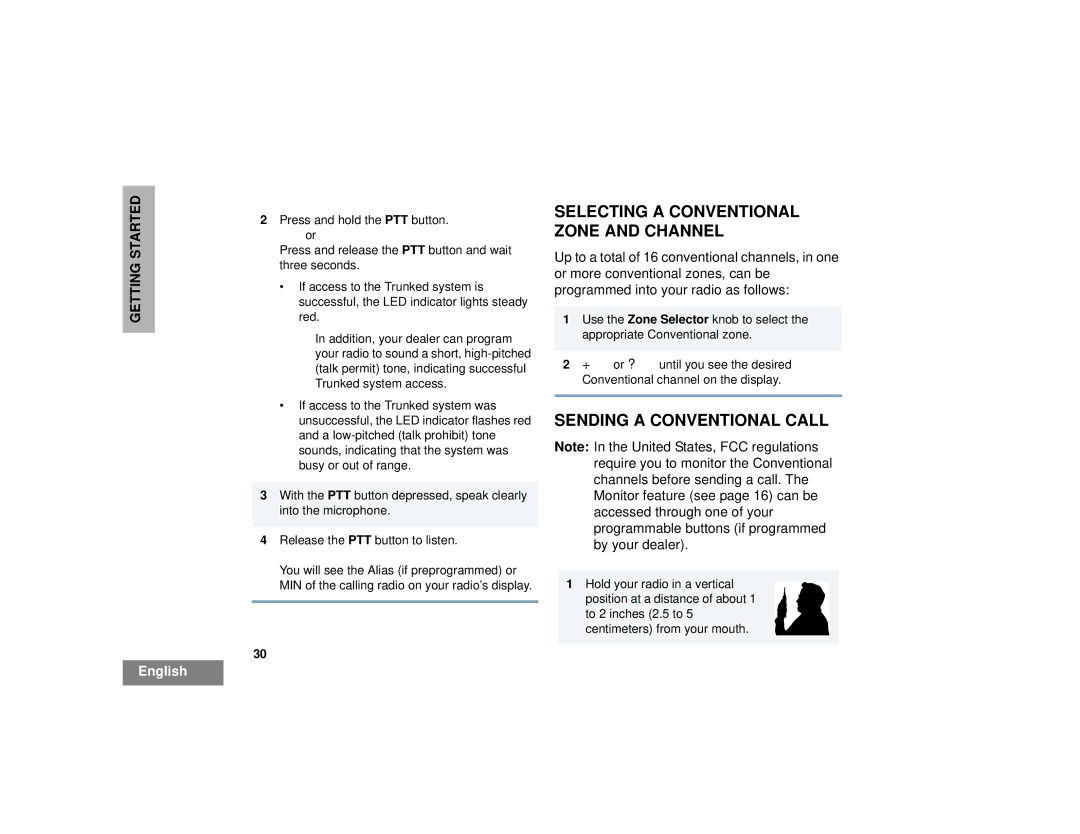
1Hold your radio in a vertical position at a distance of about 1 to 2 inches (2.5 to 5 centimeters) from your mouth.
English