Chapter 3 Instant Internet 400-S hardware installation 47
To mount your Instant Internet
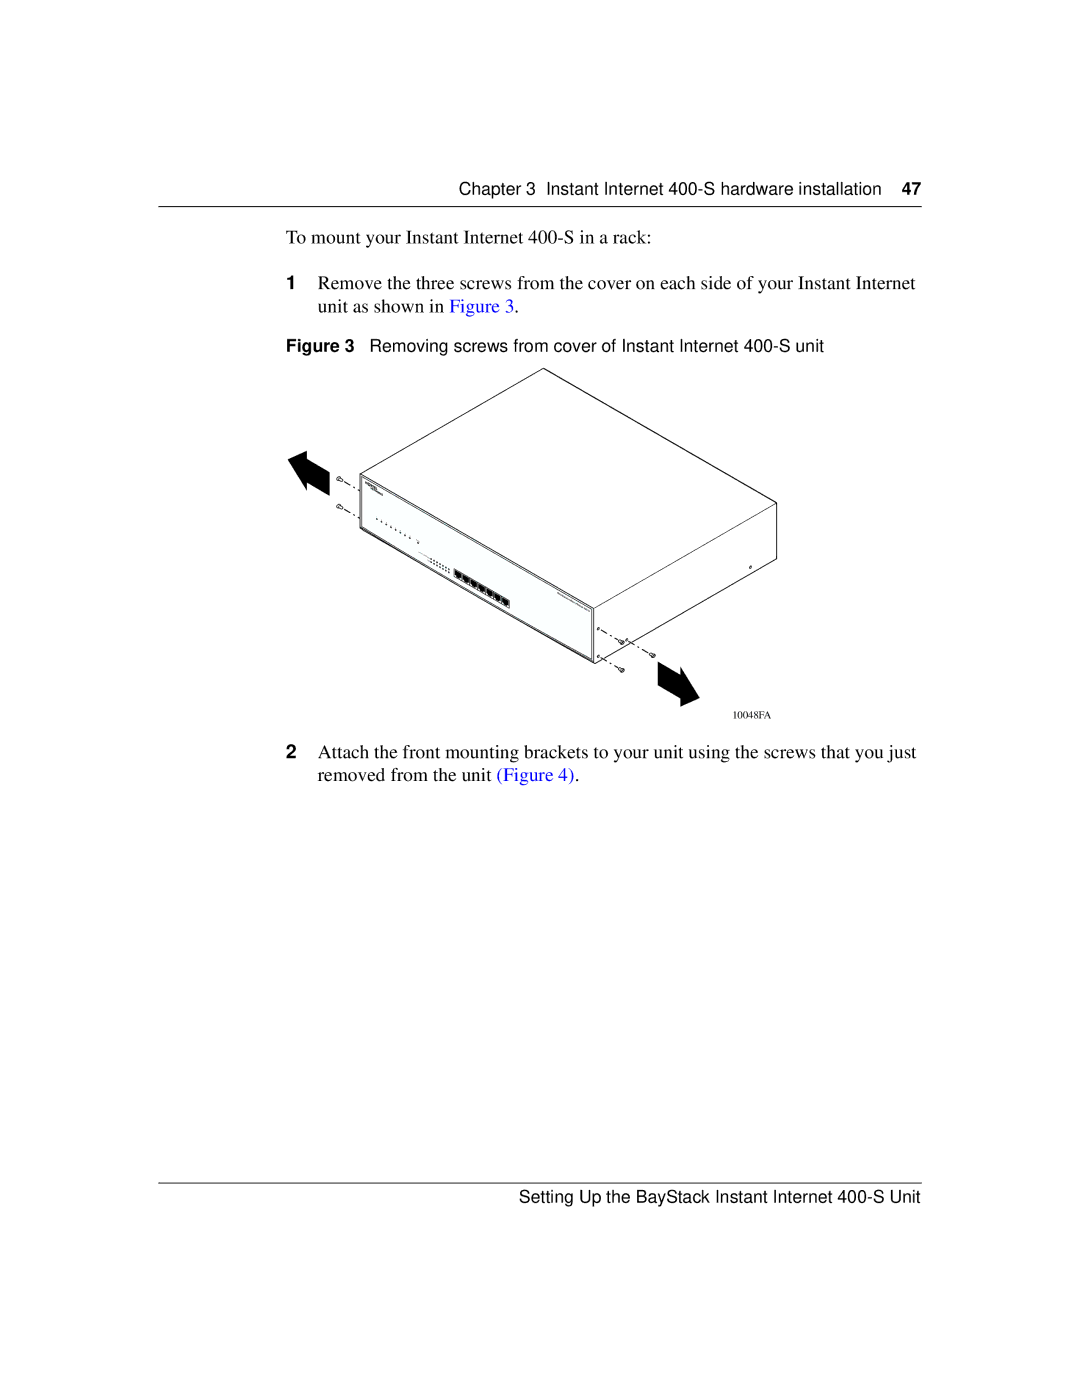
1Remove the three screws from the cover on each side of your Instant Internet unit as shown in Figure 3.
Figure 3 Removing screws from cover of Instant Internet 400-S unit
1 ![]() 2
2 ![]() 3
3 ![]() 4
4 ![]() 5
5 ![]() 6
6 ![]() 7
7 ![]() 8
8
Power |
|
10/100 | Link/A |
| |
| ctivity |
| FDX |
BayStack | Instant |
|
|
| Internet |
| |
|
| ||
|
|
|
10048FA
2Attach the front mounting brackets to your unit using the screws that you just
removed from the unit (Figure 4).