Chapter 3 Instant Internet
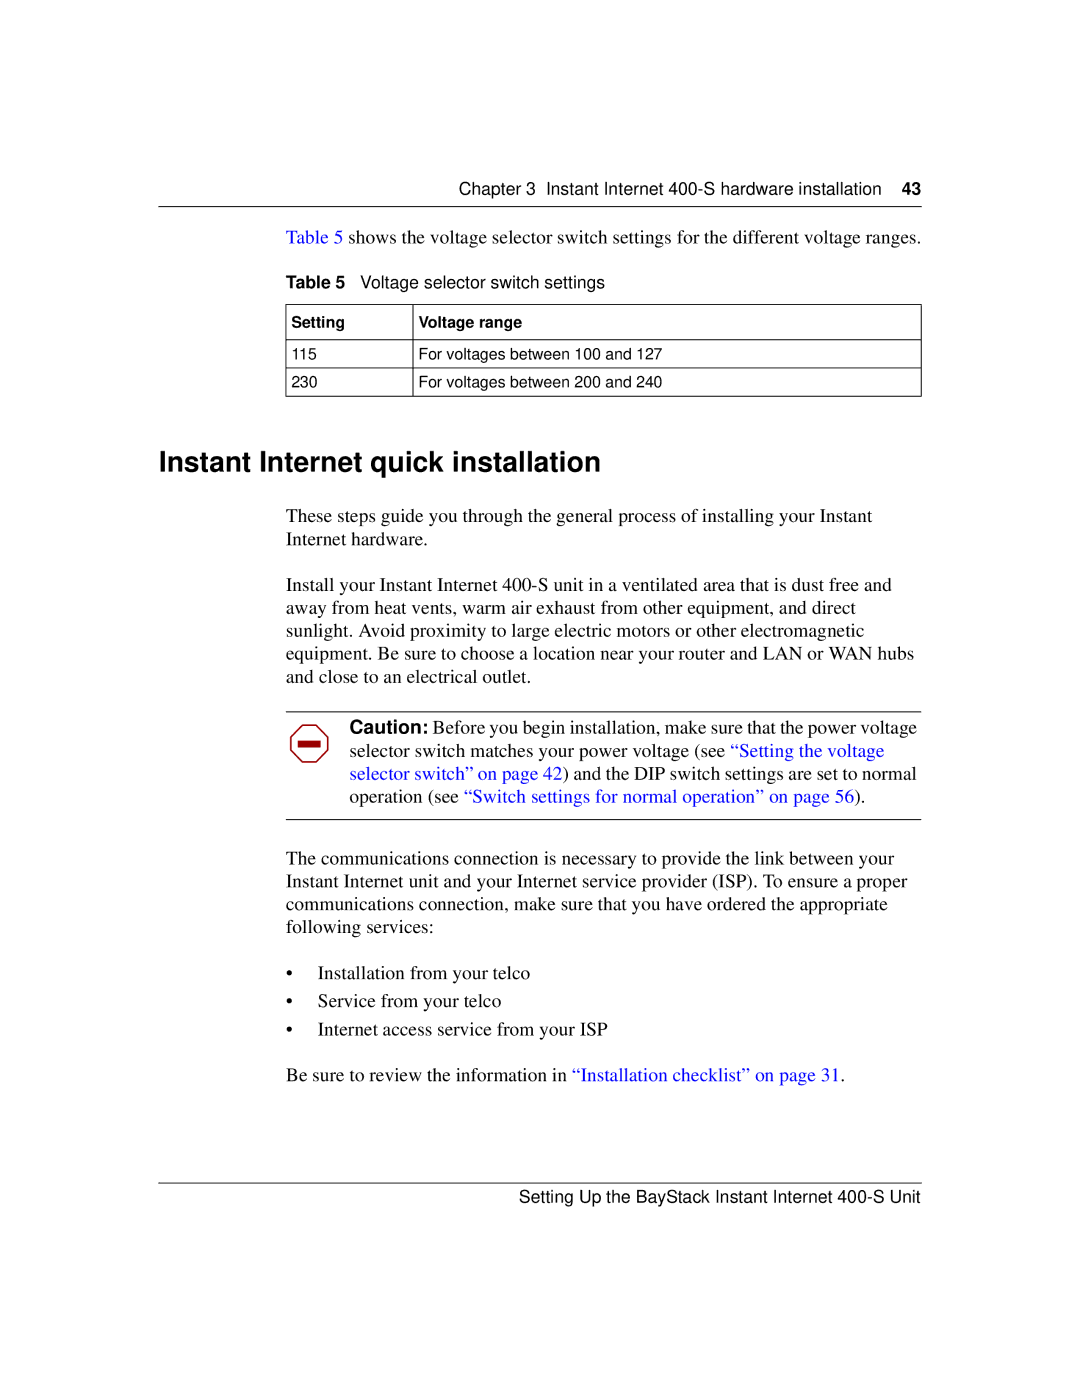
Table 5 shows the voltage selector switch settings for the different voltage ranges.
Table 5 Voltage selector switch settings
Setting | Voltage range |
|
|
115 | For voltages between 100 and 127 |
|
|
230 | For voltages between 200 and 240 |
|
|
Instant Internet quick installation
These steps guide you through the general process of installing your Instant Internet hardware.
Install your Instant Internet
Caution: Before you begin installation, make sure that the power voltage selector switch matches your power voltage (see “Setting the voltage selector switch” on page 42) and the DIP switch settings are set to normal operation (see “Switch settings for normal operation” on page 56).
The communications connection is necessary to provide the link between your Instant Internet unit and your Internet service provider (ISP). To ensure a proper communications connection, make sure that you have ordered the appropriate following services:
•Installation from your telco
•Service from your telco
•Internet access service from your ISP
Be sure to review the information in “Installation checklist” on page 31.