72
If that does not work, and there is at least a garbled output on the screen, try pushing the unlabelled system request button on the switch. As soon as garbled characters appear, press the console’s RETURN key twice in rapid succession. (Again, try the other command keys as necessary).
If there is still a problem, try the following steps:
1.Check all of the cable connections.
2.Check the baud rate at the console’s set up screen; if it is not set to 9600, try that setting.
3.Try setting the console baud rate to different values up or down, and pressing RETURN for each selection.
4.If you are using a terminal emulation program, try exiting the program and restarting.
5.If you still can not get the connection to work, contact technical support as described in Chapter 11, “Getting in Touch with Technical Support” .
Diagnostic Screen
The diagnostic
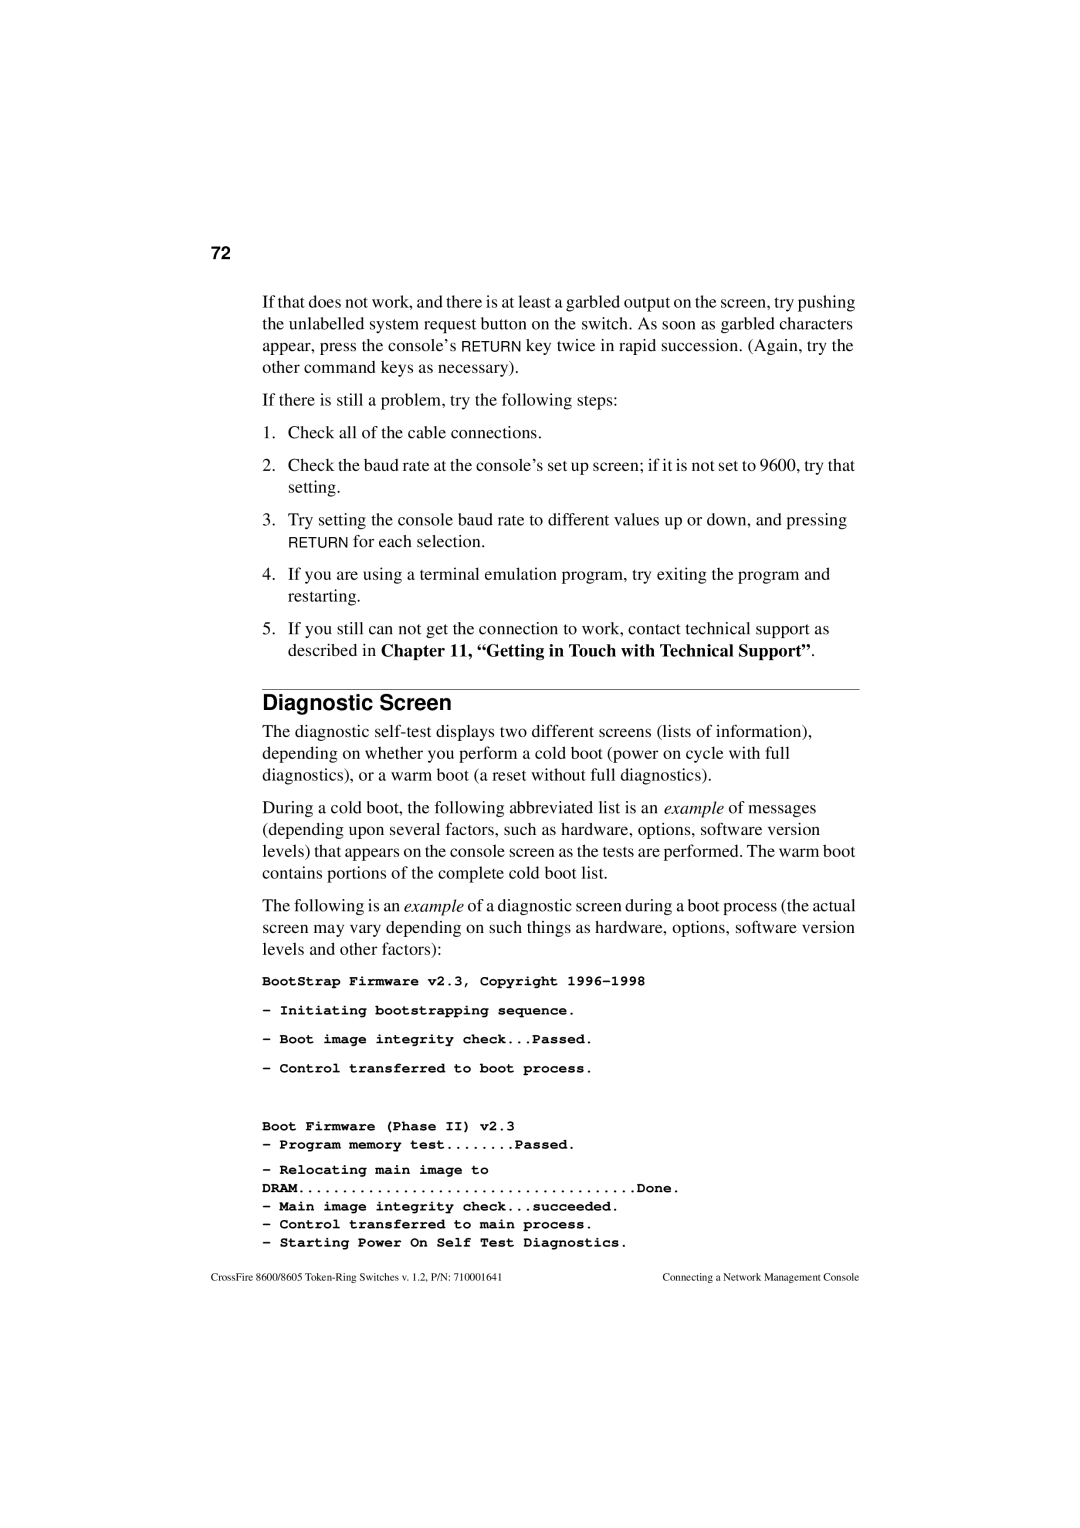
During a cold boot, the following abbreviated list is an example of messages (depending upon several factors, such as hardware, options, software version levels) that appears on the console screen as the tests are performed. The warm boot contains portions of the complete cold boot list.
The following is an example of a diagnostic screen during a boot process (the actual screen may vary depending on such things as hardware, options, software version levels and other factors):
BootStrap Firmware v2.3, Copyright
-Initiating bootstrapping sequence.
-Boot image integrity check...Passed.
-Control transferred to boot process.
Boot Firmware (Phase II) v2.3
-Program memory test........Passed.
-Relocating main image to
DRAM | Done. |
-Main image integrity check...succeeded.
-Control transferred to main process.
-Starting Power On Self Test Diagnostics.
CrossFire 8600/8605 | Connecting a Network Management Console |
