Operating Instructions
Note
If you do not know the camera IP address when setting [Automatic Setup] or [DHCP Setup], it can be searched for by using the Setup Program (see page 120).
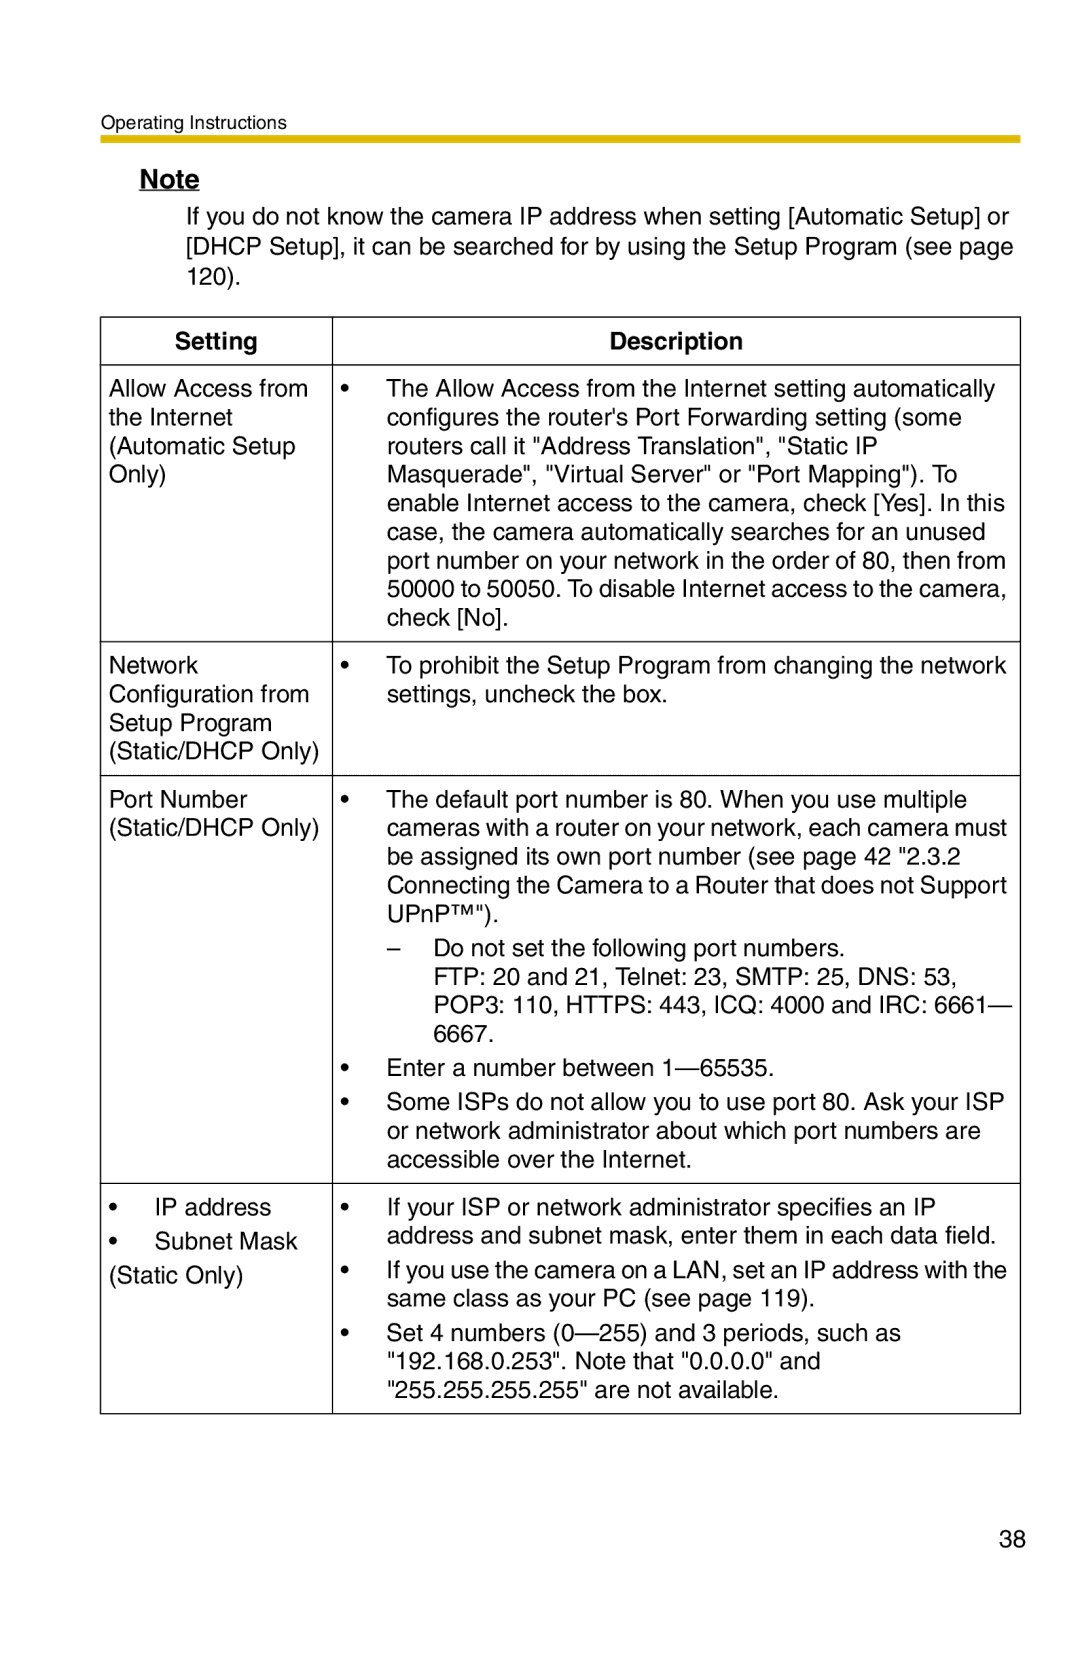
| Setting | Description |
|
| |
Allow Access from | • The Allow Access from the Internet setting automatically | |
the Internet | configures the router's Port Forwarding setting (some | |
(Automatic Setup | routers call it "Address Translation", "Static IP | |
Only) | Masquerade", "Virtual Server" or "Port Mapping"). To | |
|
| enable Internet access to the camera, check [Yes]. In this |
|
| case, the camera automatically searches for an unused |
|
| port number on your network in the order of 80, then from |
|
| 50000 to 50050. To disable Internet access to the camera, |
|
| check [No]. |
|
| |
Network | • To prohibit the Setup Program from changing the network | |
Configuration from | settings, uncheck the box. | |
Setup Program |
| |
(Static/DHCP Only) |
| |
|
| |
Port Number | • The default port number is 80. When you use multiple | |
(Static/DHCP Only) | cameras with a router on your network, each camera must | |
|
| be assigned its own port number (see page 42 "2.3.2 |
|
| Connecting the Camera to a Router that does not Support |
|
| UPnP™"). |
|
| – Do not set the following port numbers. |
|
| FTP: 20 and 21, Telnet: 23, SMTP: 25, DNS: 53, |
|
| POP3: 110, HTTPS: 443, ICQ: 4000 and IRC: 6661— |
|
| 6667. |
|
| • Enter a number between |
|
| • Some ISPs do not allow you to use port 80. Ask your ISP |
|
| or network administrator about which port numbers are |
|
| accessible over the Internet. |
|
|
|
• | IP address | • If your ISP or network administrator specifies an IP |
• | Subnet Mask | address and subnet mask, enter them in each data field. |
(Static Only) | • If you use the camera on a LAN, set an IP address with the | |
|
| same class as your PC (see page 119). |
|
| • Set 4 numbers |
|
| "192.168.0.253". Note that "0.0.0.0" and |
|
| "255.255.255.255" are not available. |
|
|
|
38
