Setting the capturing conditions
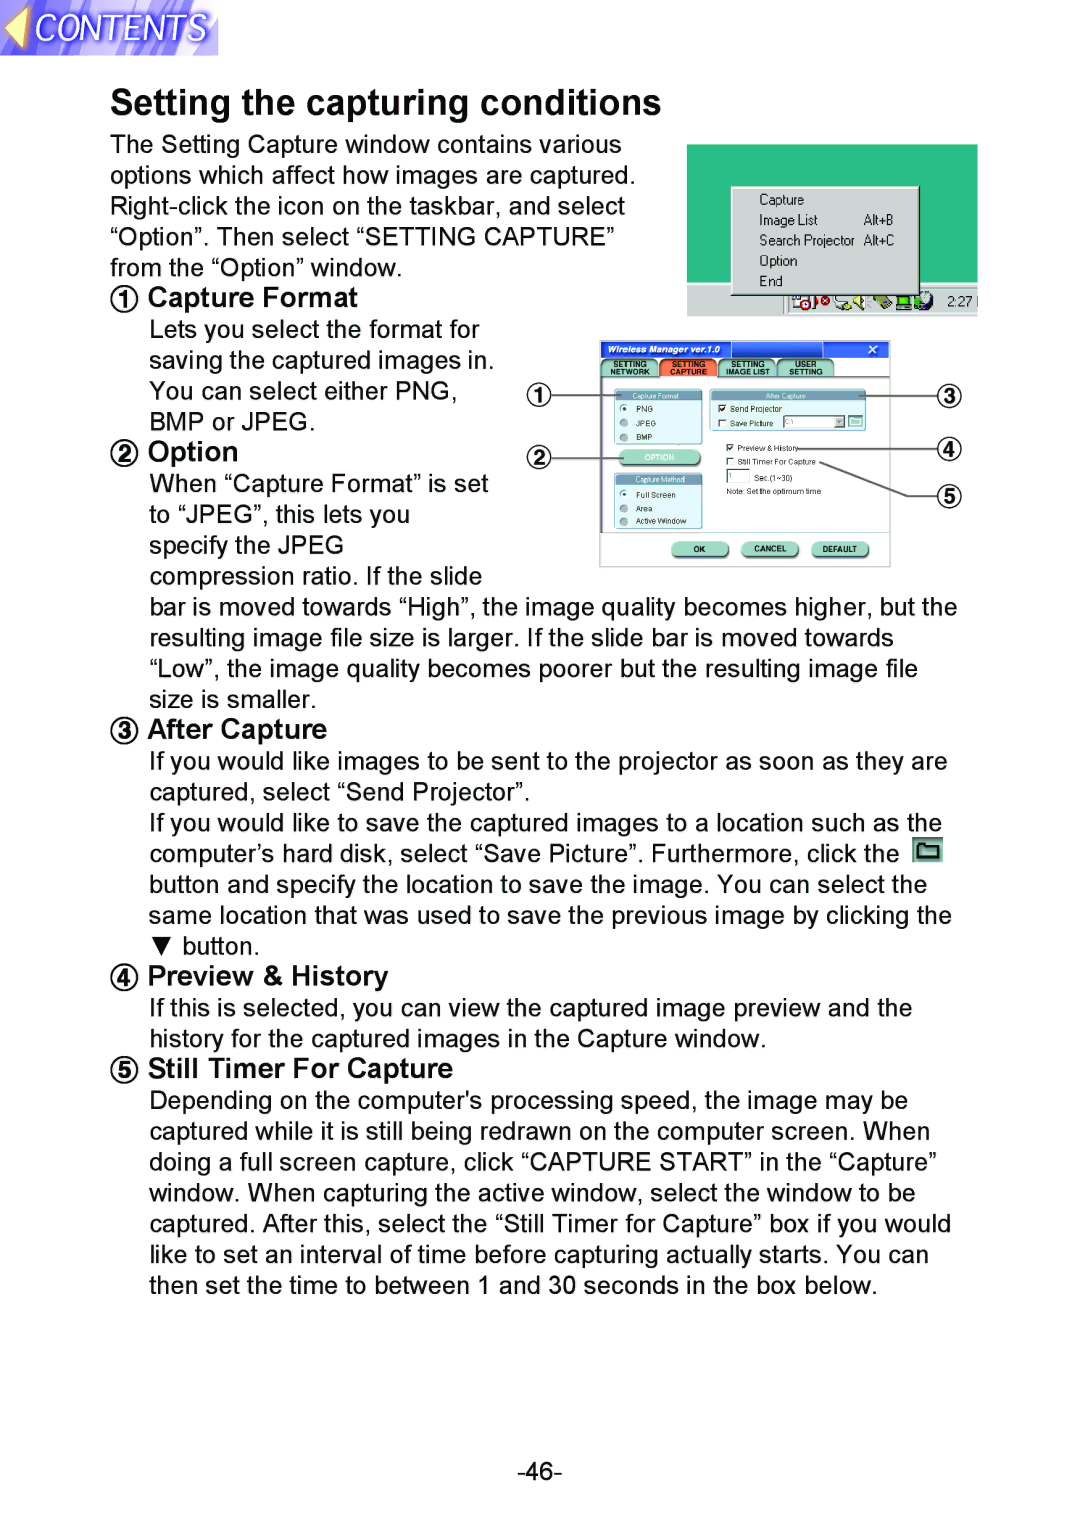
The Setting Capture window contains various options which affect how images are captured.
#Capture Format
Lets you select the format for saving the captured images in. You can select either PNG, BMP or JPEG.
$ Option
When “Capture Format” is set to “JPEG”, this lets you specify the JPEG compression ratio. If the slide
bar is moved towards “High”, the image quality becomes higher, but the resulting image file size is larger. If the slide bar is moved towards “Low”, the image quality becomes poorer but the resulting image file size is smaller.
%After Capture
If you would like images to be sent to the projector as soon as they are captured, select “Send Projector”.
If you would like to save the captured images to a location such as the computer’s hard disk, select “Save Picture”. Furthermore, click the ![]() button and specify the location to save the image. You can select the same location that was used to save the previous image by clicking the
button and specify the location to save the image. You can select the same location that was used to save the previous image by clicking the
G button.
&Preview & History
If this is selected, you can view the captured image preview and the history for the captured images in the Capture window.
( Still Timer For Capture
Depending on the computer's processing speed, the image may be captured while it is still being redrawn on the computer screen. When doing a full screen capture, click “CAPTURE START” in the “Capture” window. When capturing the active window, select the window to be captured. After this, select the “Still Timer for Capture” box if you would like to set an interval of time before capturing actually starts. You can then set the time to between 1 and 30 seconds in the box below.
