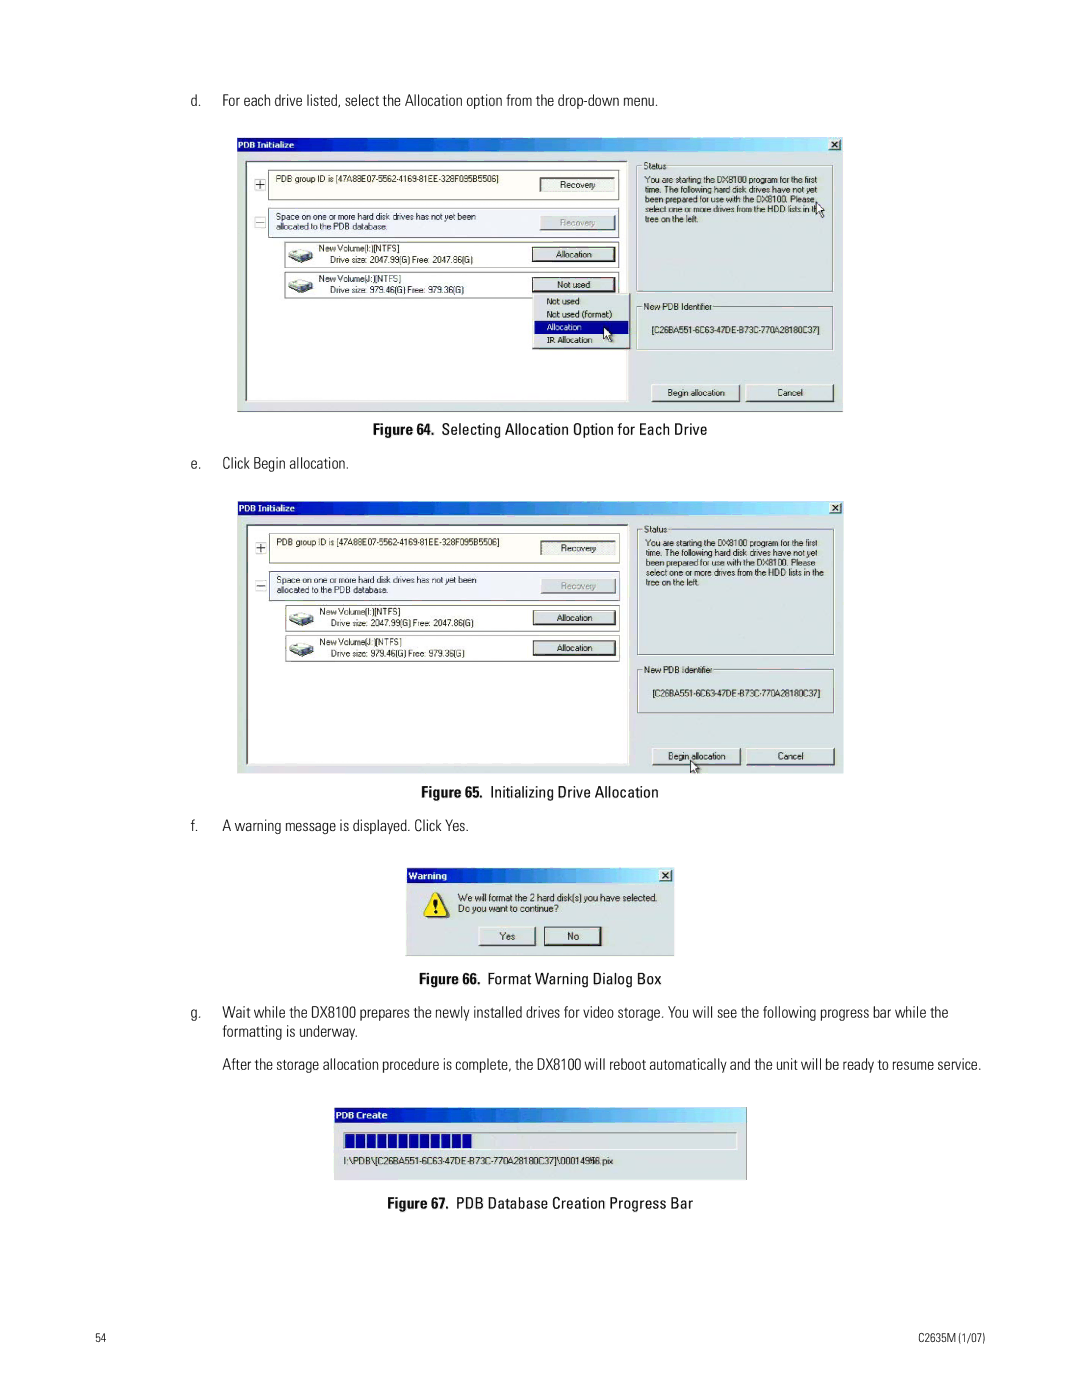
d.For each drive listed, select the Allocation option from the
Figure 64. Selecting Allocation Option for Each Drive
e.Click Begin allocation.
Figure 65. Initializing Drive Allocation
f.A warning message is displayed. Click Yes.
Figure 66. Format Warning Dialog Box
g.Wait while the DX8100 prepares the newly installed drives for video storage. You will see the following progress bar while the formatting is underway.
After the storage allocation procedure is complete, the DX8100 will reboot automatically and the unit will be ready to resume service.
Figure 67. PDB Database Creation Progress Bar
54 | C2635M (1/07) |