b.Type Allocreset.exe in the Open text box.
c.Click OK. The Allocation Management dialog box opens.
Figure 61. Allocation Management Dialog Box
d.Click Re-Allocate.
e.Go to Start > Shutdown > Restart to reboot the DX8100.
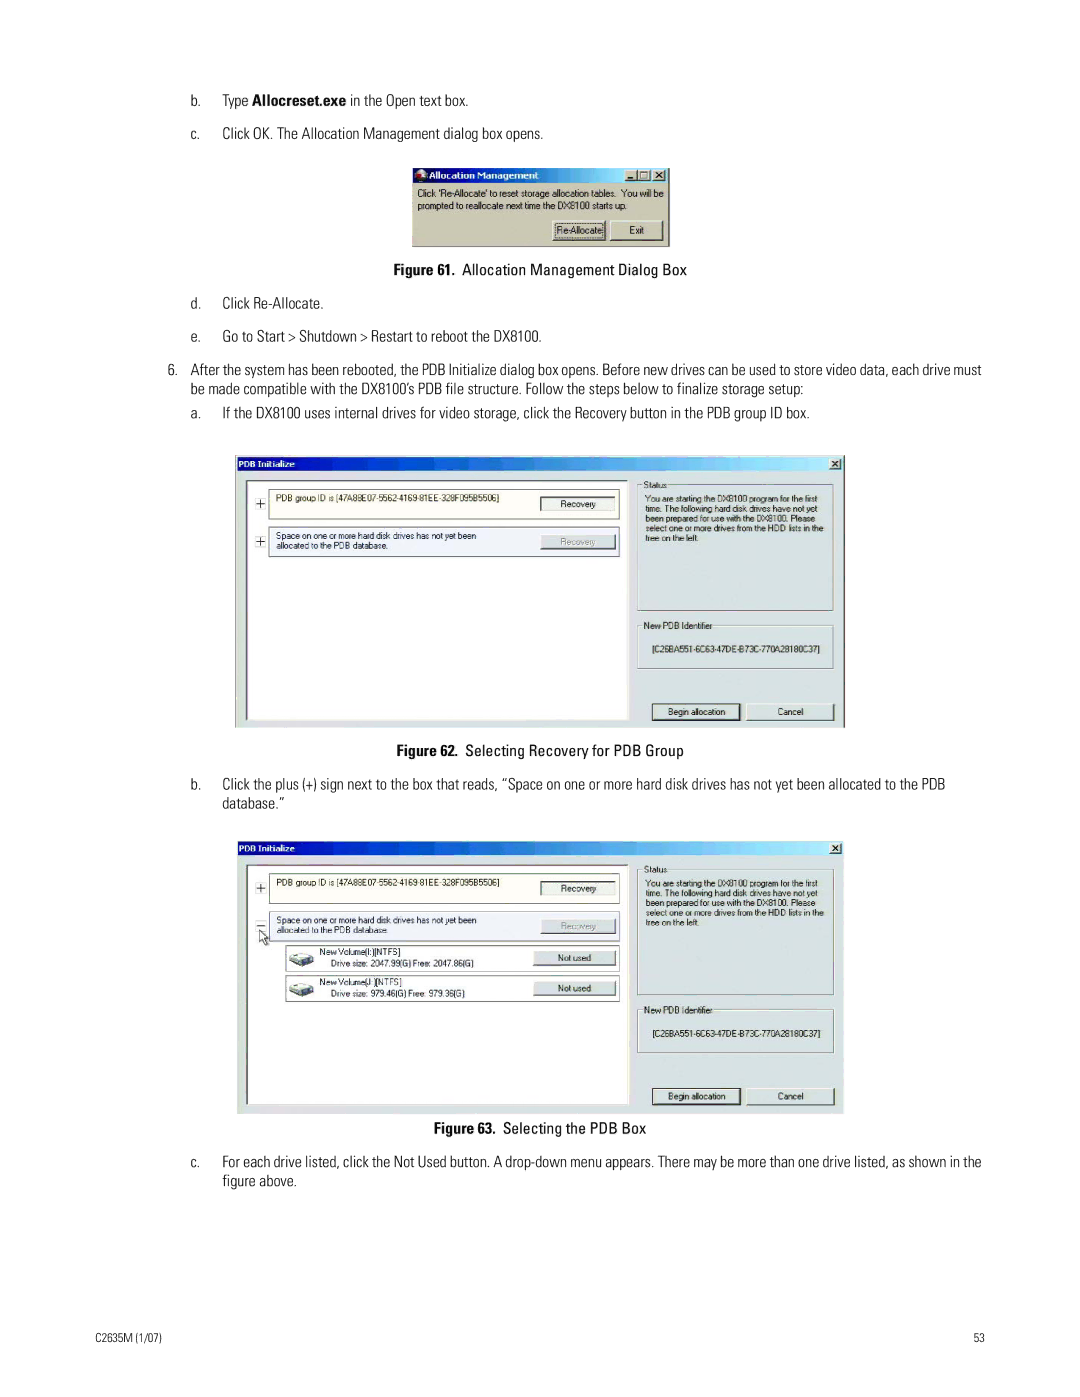
6.After the system has been rebooted, the PDB Initialize dialog box opens. Before new drives can be used to store video data, each drive must be made compatible with the DX8100’s PDB file structure. Follow the steps below to finalize storage setup:
a.If the DX8100 uses internal drives for video storage, click the Recovery button in the PDB group ID box.
Figure 62. Selecting Recovery for PDB Group
b.Click the plus (+) sign next to the box that reads, “Space on one or more hard disk drives has not yet been allocated to the PDB database.”
Figure 63. Selecting the PDB Box
c.For each drive listed, click the Not Used button. A drop-down menu appears. There may be more than one drive listed, as shown in the figure above.
C2635M (1/07) | 53 |