Installing the DX8100-ISCI SCSI Card
This section describes how to install the
•Getting Ready on this page
•Preparing the DX8100 for SCSI Card Installation on page 10
•Moving the Main Capture Card to Slot 3 on page 12
•Installing the DX8100 SCSI Card on page 13
•Reassembling the Unit on page 14
GETTING READY
Before you install the
The steps to install the external video storage upgrade are summarized as follows:
1.Unpack the
2.Verify that you have the required tools to install the SCSI card. For information about the tools required to install the SCSI card, refer to Tools Needed on page 8.
3.Shut down the DX8100 Series DVR. For information about shutting down the DX8100, refer to the DX8100 Installation Manual, Operation and Programming manual, or DX8100 Server online Help.
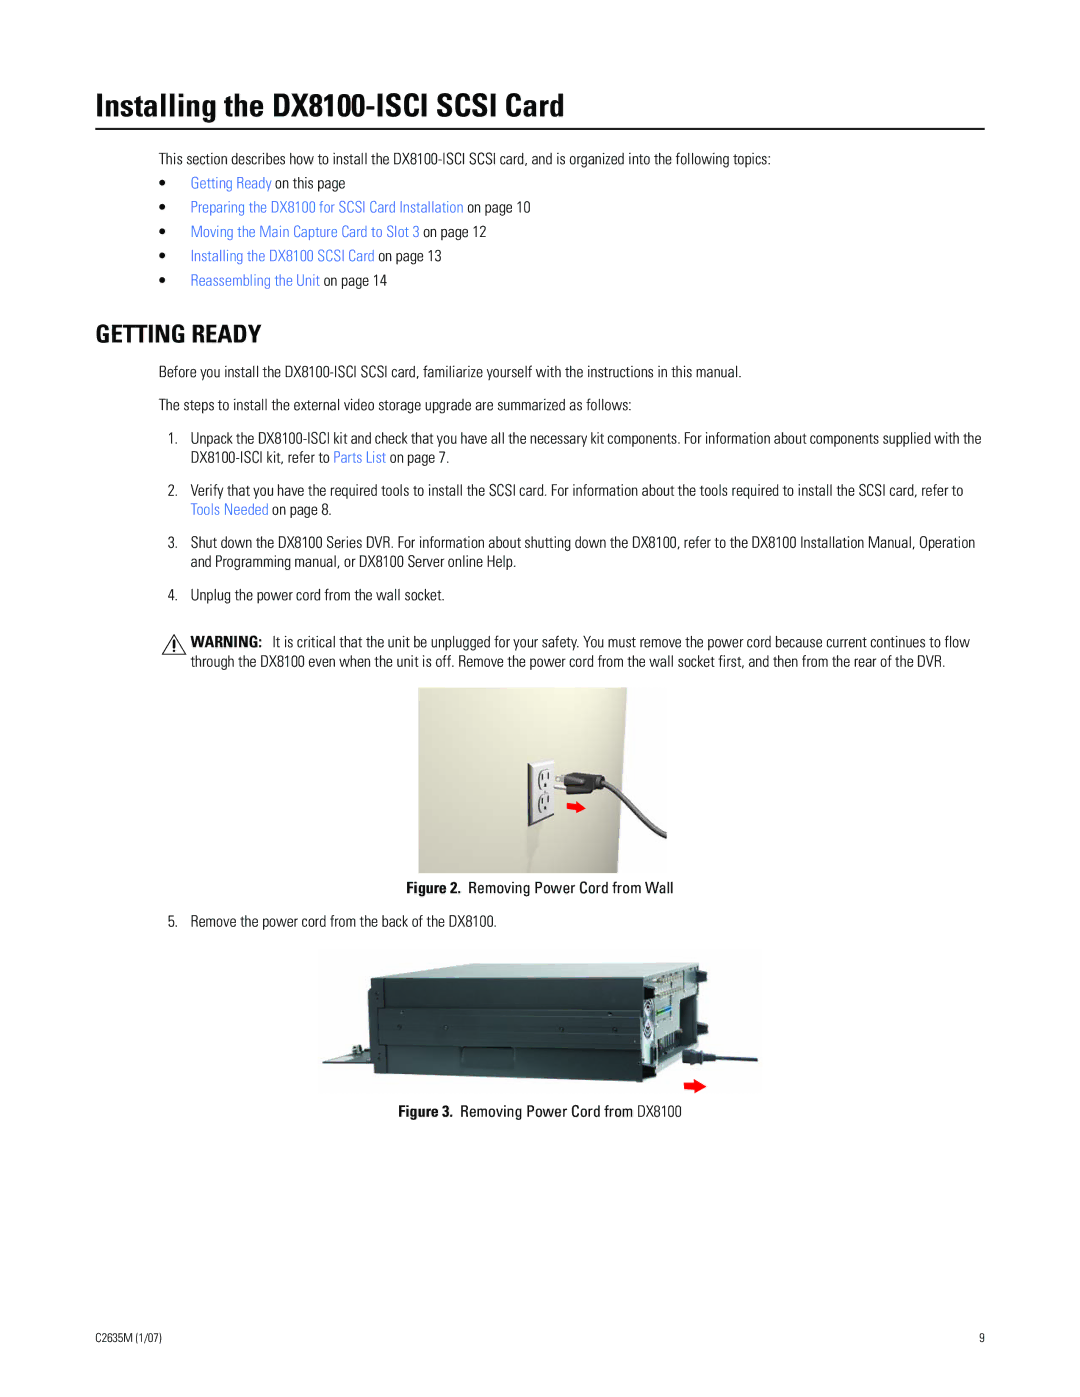
4.Unplug the power cord from the wall socket.
![]() WARNING: It is critical that the unit be unplugged for your safety. You must remove the power cord because current continues to flow through the DX8100 even when the unit is off. Remove the power cord from the wall socket first, and then from the rear of the DVR.
WARNING: It is critical that the unit be unplugged for your safety. You must remove the power cord because current continues to flow through the DX8100 even when the unit is off. Remove the power cord from the wall socket first, and then from the rear of the DVR.
Figure 2. Removing Power Cord from Wall
5. Remove the power cord from the back of the DX8100.
Figure 3. Removing Power Cord from DX8100
C2635M (1/07) | 9 |