RayChart 420/420D Chartplotter | |
|
|
6.Repeat steps 4 and 5 until you have placed all your waypoints. You can have up to 50 waypoints in a route. Any existing waypoint(s) can be included by placing the cursor on the waypoint(s).
7.When you have entered all your waypoints, press GOTO to complete the route. Your route is displayed on the screen and is the current route, but is not active, ie. not being followed.
8.Select MORE to access the SAVE ROUTE function, or ENTER to return to chart mode.
Note: The completed route is stored in the unit’s memory and will be re- displayed if you turn the unit off and on again. However, it is recommended that you save the route as described below. The current route waypoints do not appear in the waypoint list until the route is saved.
Saving the Current Route
You can save up to 20 named routes in the route database list. These routes can then be
Note: When you attempt an operation affecting this route (eg. CLEAR ROUTE) before the current route is saved, you are prompted to save it.
To save and name the current route:
‰1. Select ROUTES, followed by MORE.
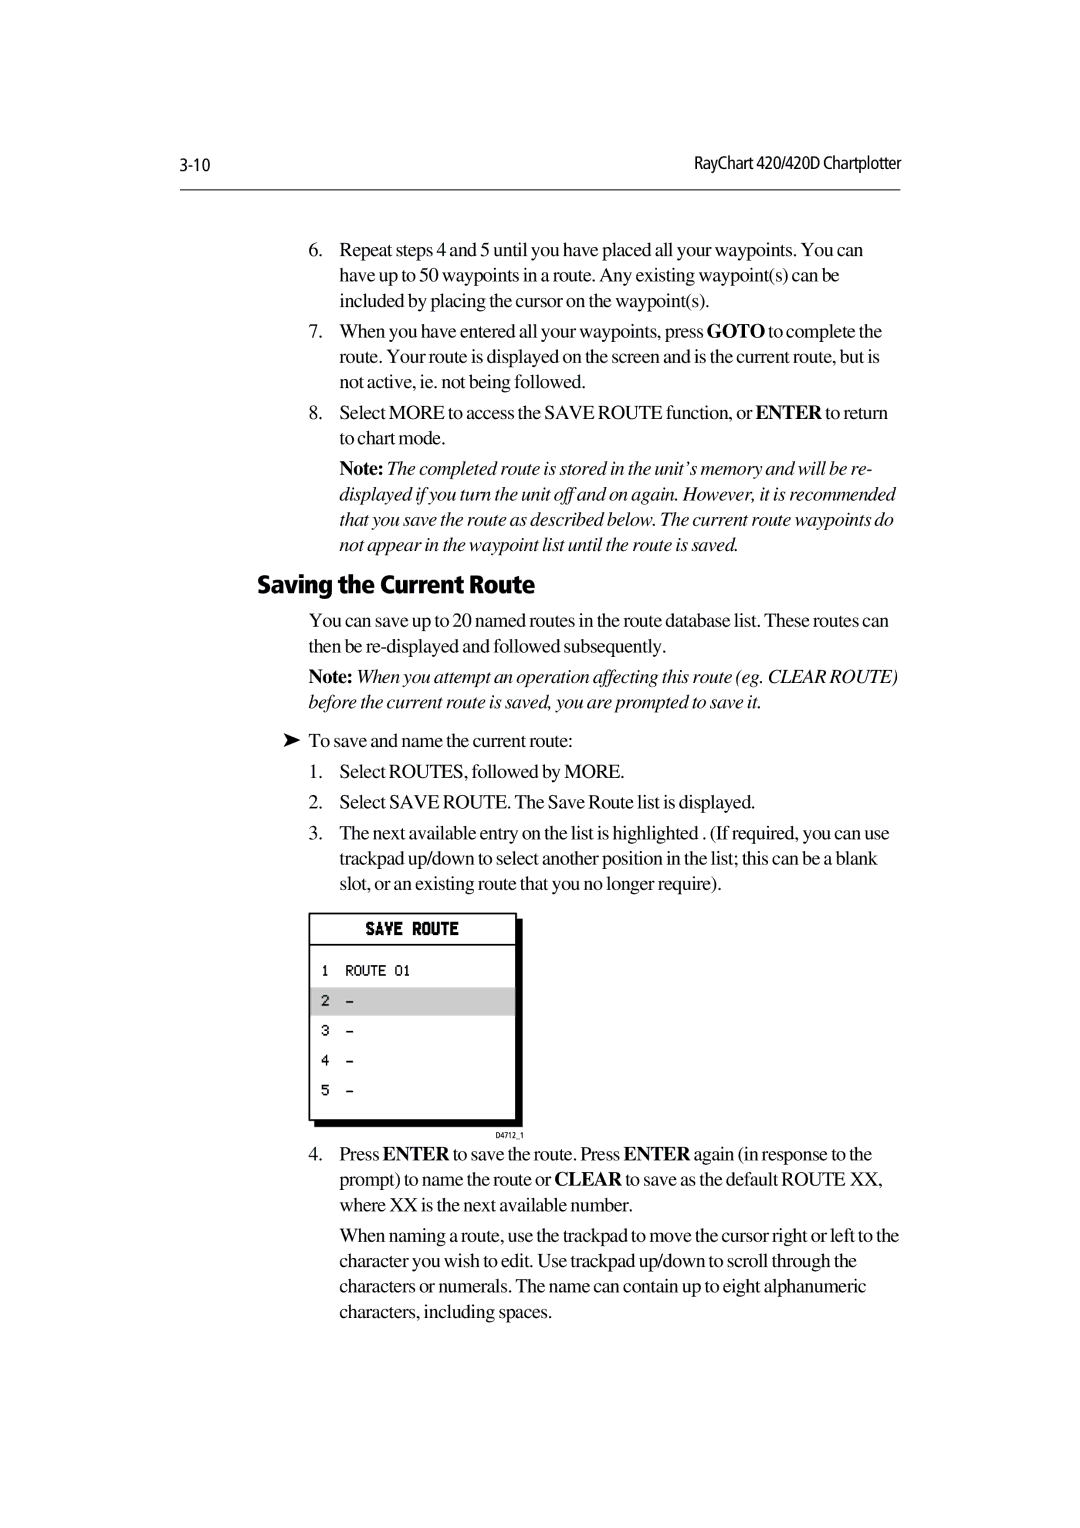
2.Select SAVE ROUTE. The Save Route list is displayed.
3.The next available entry on the list is highlighted . (If required, you can use trackpad up/down to select another position in the list; this can be a blank slot, or an existing route that you no longer require).
4.Press ENTER to save the route. Press ENTER again (in response to the prompt) to name the route or CLEAR to save as the default ROUTE XX, where XX is the next available number.
When naming a route, use the trackpad to move the cursor right or left to the character you wish to edit. Use trackpad up/down to scroll through the characters or numerals. The name can contain up to eight alphanumeric characters, including spaces.
