NaviTrack® II
Operation Time
Using alkaline cells, typical operation time is from about 12 to 24 hours depending on sound volume and how often the backlight is on. Other factors that affect the operation time will include chemistry of the battery (many of the new high performance batteries, such as the “Duracell® ULTRA” last 10% - 20% longer than conventional alkaline cells under high demand applications). Operation at lower tem- peratures will also reduce battery life.
The NaviTrack II display can also show random symbols when the battery power is too low to drive the internal logic circuits correctly. This is remedied by simply putting fresh batteries into the unit.
To preserve battery life the NaviTrack II will automatically shut down after one hour of no key presses. Simply turn the unit on to resume use.
Low Battery Warning
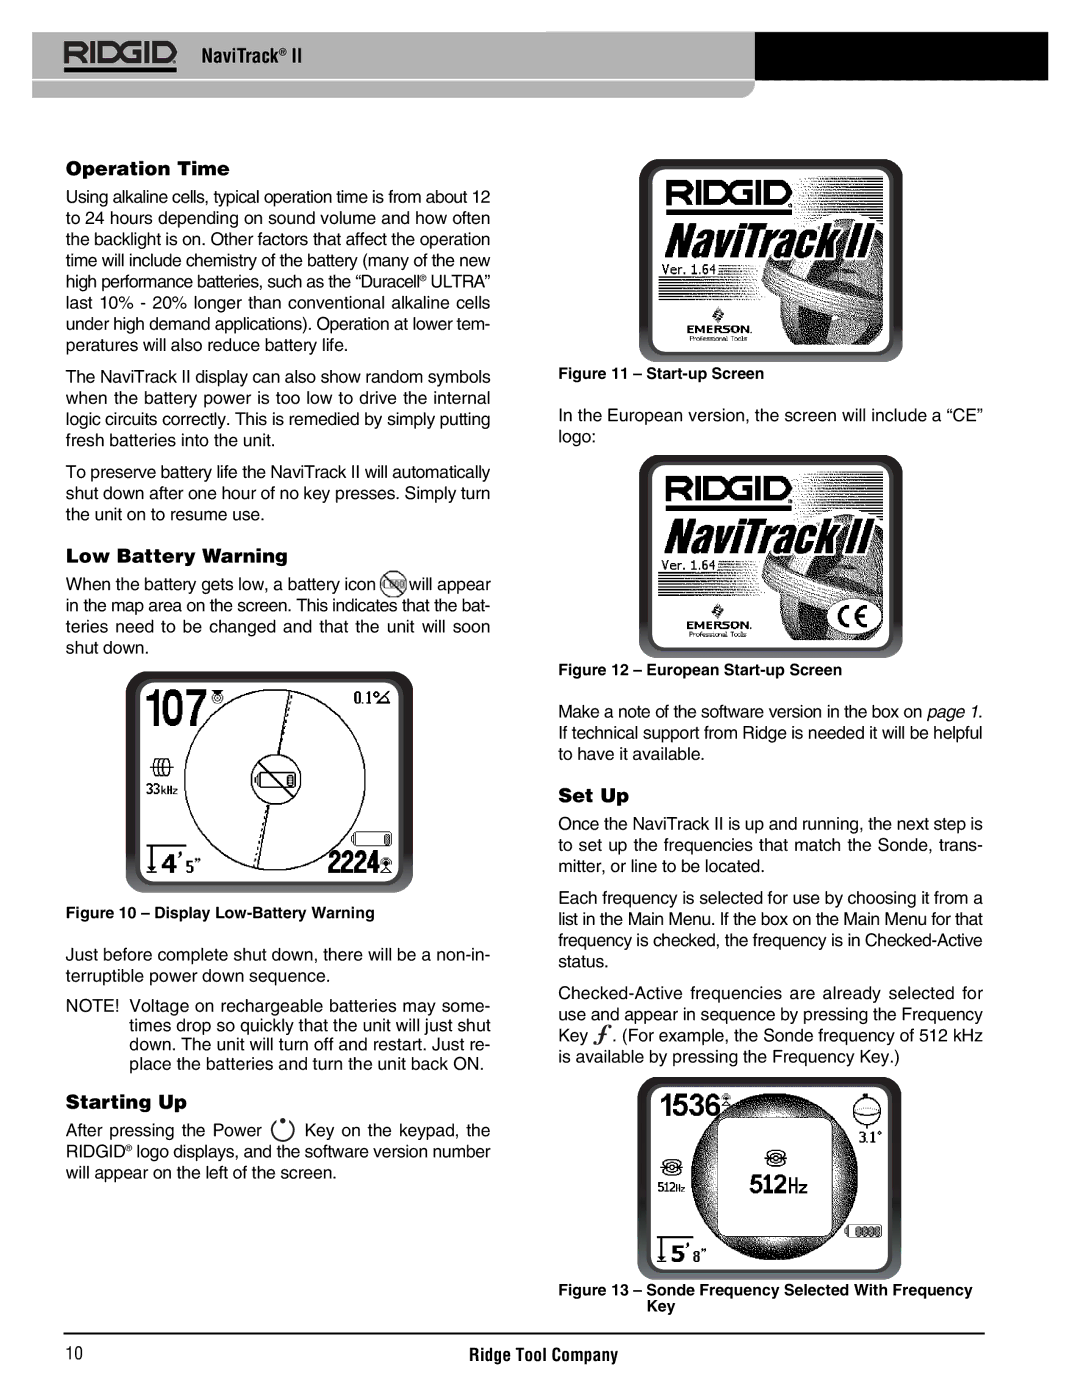
When the battery gets low, a battery icon ![]() will appear in the map area on the screen. This indicates that the bat- teries need to be changed and that the unit will soon shut down.
will appear in the map area on the screen. This indicates that the bat- teries need to be changed and that the unit will soon shut down.
Figure 10 – Display Low-Battery Warning
Just before complete shut down, there will be a
NOTE! Voltage on rechargeable batteries may some- times drop so quickly that the unit will just shut down. The unit will turn off and restart. Just re- place the batteries and turn the unit back ON.
Starting Up
After pressing the Power ![]() Key on the keypad, the RIDGID® logo displays, and the software version number will appear on the left of the screen.
Key on the keypad, the RIDGID® logo displays, and the software version number will appear on the left of the screen.
Figure 11 – Start-up Screen
In the European version, the screen will include a “CE” logo:
Figure 12 – European Start-up Screen
Make a note of the software version in the box on page 1. If technical support from Ridge is needed it will be helpful to have it available.
Set Up
Once the NaviTrack II is up and running, the next step is to set up the frequencies that match the Sonde, trans- mitter, or line to be located.
Each frequency is selected for use by choosing it from a list in the Main Menu. If the box on the Main Menu for that frequency is checked, the frequency is in
![]() . (For example, the Sonde frequency of 512 kHz is available by pressing the Frequency Key.)
. (For example, the Sonde frequency of 512 kHz is available by pressing the Frequency Key.)
Figure 13 – Sonde Frequency Selected With Frequency Key
10 | Ridge Tool Company |