NaviTrack® II
Then use the Up and Down Keys to scroll through the available frequencies. Highlight the desired frequency to add it to the Activated Frequencies list (Figure 43).
Figure 43 – Highlighting a Frequency to Activate
Checking a frequency (using the Select Key) will include it in the selected frequencies on the Main Menu. Once on the Main Menu it can be set to
Figure 44 – Selecting a Frequency to Activate
To switch to a “currently available” frequency that is not yet
![]() and scroll down to the desired frequency; if it is not checked, press the Select Key to toggle the checkbox to “checked”. This sets the status of that frequency to
and scroll down to the desired frequency; if it is not checked, press the Select Key to toggle the checkbox to “checked”. This sets the status of that frequency to
NOTE! If a frequency appears missing, look to make sure it is in the Main Menu frequencies list. If it is present but unchecked, set it to “Checked- Active” status by highlighting it and pressing the Select Key. If it is not present, go to the Frequency Selection menu and the appropri- ate
 Information Screen and Restoring Defaults
Information Screen
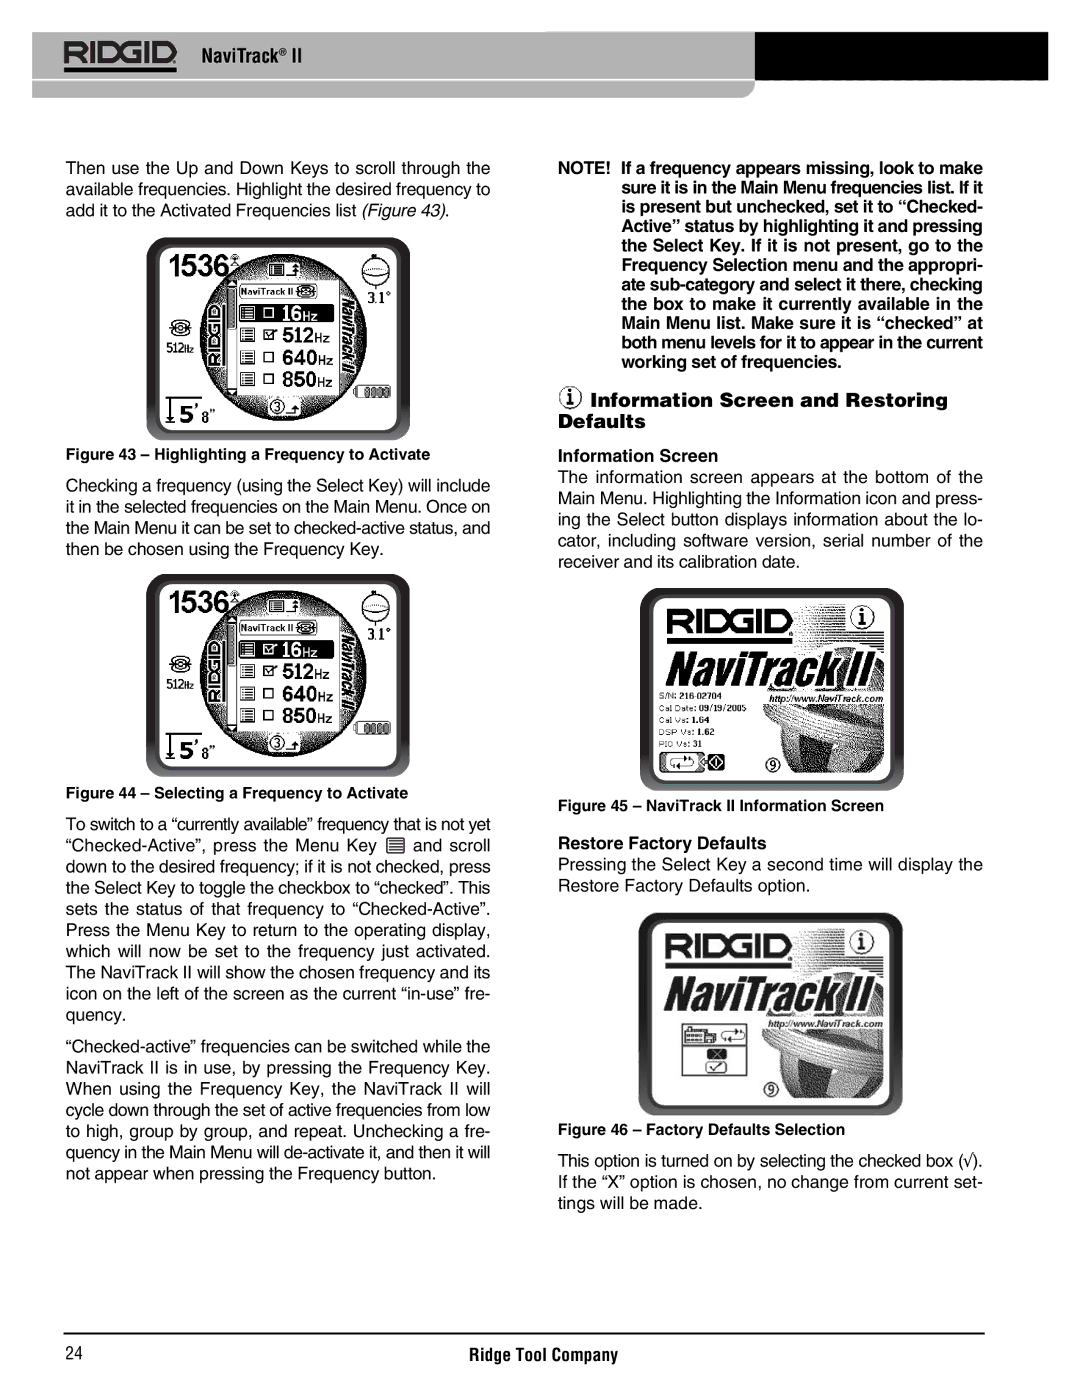
The information screen appears at the bottom of the Main Menu. Highlighting the Information icon and press- ing the Select button displays information about the lo- cator, including software version, serial number of the receiver and its calibration date.
Figure 45 – NaviTrack II Information Screen
Restore Factory Defaults
Pressing the Select Key a second time will display the Restore Factory Defaults option.
Figure 46 – Factory Defaults Selection
This option is turned on by selecting the checked box (√). If the “X” option is chosen, no change from current set- tings will be made.
24 | Ridge Tool Company |