Operation
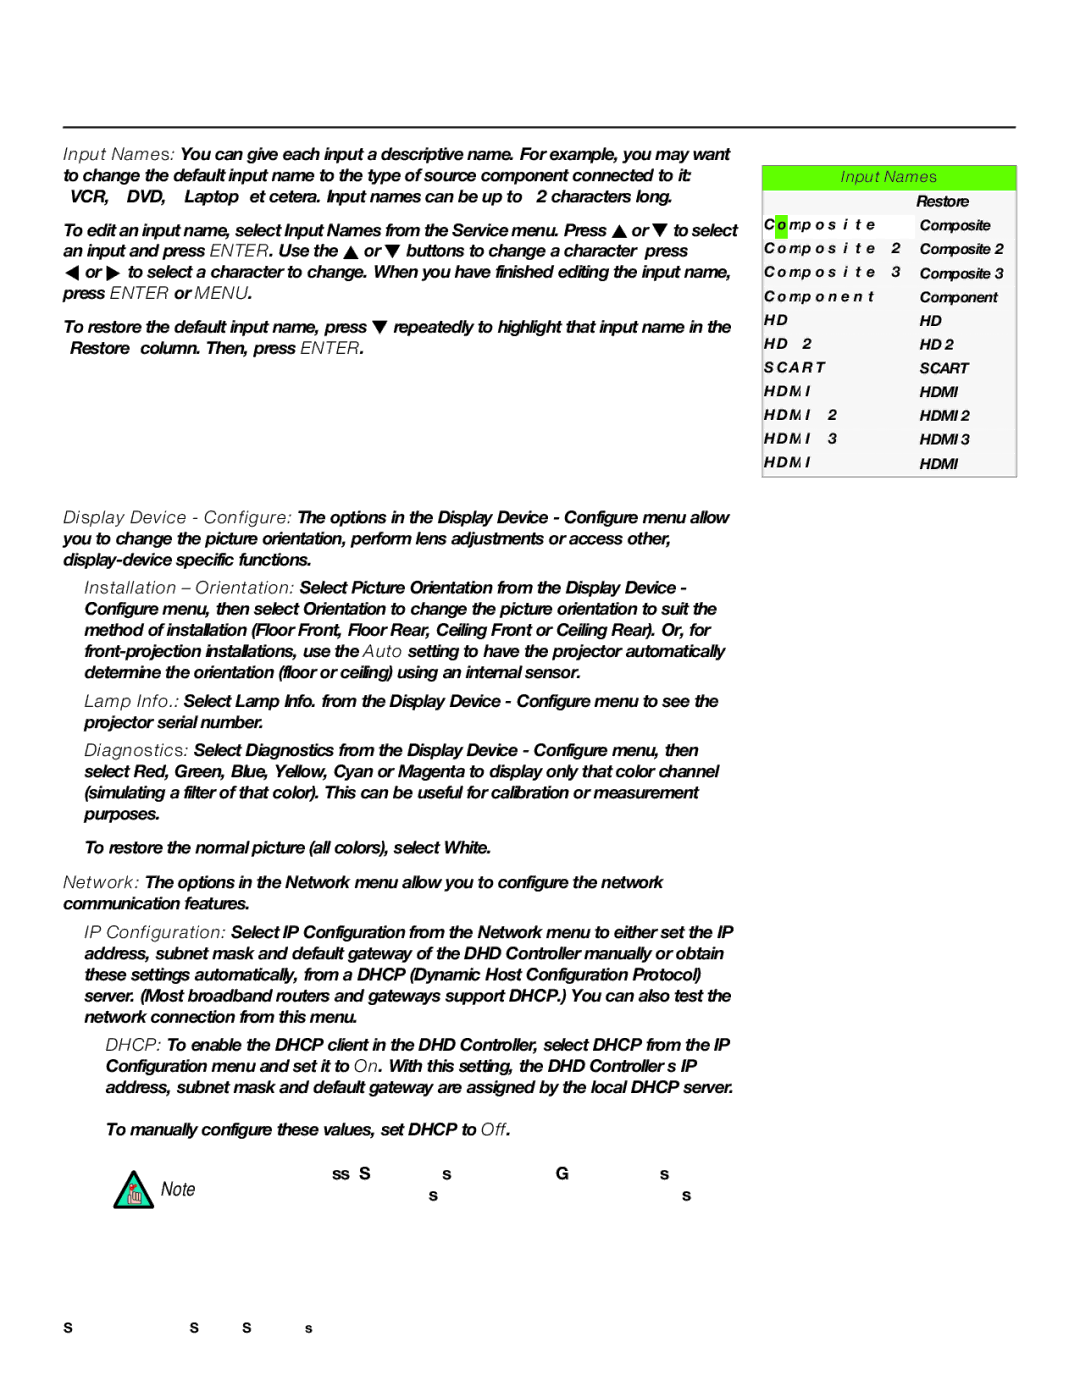
Input Names: You can give each input a descriptive name. For example, you may want to change the default input name to the type of source component connected to it: “VCR,” “DVD,” “Laptop” et cetera. Input names can be up to 12 characters long.
To edit an input name, select Input Names from the Service menu. Press ![]() or
or ![]() to select an input and press ENTER. Use the
to select an input and press ENTER. Use the ![]() or
or ![]() buttons to change a character; press
buttons to change a character; press
![]() or
or ![]() to select a character to change. When you have finished editing the input name, press ENTER or MENU.
to select a character to change. When you have finished editing the input name, press ENTER or MENU.
To restore the default input name, press ![]() repeatedly to highlight that input name in the “Restore” column. Then, press ENTER.
repeatedly to highlight that input name in the “Restore” column. Then, press ENTER.
Display Device - Configure: The options in the Display Device - Configure menu allow you to change the picture orientation, perform lens adjustments or access other,
•Installation – Orientation: Select Picture Orientation from the Display Device - Configure menu, then select Orientation to change the picture orientation to suit the method of installation (Floor Front, Floor Rear, Ceiling Front or Ceiling Rear). Or, for
•Lamp Info.: Select Lamp Info. from the Display Device - Configure menu to see the projector serial number.
•Diagnostics: Select Diagnostics from the Display Device - Configure menu, then select Red, Green, Blue, Yellow, Cyan or Magenta to display only that color channel (simulating a filter of that color). This can be useful for calibration or measurement purposes.
To restore the normal picture (all colors), select White.
Network: The options in the Network menu allow you to configure the network communication features.
•IP Configuration: Select IP Configuration from the Network menu to either set the IP address, subnet mask and default gateway of the DHD Controller manually or obtain these settings automatically, from a DHCP (Dynamic Host Configuration Protocol) server. (Most broadband routers and gateways support DHCP.) You can also test the network connection from this menu.
•DHCP: To enable the DHCP client in the DHD Controller, select DHCP from the IP Configuration menu and set it to On. With this setting, the DHD Controller’s IP address, subnet mask and default gateway are assigned by the local DHCP server.
To manually configure these values, set DHCP to Off.
The IP Address, Subnet Mask and Default Gateway items in the IP Note Configuration menu are disabled (grayed out) when DHCP is
enabled.
|
|
|
|
|
| Input Names | |||
|
|
|
|
|
|
|
|
| Restore |
|
|
|
|
|
|
|
| ||
C | o | mp o s i | t e | 1 | Composite 1 | ||||
|
|
|
|
|
|
|
|
| |
C | o mp o s i | t e | 2 | Composite 2 | |||||
C | o | mp o s i | t e | 3 | Composite 3 | ||||
C | o | mp | o n e n t |
| Component | ||||
H | D | 1 |
|
|
|
|
| HD 1 | |
H | D | 2 |
|
|
|
|
| HD 2 | |
S | C | A | R | T |
|
|
|
| SCART |
H | D | M | I |
| 1 |
|
|
| HDMI 1 |
H | D | M | I |
| 2 |
|
|
| HDMI 2 |
H | D | M | I |
| 3 |
|
|
| HDMI 3 |
H | D | M | I |
| 4 |
|
|
| HDMI 4 |
|
|
|
|
|
|
|
|
|
|
Signature Cinema™ | 71 |