Operation
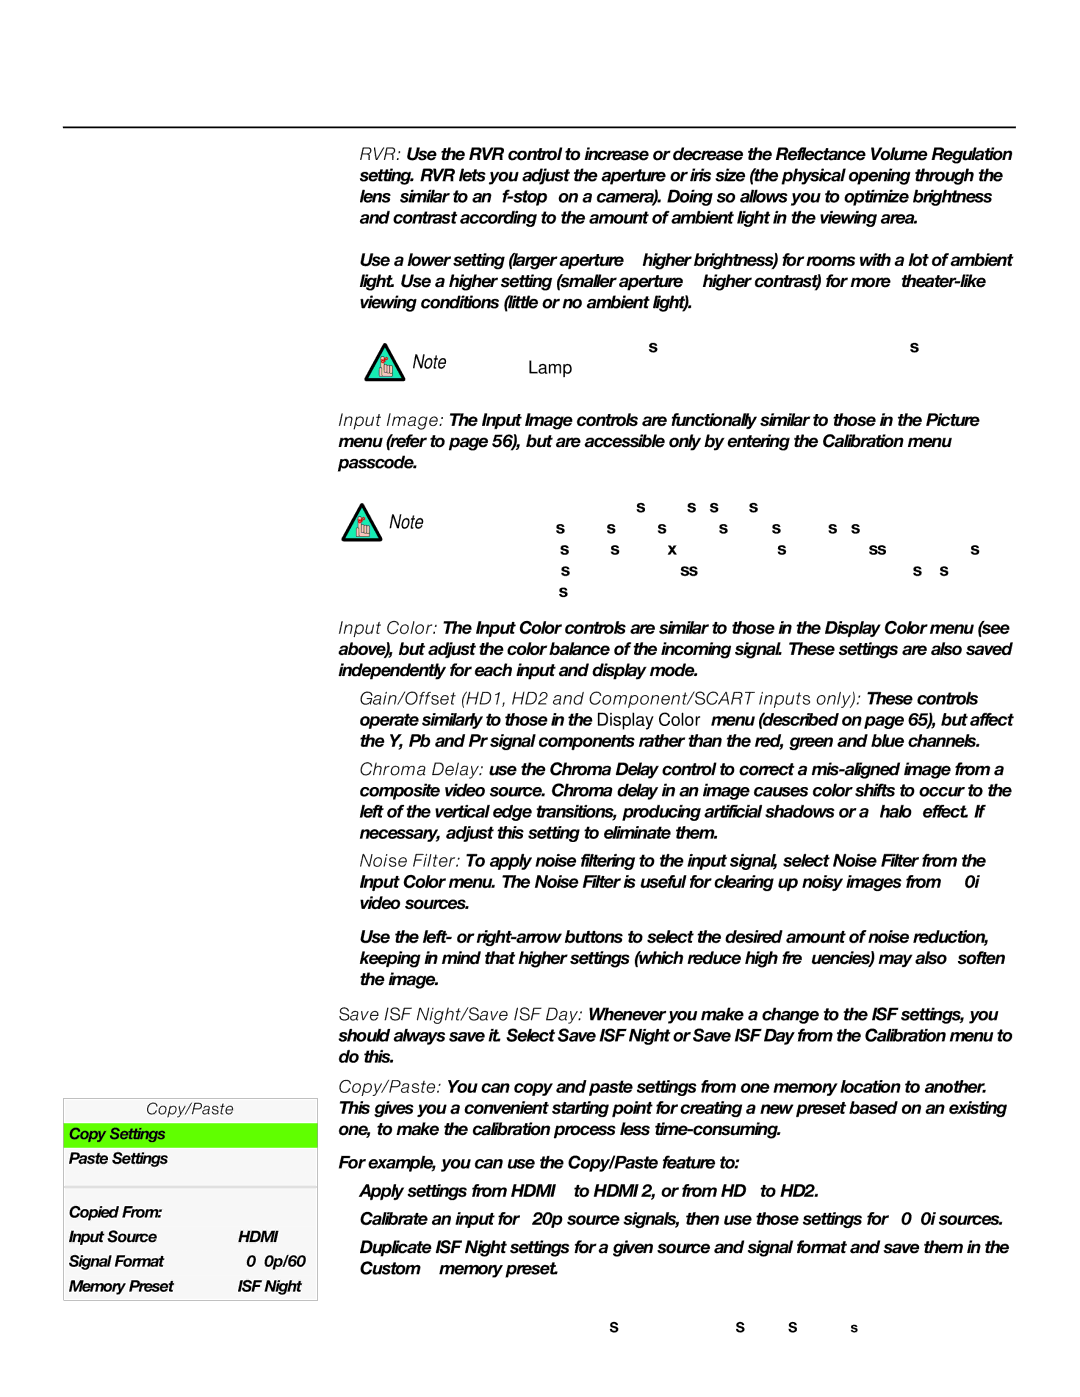
Copy/Paste
Copy Settings
Paste Settings
Copied From: |
|
Input Source | HDMI 1 |
Signal Format | 1080p/60 |
Memory Preset | ISF Night |
•RVR: Use the RVR control to increase or decrease the Reflectance Volume Regulation setting. RVR lets you adjust the aperture or iris size (the physical opening through the lens; similar to an
Use a lower setting (larger aperture = higher brightness) for rooms with a lot of ambient light. Use a higher setting (smaller aperture = higher contrast) for more
Note | RVR can only be used with the “Power” Lamp Mode setting (refer |
to Lamp on page 66). |
Input Image: The Input Image controls are functionally similar to those in the Picture menu (refer to page 56), but are accessible only by entering the Calibration menu passcode.
The Input Image settings establish the “zero point” for the Picture
Note menu settings, whose values represent offsets from the Input Image settings. For example, if you set Brightness to 10 in this menu, setting Brightness to 10 in the Picture menu results in an actual setting value of 20 (10+10).
Input Color: The Input Color controls are similar to those in the Display Color menu (see above), but adjust the color balance of the incoming signal. These settings are also saved independently for each input and display mode.
•Gain/Offset (HD1, HD2 and Component/SCART inputs only): These controls operate similarly to those in the Display Color menu (described on page 65), but affect the Y, Pb and Pr signal components rather than the red, green and blue channels.
•Chroma Delay: use the Chroma Delay control to correct a
•Noise Filter: To apply noise filtering to the input signal, select Noise Filter from the Input Color menu. The Noise Filter is useful for clearing up noisy images from 480i video sources.
Use the left- or
Save ISF Night/Save ISF Day: Whenever you make a change to the ISF settings, you should always save it. Select Save ISF Night or Save ISF Day from the Calibration menu to do this.
Copy/Paste: You can copy and paste settings from one memory location to another. This gives you a convenient starting point for creating a new preset based on an existing one, to make the calibration process less
For example, you can use the Copy/Paste feature to:
•Apply settings from HDMI 1 to HDMI 2, or from HD1 to HD2.
•Calibrate an input for 720p source signals, then use those settings for 1080i sources.
•Duplicate ISF Night settings for a given source and signal format and save them in the Custom 1 memory preset.
68 | Signature Cinema™ |