Linux
Item | Requirement (recommended) |
|
|
Operating | RedHat® Enterprise Linux WS 4, 5 (32/64 bit) |
system | Fedora Core 2~10 (32/64 bit) |
| SuSE Linux 9.1 (32 bit) |
| OpenSuSE® 9.2, 9.3, 10.0, 10.1, 10.2, 10.3, 11.0, |
| 11.1 (32/64 bit) |
| Mandrake 10.0, 10.1 (32/64 bit) |
| Mandriva 2005, 2006, 2007, 2008, 2009 (32/64 bit) |
| Ubuntu 6.06, 6.10, 7.04, 7.10, 8.04, 8.10 (32/64 bit) |
| SuSE Linux Enterprise Desktop 9, 10 (32/64 bit) |
| Debian 3.1, 4.0, 5.0 (32/64 bit) |
|
|
CPU | Pentium® IV 2.4 GHz (Intel Core™2) |
|
|
RAM | 512 MB (1024 MB) |
|
|
Free HDD space | 1 GB (2 GB) |
|
|
Installing USB connected machine’s driver
A locally connected machine is a machine directly connected to your computer by a USB cable. If your machine is attached to a network, skip the following steps below and go on to installing network connected machine’s driver (See "Installing network connected machine’s driver" on page 37).
Only use a USB cable no longer than 3 m (10 ft.).
Windows
You can install the machine software using the typical or custom method.
The following steps below are recommended for most users who use a machine directly connected to your computer. All components necessary for machine operations will be installed.
1.Make sure that the machine is connected to the computer and powered on.
If the “Found New Hardware Wizard” window appears during the installation procedure, click Cancel in close the window.
2.Insert the supplied software CD into your
•The software CD should automatically run and an installation window will appear.
•If the installation window does not appear, click Start and then Run. Type X:\Setup.exe, replacing “X” with the letter which represents your
•If you use Windows Vista, Windows 7 or Windows Server 2008 R2 click Start > All programs > Accessories > Run.
Type X:\Setup.exe replacing “X” with the letter which represents your
•If the AutoPlay window appears in Windows Vista, Windows 7 or Windows Server 2008 R2, click Run Setup.exe in Install or run program field, and click Continue or Yes in the User Account Control window.
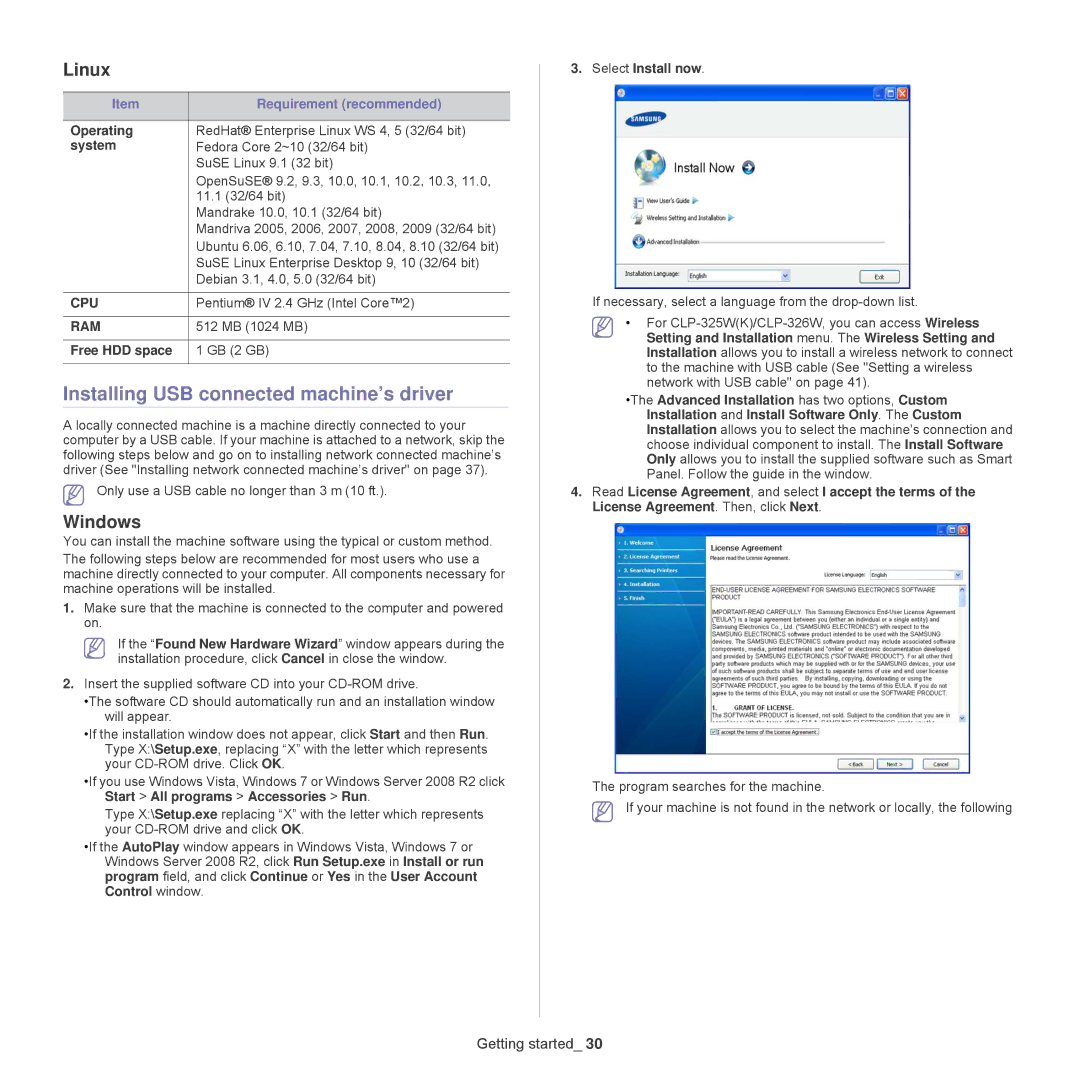
3. Select Install now.
If necessary, select a language from the
•For
•The Advanced Installation has two options, Custom Installation and Install Software Only. The Custom Installation allows you to select the machine’s connection and choose individual component to install. The Install Software Only allows you to install the supplied software such as Smart Panel. Follow the guide in the window.
4.Read License Agreement, and select I accept the terms of the License Agreement. Then, click Next.
The program searches for the machine.
If your machine is not found in the network or locally, the following
