wireless network setup (clp-325w(k)/clp-326w only)
This chapter gives you
This chapter includes:
•Getting started
•Choosing the wireless network installation type
•Setting a wireless network with the WPS button
•Setting a wireless network from the computer
For more information about the network environment, network programs, and installing a network connected machine’s driver, refer to the following chapters:
•See "Network environment" on page 34.
•See "Introducing useful network programs" on page 34.
•See "Installing network connected machine’s driver" on page 37.
Getting started
Choosing your network connection
Typically, you can only have one connection between your computer and the machine at a time. There are two types of network connections to consider:
•Wireless network without access Point
•Wireless network with an access Point (Infrastructure mode)
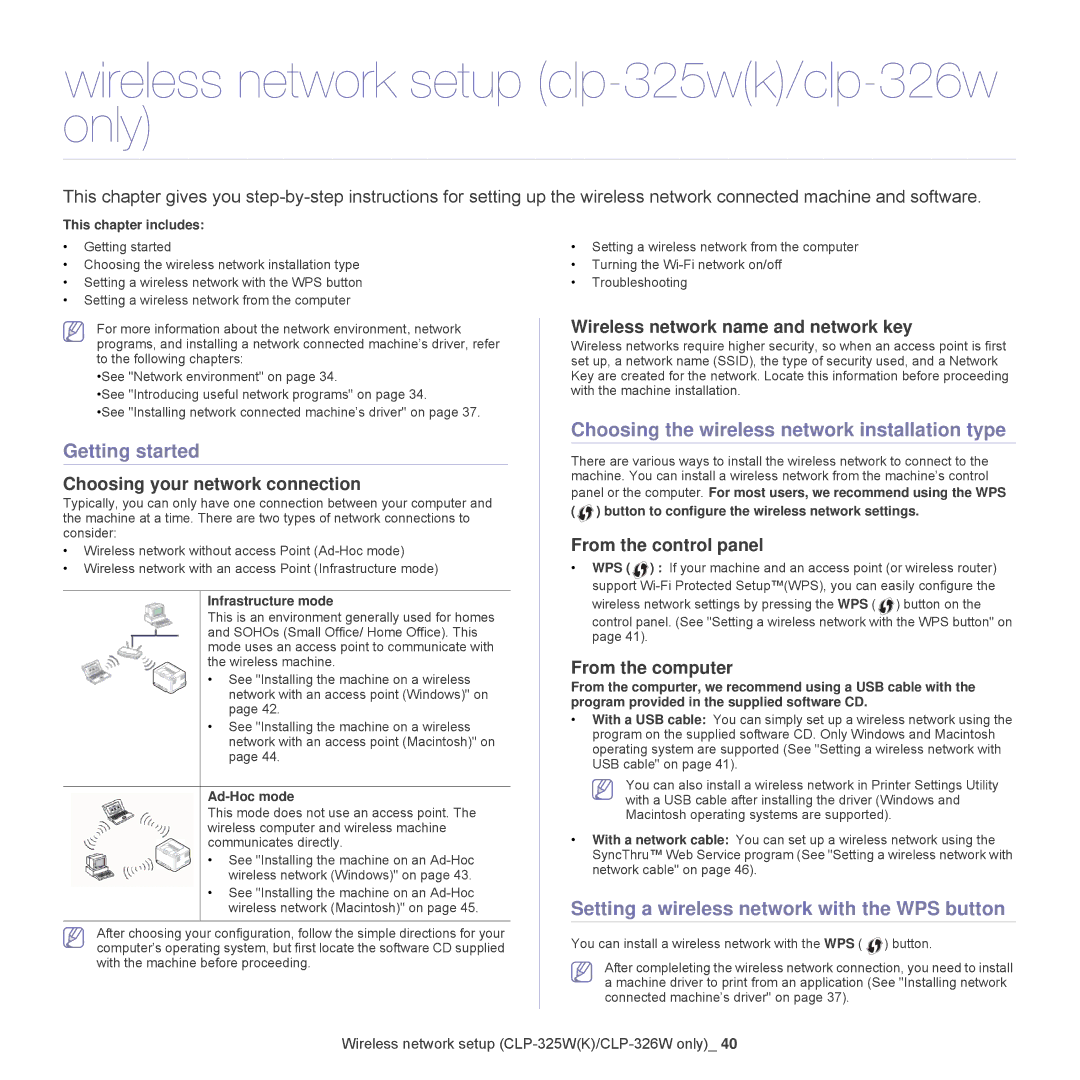
Infrastructure mode
This is an environment generally used for homes and SOHOs (Small Office/ Home Office). This mode uses an access point to communicate with the wireless machine.
• See "Installing the machine on a wireless network with an access point (Windows)" on page 42.
•See "Installing the machine on a wireless network with an access point (Macintosh)" on page 44.
Ad-Hoc mode
This mode does not use an access point. The wireless computer and wireless machine communicates directly.
• See "Installing the machine on an
•See "Installing the machine on an
After choosing your configuration, follow the simple directions for your computer’s operating system, but first locate the software CD supplied with the machine before proceeding.
•Setting a wireless network from the computer
•Turning the
•Troubleshooting
Wireless network name and network key
Wireless networks require higher security, so when an access point is first set up, a network name (SSID), the type of security used, and a Network Key are created for the network. Locate this information before proceeding with the machine installation.
Choosing the wireless network installation type
There are various ways to install the wireless network to connect to the machine. You can install a wireless network from the machine’s control
panel or the computer. For most users, we recommend using the WPS ( ![]() ) button to configure the wireless network settings.
) button to configure the wireless network settings.
From the control panel
•WPS ( ![]() ) : If your machine and an access point (or wireless router) support
) : If your machine and an access point (or wireless router) support
wireless network settings by pressing the WPS ( ![]() ) button on the control panel. (See "Setting a wireless network with the WPS button" on page 41).
) button on the control panel. (See "Setting a wireless network with the WPS button" on page 41).
From the computer
From the compurter, we recommend using a USB cable with the program provided in the supplied software CD.
•With a USB cable: You can simply set up a wireless network using the program on the supplied software CD. Only Windows and Macintosh operating system are supported (See "Setting a wireless network with USB cable" on page 41).
You can also install a wireless network in Printer Settings Utility with a USB cable after installing the driver (Windows and Macintosh operating systems are supported).
•With a network cable: You can set up a wireless network using the SyncThru™ Web Service program (See "Setting a wireless network with network cable" on page 46).
Setting a wireless network with the WPS button
You can install a wireless network with the WPS ( ![]() ) button.
) button.
After compleleting the wireless network connection, you need to install a machine driver to print from an application (See "Installing network connected machine’s driver" on page 37).
Wireless network setup