Item |
|
| Description |
|
|
|
|
|
|
Watermark |
|
|
|
|
1 | To change the print settings from your |
| ||
(Creating a watermark) |
|
| ||
|
| software application, access Printing |
| |
|
|
| Preferences. |
|
|
| 2 | Click the Advanced tab, select Edit from |
|
|
|
| the Watermark |
|
|
|
| Watermarks window appears. |
|
|
| 3 | Enter a text message in the Watermark |
|
|
|
| Message box. You can enter up to 256 |
|
|
|
| characters. The message displays in |
|
|
|
| the preview window. |
|
|
|
|
|
|
Watermark |
|
|
|
|
1 | To change the print settings from your |
| ||
(Editing a watermark) |
|
| ||
|
| software application, access Printing |
| |
|
|
| Preferences. |
|
|
| 2 | Click the Advanced tab, select Edit from |
|
|
|
| the Watermark |
|
|
|
| Watermarks window appears. |
|
|
| 3 | Select the watermark you want to edit |
|
|
|
| from the Current Watermarks list and |
|
|
|
| change the watermark message and |
|
|
|
| options. |
|
|
| 4 | Click Update to save the changes. |
|
|
| 5 | Click OK or Print until you exit the Print |
|
|
|
| window. |
|
|
|
|
|
|
Watermark |
|
|
|
|
1 | To change the print settings from your |
| ||
(Deleting a watermark) |
|
| ||
|
| software application, access Printing |
| |
|
|
| Preferences. |
|
|
| 2 | Click the Advanced tab, select Edit from |
|
|
|
| the Watermark |
|
|
|
| Watermarks window appears. |
|
|
| 3 | Select the watermark you want to |
|
|
|
| delete from the Current Watermarks list |
|
|
|
| and click Delete. |
|
|
| 4 | Click OK or Print until you exit the Print |
|
|
|
| window. |
|
|
|
|
|
|
|
| Item |
| Description |
| ||||
|
|
|
|
|
|
|
|
|
|
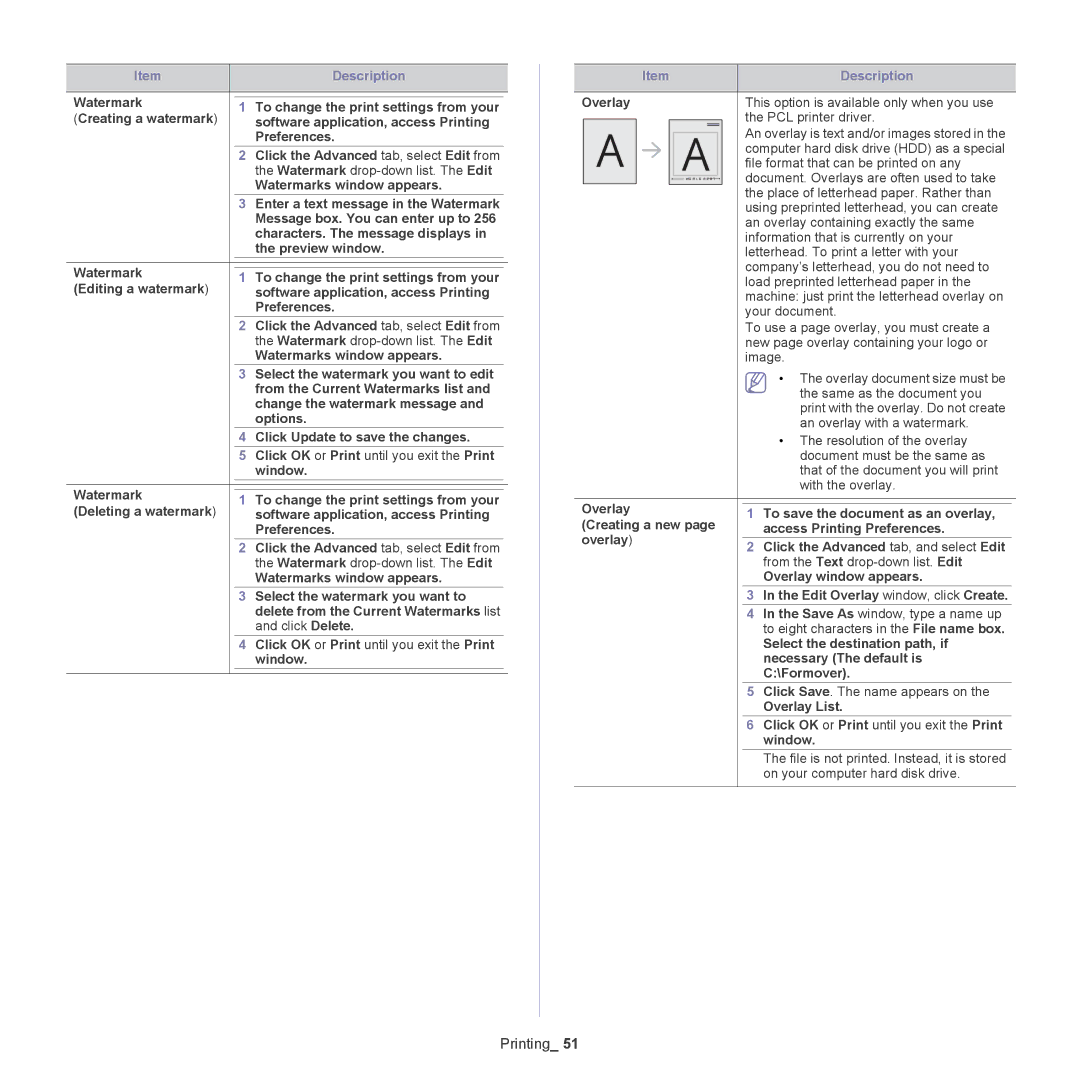
Overlay |
| This option is available only when you use |
| ||||||
|
|
|
|
|
|
|
| the PCL printer driver. |
|
|
|
|
|
|
|
|
| An overlay is text and/or images stored in the |
|
|
|
|
|
|
|
|
|
| |
|
|
|
|
|
|
|
|
| |
|
|
|
|
|
|
|
| computer hard disk drive (HDD) as a special |
|
|
|
|
|
|
|
|
| file format that can be printed on any |
|
|
|
|
|
|
|
|
| document. Overlays are often used to take |
|
|
|
|
|
|
|
|
|
| |
|
|
|
|
|
|
|
| the place of letterhead paper. Rather than |
|
|
|
|
|
|
|
|
| using preprinted letterhead, you can create |
|
|
|
|
|
|
|
|
| an overlay containing exactly the same |
|
|
|
|
|
|
|
|
| information that is currently on your |
|
|
|
|
|
|
|
|
| letterhead. To print a letter with your |
|
|
|
|
|
|
|
|
| company’s letterhead, you do not need to |
|
|
|
|
|
|
|
|
| load preprinted letterhead paper in the |
|
|
|
|
|
|
|
|
| machine: just print the letterhead overlay on |
|
|
|
|
|
|
|
|
| your document. |
|
|
|
|
|
|
|
|
| To use a page overlay, you must create a |
|
|
|
|
|
|
|
|
| new page overlay containing your logo or |
|
|
|
|
|
|
|
|
| image. |
|
|
|
|
|
|
|
|
| • The overlay document size must be |
|
|
|
|
|
|
|
|
| the same as the document you |
|
|
|
|
|
|
|
|
| print with the overlay. Do not create |
|
|
|
|
|
|
|
|
| an overlay with a watermark. |
|
|
|
|
|
|
|
|
| • The resolution of the overlay |
|
|
|
|
|
|
|
|
| document must be the same as |
|
|
|
|
|
|
|
|
| that of the document you will print |
|
|
|
|
|
|
|
|
| with the overlay. |
|
|
|
|
|
|
|
|
|
|
|
Overlay |
|
|
| ||||||
1 To save the document as an overlay, |
| ||||||||
(Creating a new page |
|
| |||||||
| access Printing Preferences. |
| |||||||
overlay) |
|
|
| ||||||
2 Click the Advanced tab, and select Edit |
| ||||||||
|
|
|
|
|
|
|
| from the Text |
|
|
|
|
|
|
|
|
| Overlay window appears. |
|
|
|
|
|
|
|
|
| 3 In the Edit Overlay window, click Create. |
|
|
|
|
|
|
|
|
| 4 In the Save As window, type a name up |
|
|
|
|
|
|
|
|
| to eight characters in the File name box. |
|
|
|
|
|
|
|
|
| Select the destination path, if |
|
|
|
|
|
|
|
|
| necessary (The default is |
|
|
|
|
|
|
|
|
| C:\Formover). |
|
|
|
|
|
|
|
|
| 5 Click Save. The name appears on the |
|
|
|
|
|
|
|
|
| Overlay List. |
|
|
|
|
|
|
|
|
| 6 Click OK or Print until you exit the Print |
|
|
|
|
|
|
|
|
| window. |
|
|
|
|
|
|
|
|
| The file is not printed. Instead, it is stored |
|
|
|
|
|
|
|
|
| on your computer hard disk drive. |
|
|
|
|
|
|
|
|
|
|
|