When installing accessories, the battery inside the machine is a service component. Do not change it by yourself.
There is a risk of an explosion if battery is replaced by an incorrect type. Dispose used batteries according to the instructions.
Activating the added accessories in printer properties
After installing added accessories, you need to select it in the printer properties of the printer driver in order to use it.
1.Install the driver. (See "Installing the driver locally" on page 23 or "Installing wired network connected machine’s driver" on page 28.)
2.For Windows 2000, select Settings > Printers.
•For Windows XP/2003, select Printers and Faxes.
•For Windows 2008/Vista, select Control Panel > Hardware and Sound > Printers.
•For Windows 7, select Control Panel > Hardware and Sound > Devices and Printers.
•For Windows Server 2008 R2, select Control Panel > Hardware > Devices and Printers.
3.For Windows 2000, XP, 2003, 2008 and Vista,
For Windows 7 and Windows Server 2008 R2, right click your printer icon > context menus > See what’ s printing.
4.Select the your machine’s driver and
5.In printer driver properties, select Device Options.
6.In printer driver properties, set the necessary options.
7.Click OK.
Upgrading a memory module
Your machine has a dual
Installing a memory module
1.Turn the machine off and unplug all cables from the machine.
2.Open the control board cover. Release the screw, then lift up the cover slightly and pull the cover to the right.
3.Take out a new memory module from its plastic bag.
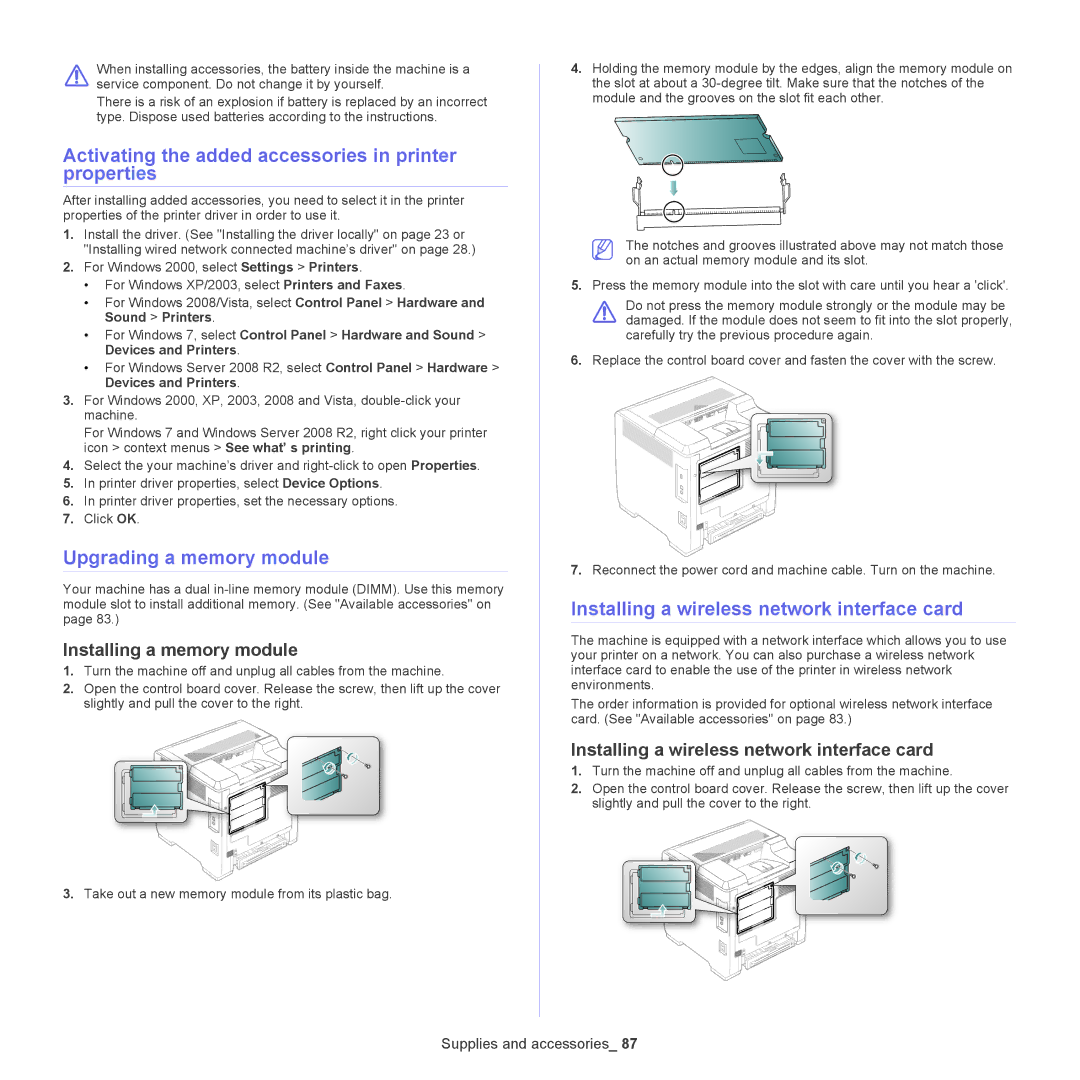
4.Holding the memory module by the edges, align the memory module on the slot at about a
The notches and grooves illustrated above may not match those on an actual memory module and its slot.
5.Press the memory module into the slot with care until you hear a 'click'.
Do not press the memory module strongly or the module may be damaged. If the module does not seem to fit into the slot properly, carefully try the previous procedure again.
6.Replace the control board cover and fasten the cover with the screw.
7.Reconnect the power cord and machine cable. Turn on the machine.
Installing a wireless network interface card
The machine is equipped with a network interface which allows you to use your printer on a network. You can also purchase a wireless network interface card to enable the use of the printer in wireless network environments.
The order information is provided for optional wireless network interface card. (See "Available accessories" on page 83.)
Installing a wireless network interface card
1.Turn the machine off and unplug all cables from the machine.
2.Open the control board cover. Release the screw, then lift up the cover slightly and pull the cover to the right.