ENGLISH |
| Ajuste de la CAM: | ESPAÑOL |
Setting the CAM : Using USB Mode | Utilización de la modalidad USB | ||
|
|
|
|
Connecting the CAM to a Printer
By connecting the CAM to printers with PictBridge support (sold separately), you can send images from the internal memory or external
memory (Memory Stick or Memory Stick Pro) | 2 | USB Mode | |
directly to the printer with a few simple operations. | |||
|
|
1. Connect the CAM to the printer with PictBridge support with the USB cable.
2.Slide [Mode Selector] down to turn on the CAM.
◆ USB mode screen appears automatically.
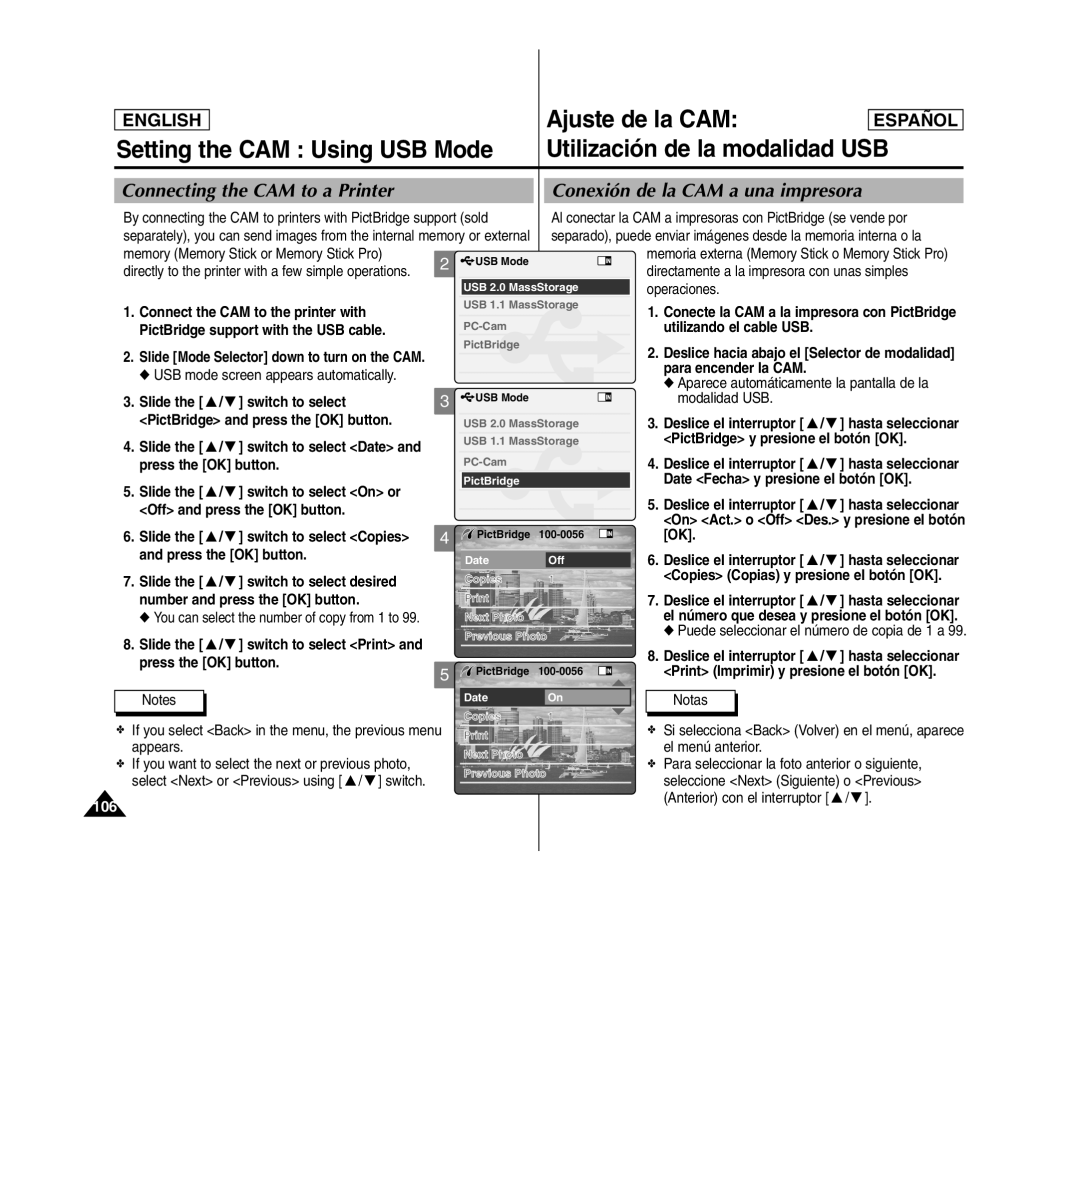
3. Slide the [ ▲ / ▼ ] switch to select | 3 | USB Mode |
<PictBridge> and press the [OK] button. |
|
|
4. Slide the [ ▲ / ▼ ] switch to select <Date> and press the [OK] button.
5.Slide the [ ▲ / ▼ ] switch to select <On> or <Off> and press the [OK] button.
6. Slide the [ ▲ / ▼ ] switch to select <Copies> | 4 |
and press the [OK] button. | Date |
|
7. Slide the [ ▲ / ▼ ] switch to select desired number and press the [OK] button.
◆ You can select the number of copy from 1 to 99.
8. Slide the [ ▲ / ▼ ] switch to select <Print> and | Previous Photo |
| |
press the [OK] button. |
|
5
Notes
✤ If you select <Back> in the menu, the previous menu appears.
✤If you want to select the next or previous photo,
select <Next> or <Previous> using [ ▲ / ▼ ] switch.
106
Conexión de la CAM a una impresora
Al conectar la CAM a impresoras con PictBridge (se vende por separado), puede enviar imágenes desde la memoria interna o la
memoria externa (Memory Stick o Memory Stick Pro) directamente a la impresora con unas simples operaciones.
1.Conecte la CAM a la impresora con PictBridge utilizando el cable USB.
2.Deslice hacia abajo el [Selector de modalidad]
para encender la CAM.
◆ Aparece automáticamente la pantalla de la
modalidad USB.
3.Deslice el interruptor [ ▲ / ▼ ] hasta seleccionar <PictBridge> y presione el botón [OK].
4.Deslice el interruptor [ ▲ / ▼ ] hasta seleccionar
Date <Fecha> y presione el botón [OK].
5.Deslice el interruptor [ ▲ / ▼ ] hasta seleccionar <On> <Act.> o <Off> <Des.> y presione el botón
[OK].
6. Deslice el interruptor [ ▲ / ▼ ] hasta seleccionar
1<Copies> (Copias) y presione el botón [OK].
7.Deslice el interruptor [ ▲ / ▼ ] hasta seleccionar
el número que desea y presione el botón [OK].
◆ Puede seleccionar el número de copia de 1 a 99.
8.Deslice el interruptor [ ▲ / ▼ ] hasta seleccionar
<Print> (Imprimir) y presione el botón [OK].
Notas
✤Si selecciona <Back> (Volver) en el menú, aparece el menú anterior.
✤Para seleccionar la foto anterior o siguiente, seleccione <Next> (Siguiente) o <Previous> (Anterior) con el interruptor [ ▲ / ▼ ].