ENGLISH
Advanced Recording
PIP (Picture-in-Picture)
✤The PIP (Picture-in-Picture) function works in CAMERAmode only.
✤The PIP feature works in combination with the various functions by using a small, super imposed screen to show an original image
(in GHOST, Digital zoom). | START/STOP |
| |
This should help you to get a more clear idea |
|
of what you are shooting. |
|
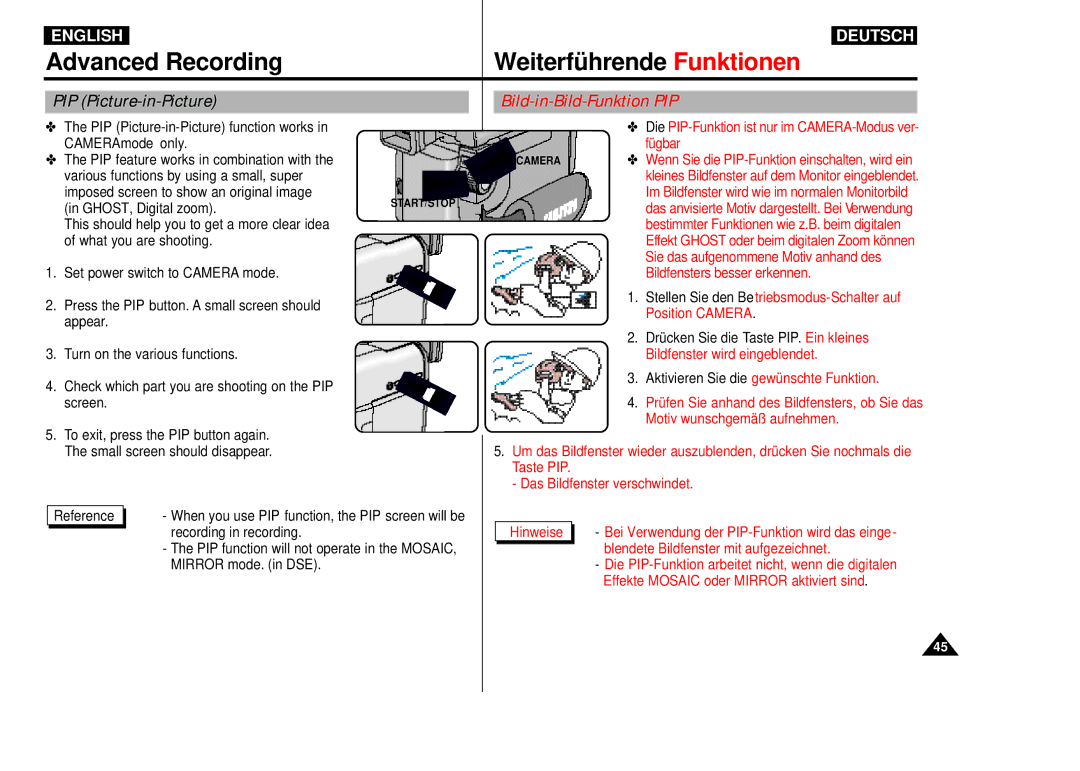
1.Set power switch to CAMERA mode.
2.Press the PIP button. A small screen should appear.
3.Turn on the various functions.
4.Check which part you are shooting on the PIP screen.
5.To exit, press the PIP button again. The small screen should disappear.
Reference | - When you use PIP function, the PIP screen will be |
recording in recording.
- The PIP function will not operate in the MOSAIC, MIRROR mode. (in DSE).
DEUTSCH
Weiterführende Funktionen
Bild-in-Bild-Funktion PIP
| ✤ Die |
| fügbar |
CAMERA | ✤ Wenn Sie die |
| kleines Bildfenster auf dem Monitor eingeblendet. |
| Im Bildfenster wird wie im normalen Monitorbild |
| das anvisierte Motiv dargestellt. Bei Verwendung |
| bestimmter Funktionen wie z.B. beim digitalen |
| Effekt GHOST oder beim digitalen Zoom können |
| Sie das aufgenommene Motiv anhand des |
| Bildfensters besser erkennen. |
1.Stellen Sie den
2.Drücken Sie die Taste PIP. Ein kleines Bildfenster wird eingeblendet.
3.Aktivieren Sie die gewünschte Funktion.
4.Prüfen Sie anhand des Bildfensters, ob Sie das Motiv wunschgemäß aufnehmen.
5.Um das Bildfenster wieder auszublenden, drücken Sie nochmals die Taste PIP.
-Das Bildfenster verschwindet.
Hinweise | - Bei Verwendung der |
blendete Bildfenster mit aufgezeichnet.
- Die
45
