Setting
Frame lock
Set the Frame Lock to Main picture or Sub picture.
Reset
Press the SELECT button at Reset to display a confirmation box. To reset, press the SELECT button at Yes.
Mode free
Delete the data stored in the Mode and return to Free. Use the Point ▲▼ buttons to select Mode free and press the SELECT button to show the Where to free? dialog box. Move the highlight to one of the mode (User 1 - 5) which you want to delete and press the SELECT button. Then the confirmation box appears. To delete, select Yes.
Store
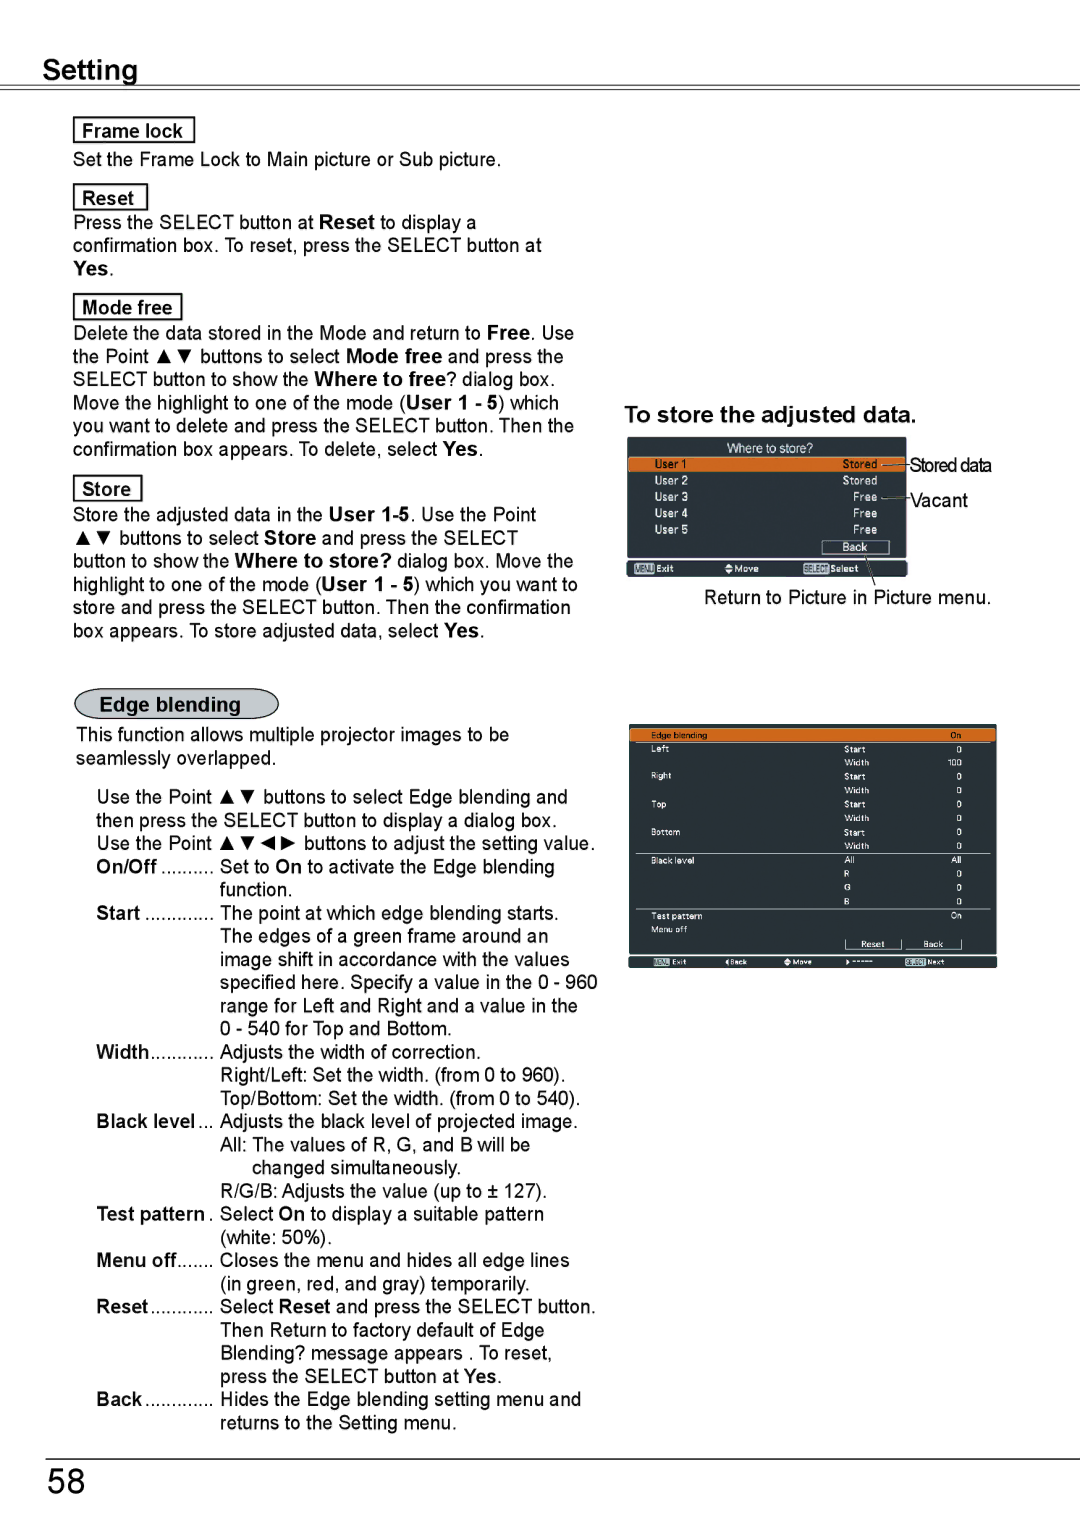
Store the adjusted data in the User
Edge blending
This function allows multiple projector images to be seamlessly overlapped.
Use the Point ▲▼ buttons to select Edge blending and then press the SELECT button to display a dialog box. Use the Point ▲▼◄► buttons to adjust the setting value. On/Off........... Set to On to activate the Edge blending
function.
Start.............. The point at which edge blending starts.
The edges of a green frame around an image shift in accordance with the values specified here. Specify a value in the 0 - 960 range for Left and Right and a value in the 0 - 540 for Top and Bottom.
Width............ Adjusts the width of correction.
Right/Left: Set the width. (from 0 to 960).
Top/Bottom: Set the width. (from 0 to 540). Black level.... Adjusts the black level of projected image.
All: The values of R, G, and B will be changed simultaneously.
R/G/B: Adjusts the value (up to ± 127). Test pattern.. Select On to display a suitable pattern
(white: 50%).
Menu off....... Closes the menu and hides all edge lines
(in green, red, and gray) temporarily. Reset............ Select Reset and press the SELECT button.
Then Return to factory default of Edge Blending? message appears . To reset, press the SELECT button at Yes.
Back.............. Hides the Edge blending setting menu and
returns to the Setting menu.
To store the adjusted data..
Stored data
Vacant
Return to Picture in Picture menu.
58
