SLP38C specifications
The Savin SLP38C represents a compelling choice in the world of color laser printers, designed to meet the diverse printing needs of small to medium-sized businesses. This versatile printer combines advanced features with high-quality performance, making it suitable for various applications, from intricate graphics to vibrant presentations.One of the standout features of the SLP38C is its exceptional print resolution. With a maximum resolution of up to 1200 x 1200 dpi, it produces crisp, detailed prints that are sure to impress. This level of clarity is particularly beneficial for marketing materials and professional documents that require a polished look. The printer also offers fast print speeds, with outputs of around 38 pages per minute for black and white and color prints. This efficiency helps streamline workflow, especially in busy office environments.
The SLP38C employs cutting-edge LED technology, which enhances both print quality and reliability. The LED system minimizes moving parts, resulting in less wear and tear and a longer lifespan for the printer. Additionally, its compact design allows it to fit comfortably in tight workspaces without sacrificing print quality or speed.
Connectivity is another significant advantage of the Savin SLP38C. It features multiple connectivity options, including USB, Ethernet, and support for wireless networking. This flexibility allows users to connect seamlessly from various devices, including computers, mobile devices, and tablets, making it easier to print from virtually anywhere in the office.
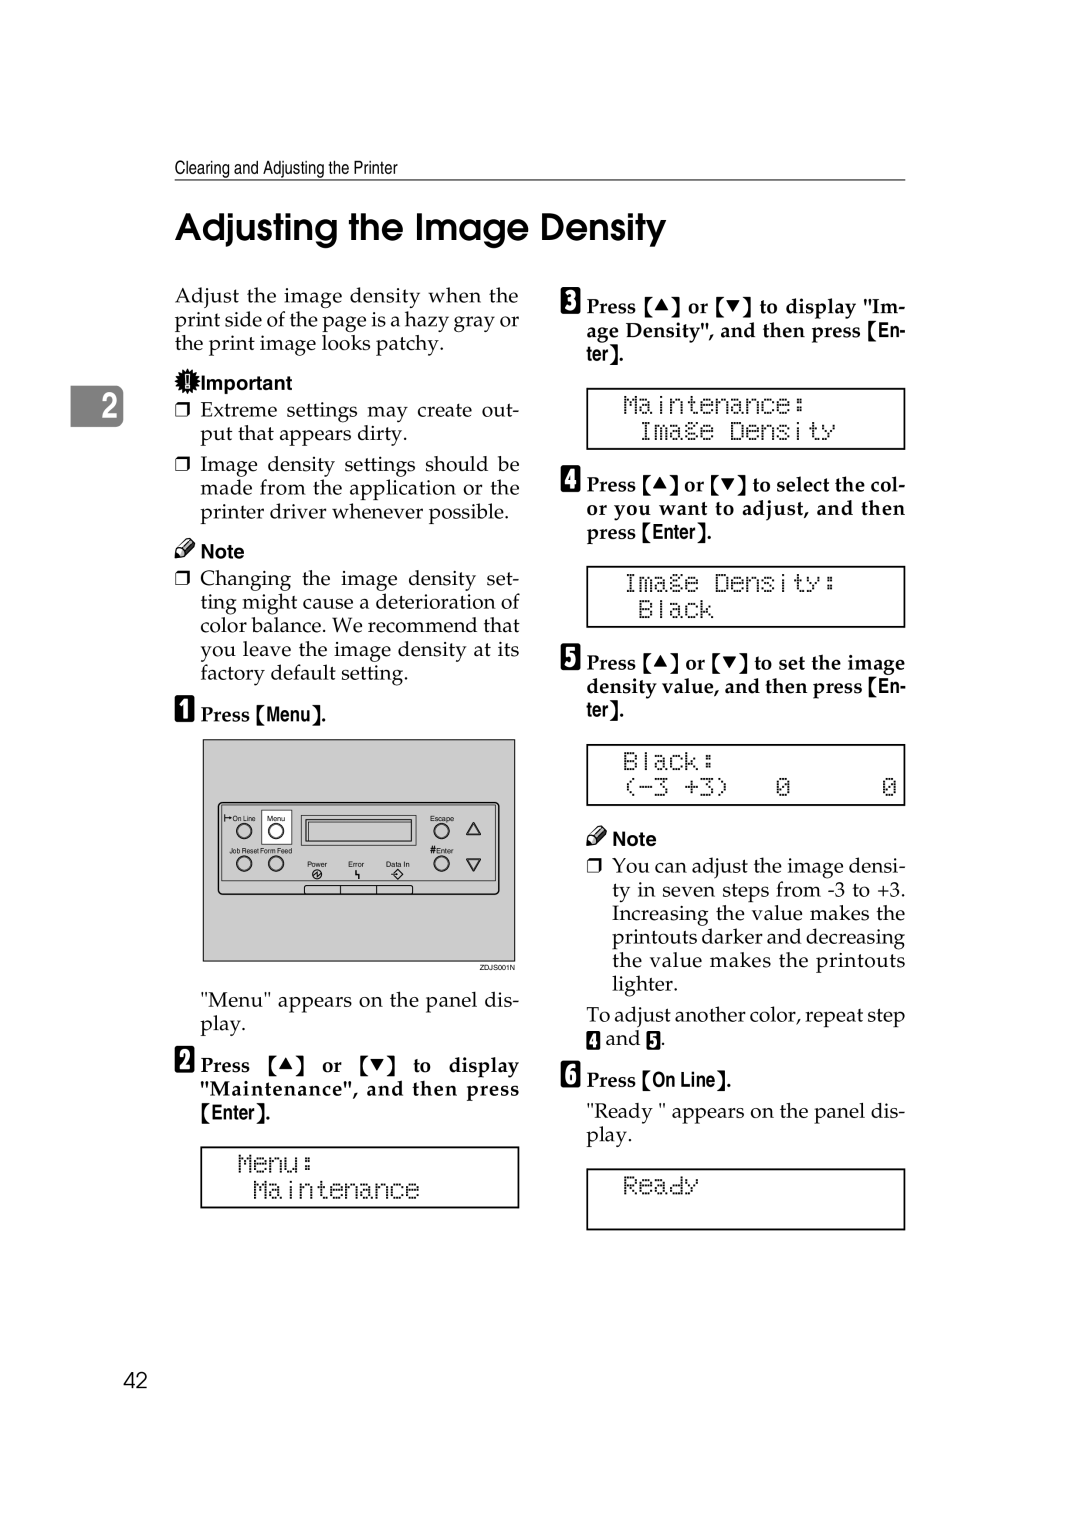
The printer's user-friendly interface is another highlight. The intuitive control panel simplifies navigation through settings, print jobs, and maintenance tasks. Furthermore, the SLP38C supports automatic duplex printing, which not only saves paper but also reduces the overall cost of printing.
In terms of handling, the Savin SLP38C boasts an impressive paper capacity. It comes with a standard paper tray that can hold up to 250 sheets, with optional additional trays available for larger volumes. This adaptability makes it an excellent choice for businesses with fluctuating printing demands.
When it comes to environmental considerations, the SLP38C is Energy Star certified, showcasing its commitment to energy efficiency. This certification ensures that businesses can maintain sustainable practices without compromising on performance.
In summary, the Savin SLP38C combines high-quality printing, advanced technology, and user-friendly features, making it a reliable choice for any business looking to enhance its printing capabilities. With its exceptional speed, resolution, and connectivity options, it stands out as a powerful tool in the office printing landscape.

