12.Raise blade all the way up.
13.Carefully move fence against blade.
14.Move front bar until "0" mark on rip scale is approximately in line with indicator.
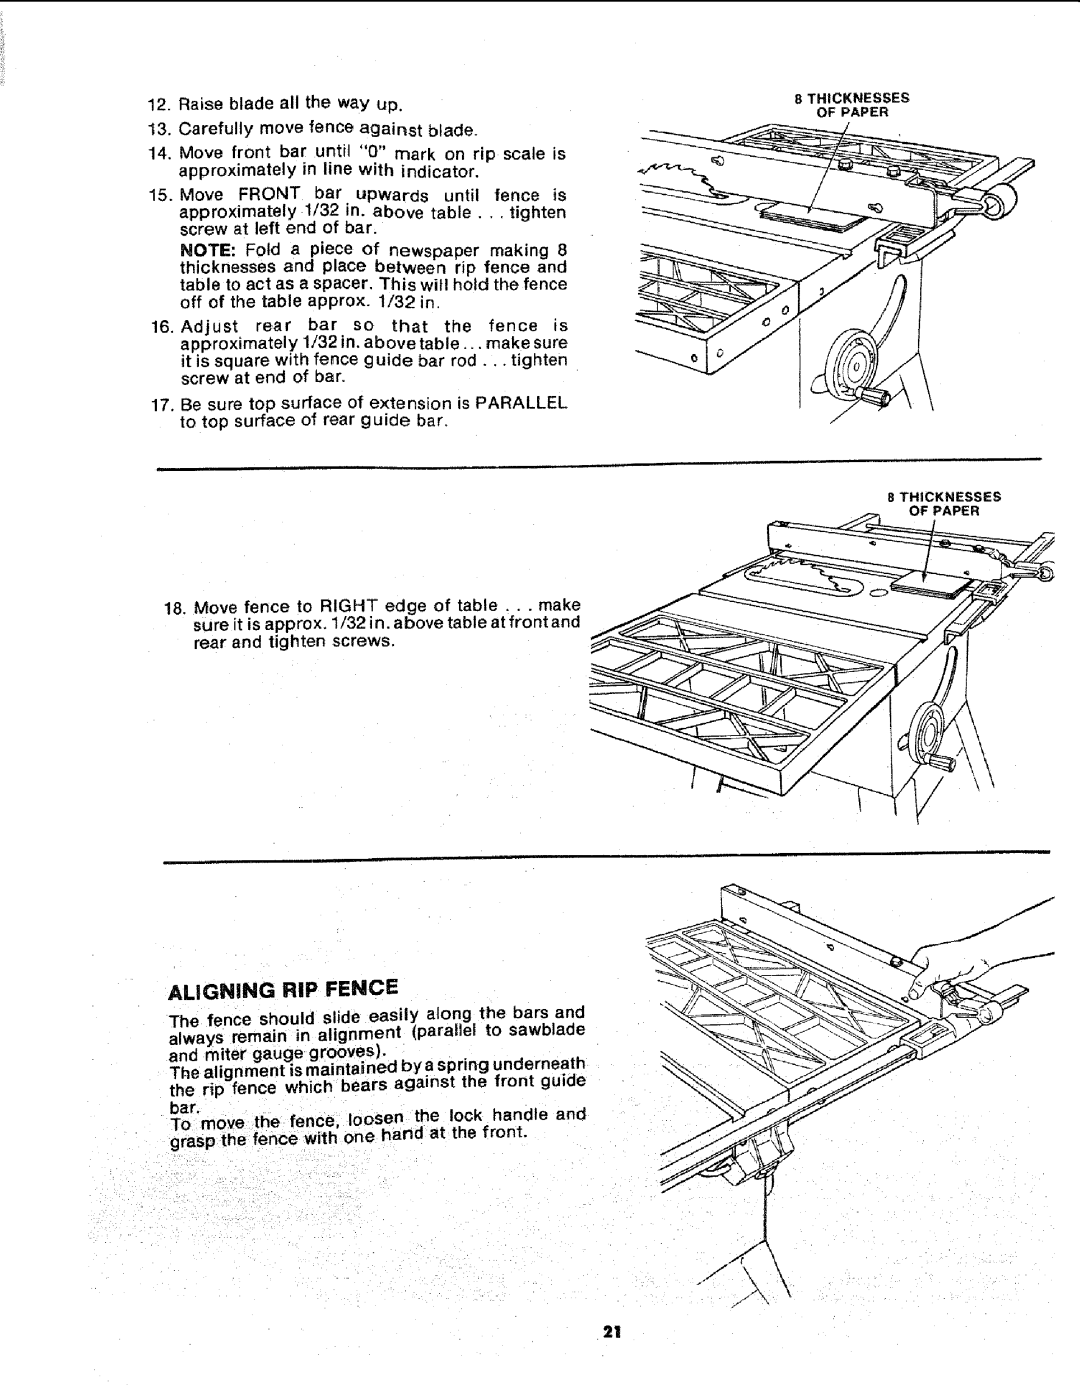
15.Move FRONT bar upwards until fence is
approximately 1/32 in. above table.., tighten screw at left end of bar.
NOTE: Fold a piece of newspaper making 8 thicknesses and place between rip fence and table to act as a spacer. This will ho_d the fence off of the table approx. 1/32 in.
16.Adjust rear bar so that the fence is approximately 1/32 in. above table.., make sure
it is square with fence guide bar rod.., tighten screw at end of bar.
17.Be sure top surface of extension is PARALLEL to top surface of rear guide bar.
18.Move fence to RIGHT edge of table.., make sure it is approx. 1/32 in. above table at front and rear and tighten screws.
8THICKNESSES OF PAPER
8THICKNESSES
OF PAPER
/
ALIGNING RIP FENCE |
The fence should side easily along the bars and always remain in alignment (para el to sawblade
and miter gauge grooves).
The alignment is rnaintained by a spring underneath the rip fence which bears against the front guide
bar.
TO move the fence, loosen the lock handle and grasp the fence with one hand at the front.